How to make a simple and water-resistant flower made from duct tape, beautiful and so easy to make with the free template, a little yellow button, and the step-by-step instructions in this post.


Remember when I showed you the Duct tape organizer I made for the pens on my desk? Well, today I will be sharing the tutorial to make those flowers. The cool thing about them is that you can clean them easily unlike fabric flowers I used to decorate, these can be dusted without any problems and also washed in case something spills.
I shared in my last post that I was going to work on some easy projects for those just starting and this is one of them!


THE PROCESS:


1- Gather your materials:
– Duct Tape
– Button
– Hot glue gun
– Paper clips
– Flower Pattern (Download BELOW!)


2- Unroll a piece of duct tape, and place it facing each other. You will need pieces of color on both sides. if you want you can make them with different colors. one for the back and one for the front.


3- On your piece of duct tape, cut 5 of each of both sizes for one flower. if you want you can mark them first with a non-permanent marker then wipe off.


4- You will end up with 10 pedals, then cut a round piece for the center of the flower.

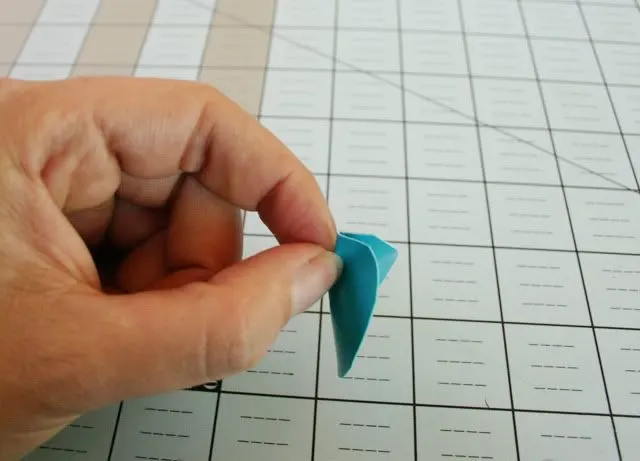
5- Fold the pedals at the end of the straight line (Like shown in the template)

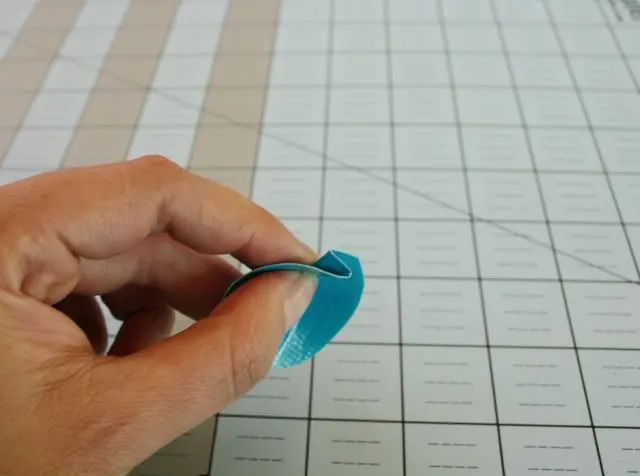
6- Fold the back.


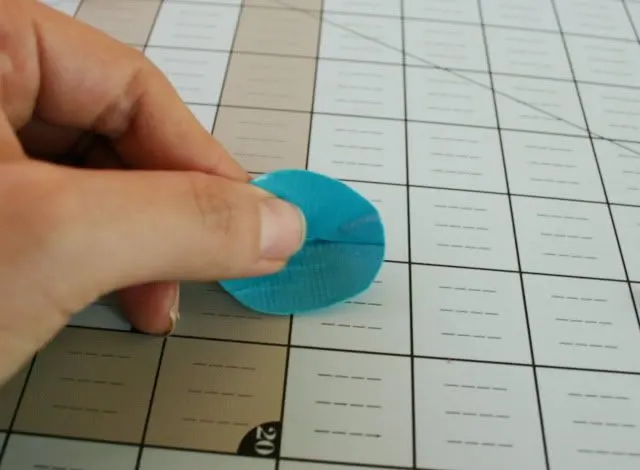
7- it should look like this from the front of the petal, repeat with all the others and you are ready to glue.


8- Place a drop in the front fold

9- And then another drop in the back to glue the fold in.

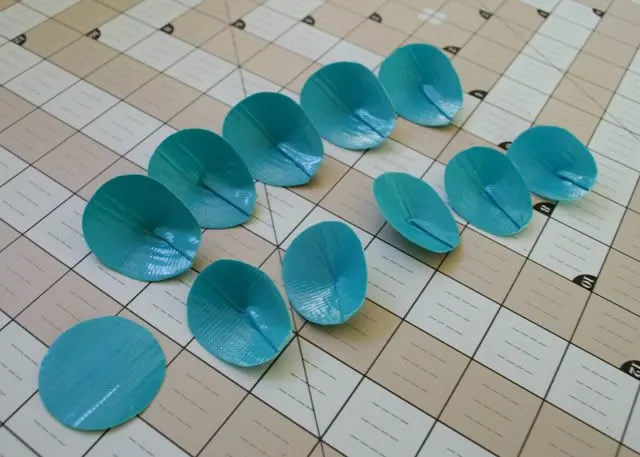
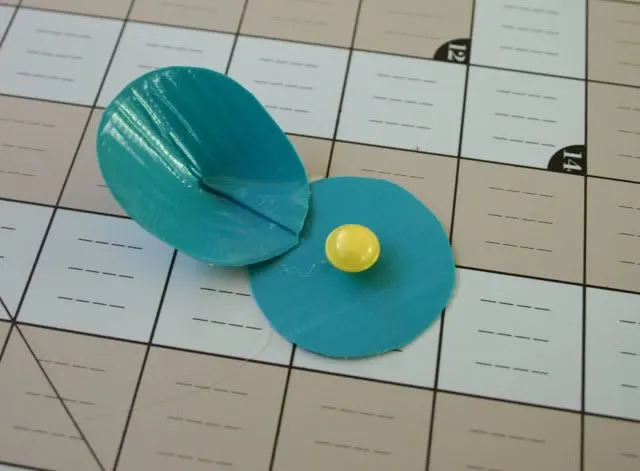
10 – You have all your pieces ready to assemble the flower.

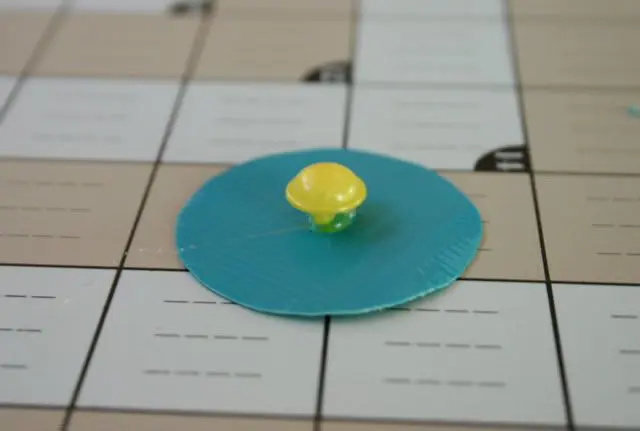
11- First glue the button to the center of your circle.

12- Then start gluing the big petals first.


13- Glue them all the way around the edge of the circle

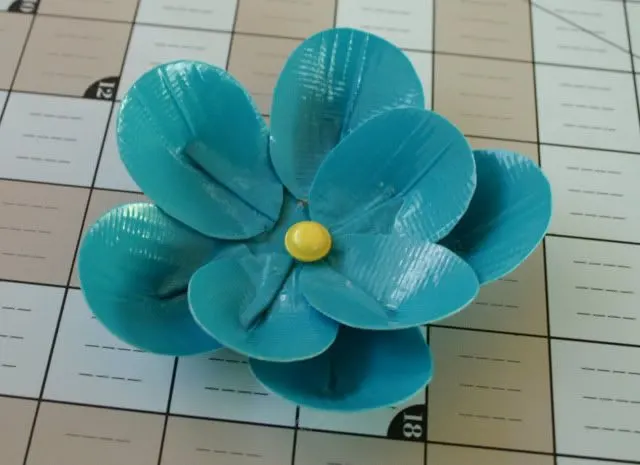
14- The start with the smaller petals, glue them in between the big ones and making sure your close to the center, touching the button.


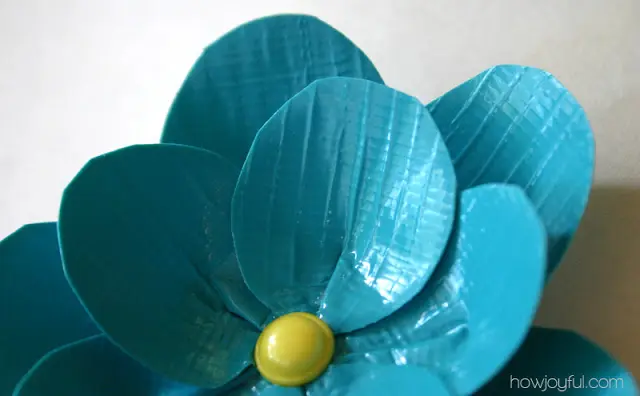
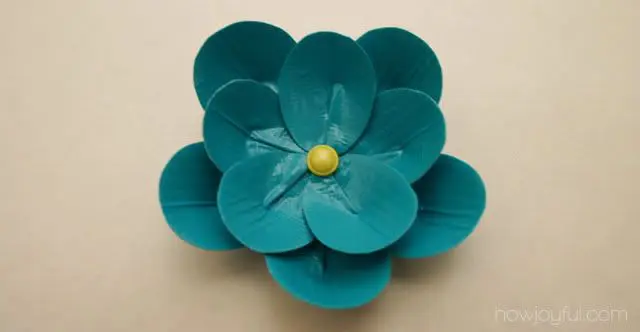
15- and the flower is done! now we need a piece to attach it.


16- Grab a paper clip and place a piece of tape in between.


17- Tape that to the back of your flower and it's ready!


Duct tape flower organizer
Check out a super simple organizer for your desk or craft room made out of a basket, cardboard and duct tape!


I am slowly trying to put together my craft room/office, I started with some frames and board, now I'm working on my sewing table (I will post the process as soon as I'm done), organizing my fabrics and tools.
I have many markers that I wanted to have them close to me, and I didn't like the organizer I had, so I grab some duct tape, pieces of cardboard and a basket to create my own duct tape pen organizer!
I already had all the material so the cost was $0, and it only took me about 45 minutes to pull it together.
I cut strips of cardboard and place them the way I wanted to divide my basket, I hot glue the pieces together, and finally duct tape the structure. I loved the color of my duct tape so I will be making more duct tape projects soon :)


If you know me, you already know that I am a sucker for flowers, specially non-usual material flowers, so obviously when I thought about a way to make my basket pretty, a flower was the answer! Duct tape flower, with a small yellow button =)


Here is the basket in action, I have tons of room for all my markers now!


I love the fact that if the flower gets dusty, I can just wash it with water and a brush.


There are so many ways to use them!! I will make some more in different colors to match the craft/office room :) Happy crafting!


* This tutorial and patterns are provided for personal, non-commercial use only. The pattern is a PDF file, the link goes directly to Dropbox, but you don't need an account to view it, you will need Adobe Reader or a similar program once the file is downloaded.
Check the Site policy at the bottom for further information. Thank you!
Reagan
Saturday 29th of November 2014
Thanks so much Joy! I am going to use these in my duct tape class for starters since they're SUPER easy! (P.S You should do a tutorial on Duct Tape Wreath!)
Christine Lee
Tuesday 24th of December 2013
Really gorgeous and nice photos.
algae4484
Sunday 10th of November 2013
how do you get tempalet with no printer
sarah
Friday 5th of April 2013
this so cool. I'm going to steal your idea and im going to make it so nobody can see it. Ha!
algae4484
Sunday 10th of November 2013
thats plagarism you cant steal it thats mean and you could go to jail 4 that so see you behind bars.....
willom
Friday 5th of April 2013
thats not nice :(
Kristin D.
Wednesday 6th of February 2013
Hi Joy, I am doing these for a friends farewell party. Hope mine turn out as pretty as yours because me & hot glue don't get along to well! Lol Thank you so much for this tutorial!! Any chance you could put the middle circle on the template too?! I just want to make sure I get the size right!