


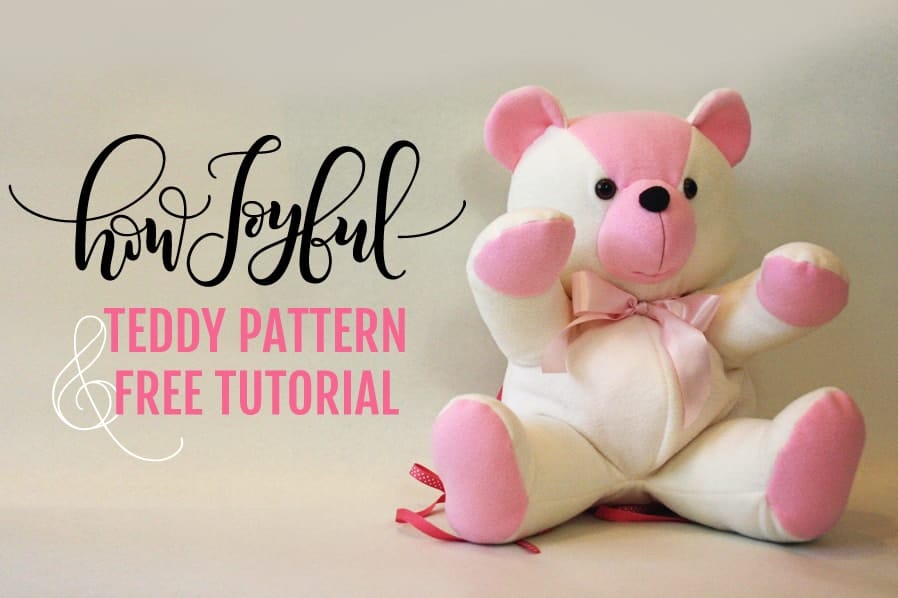
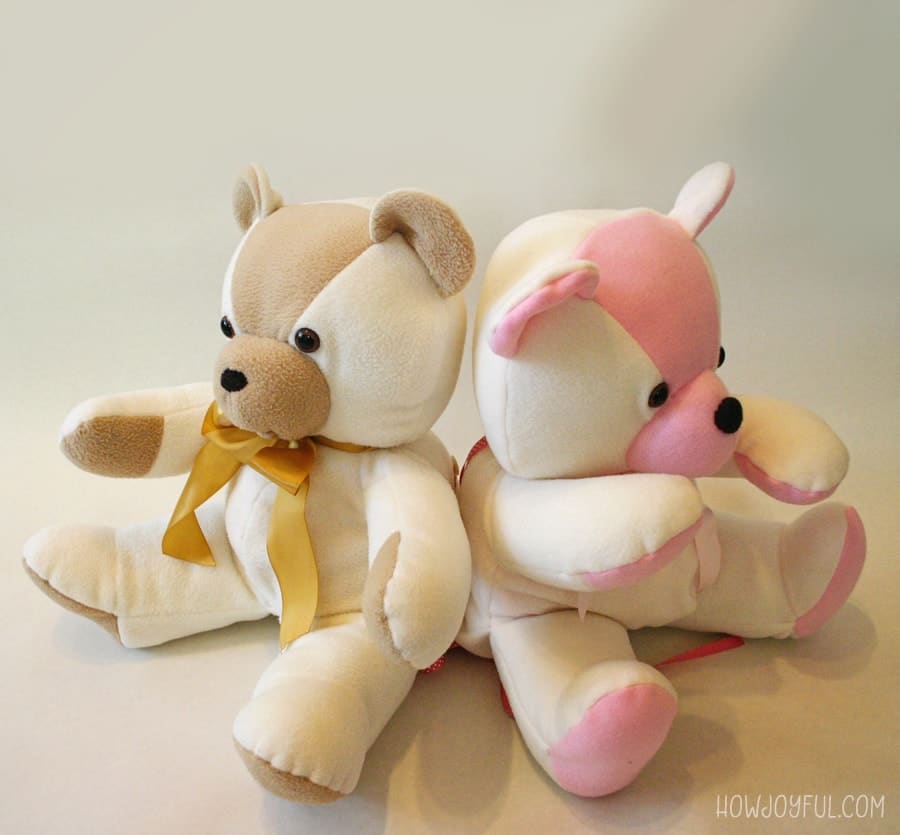
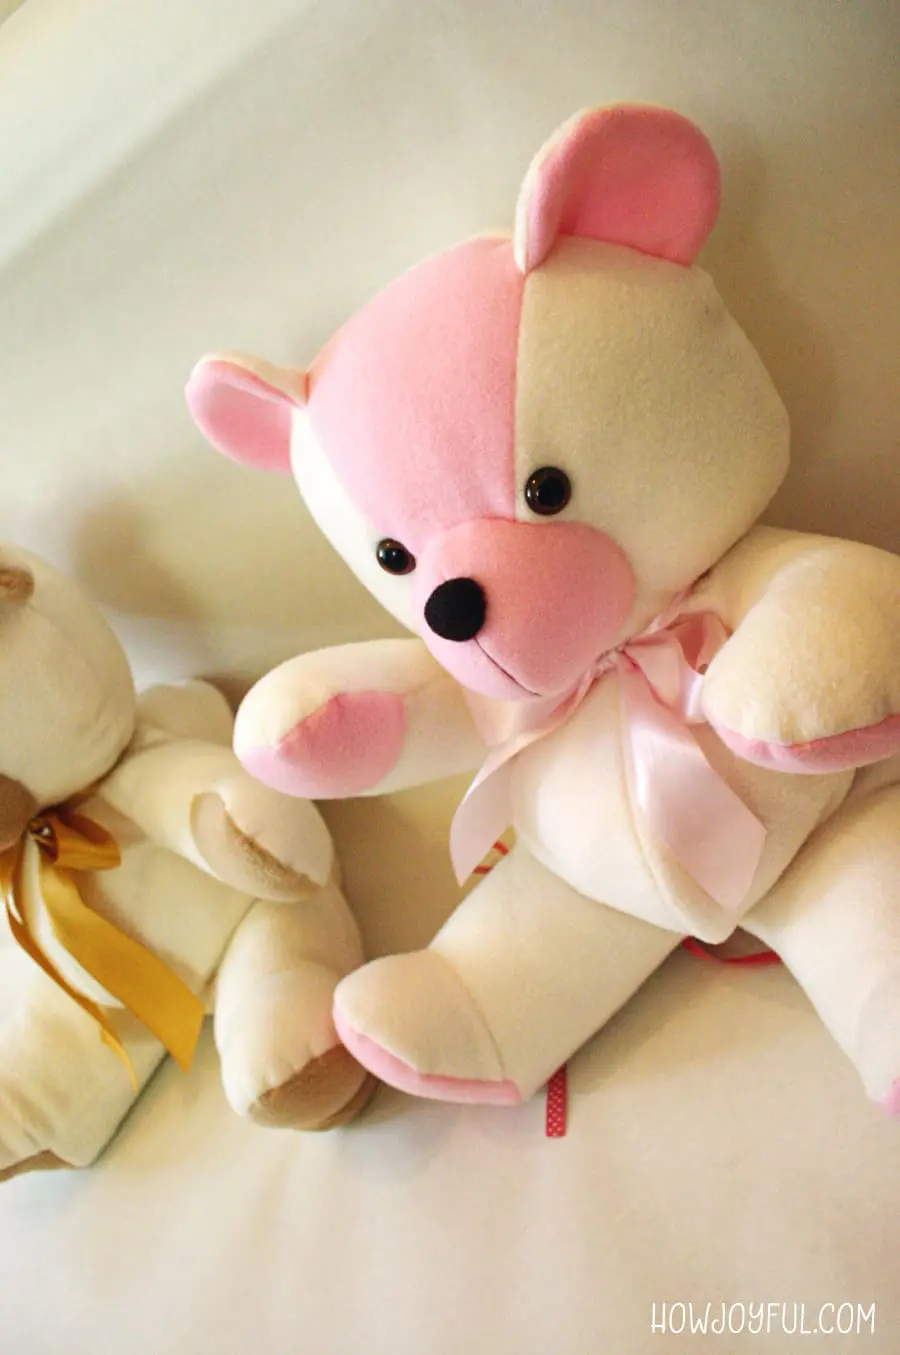
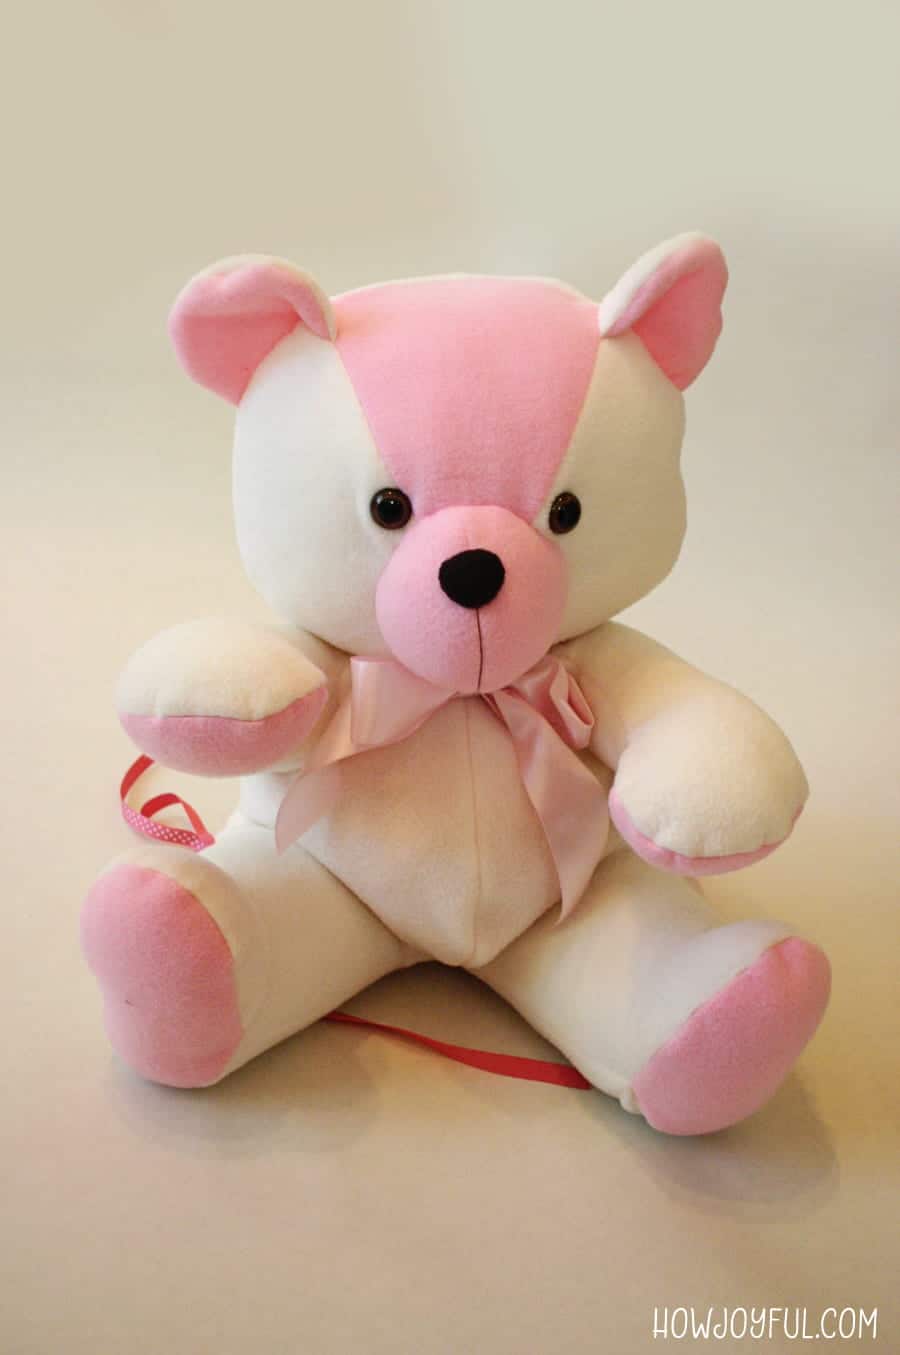
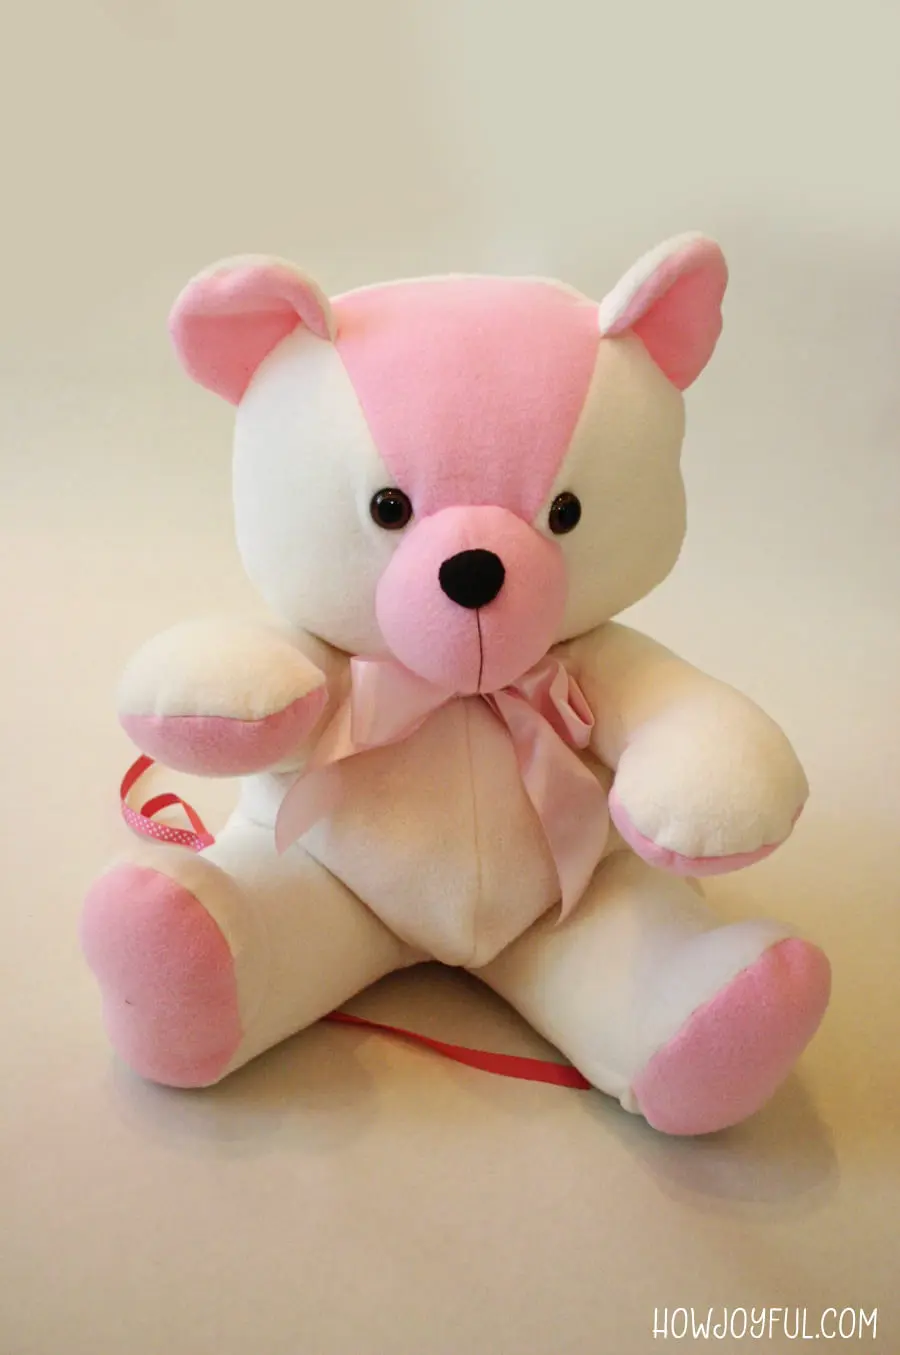
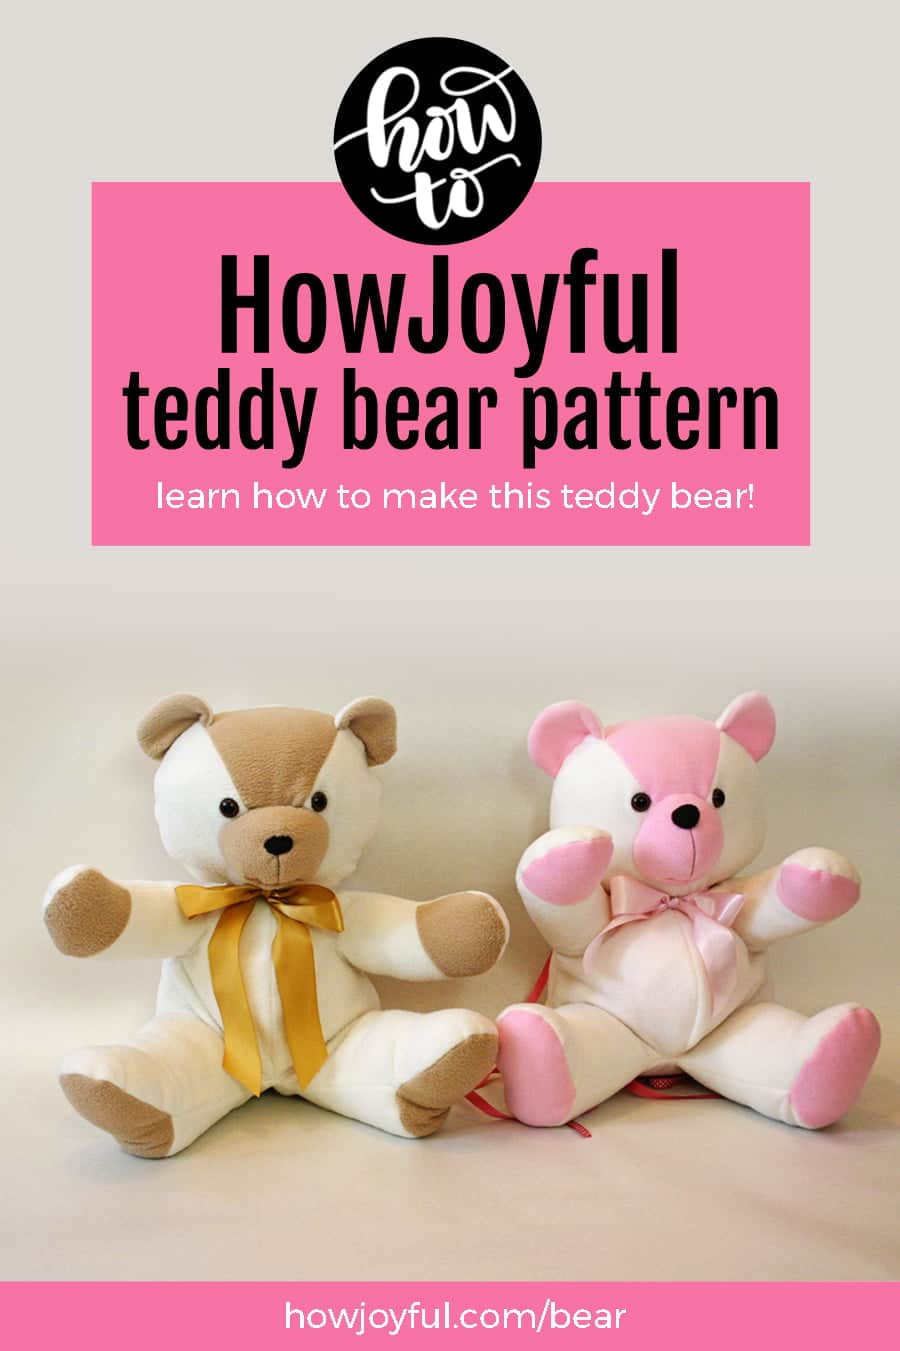
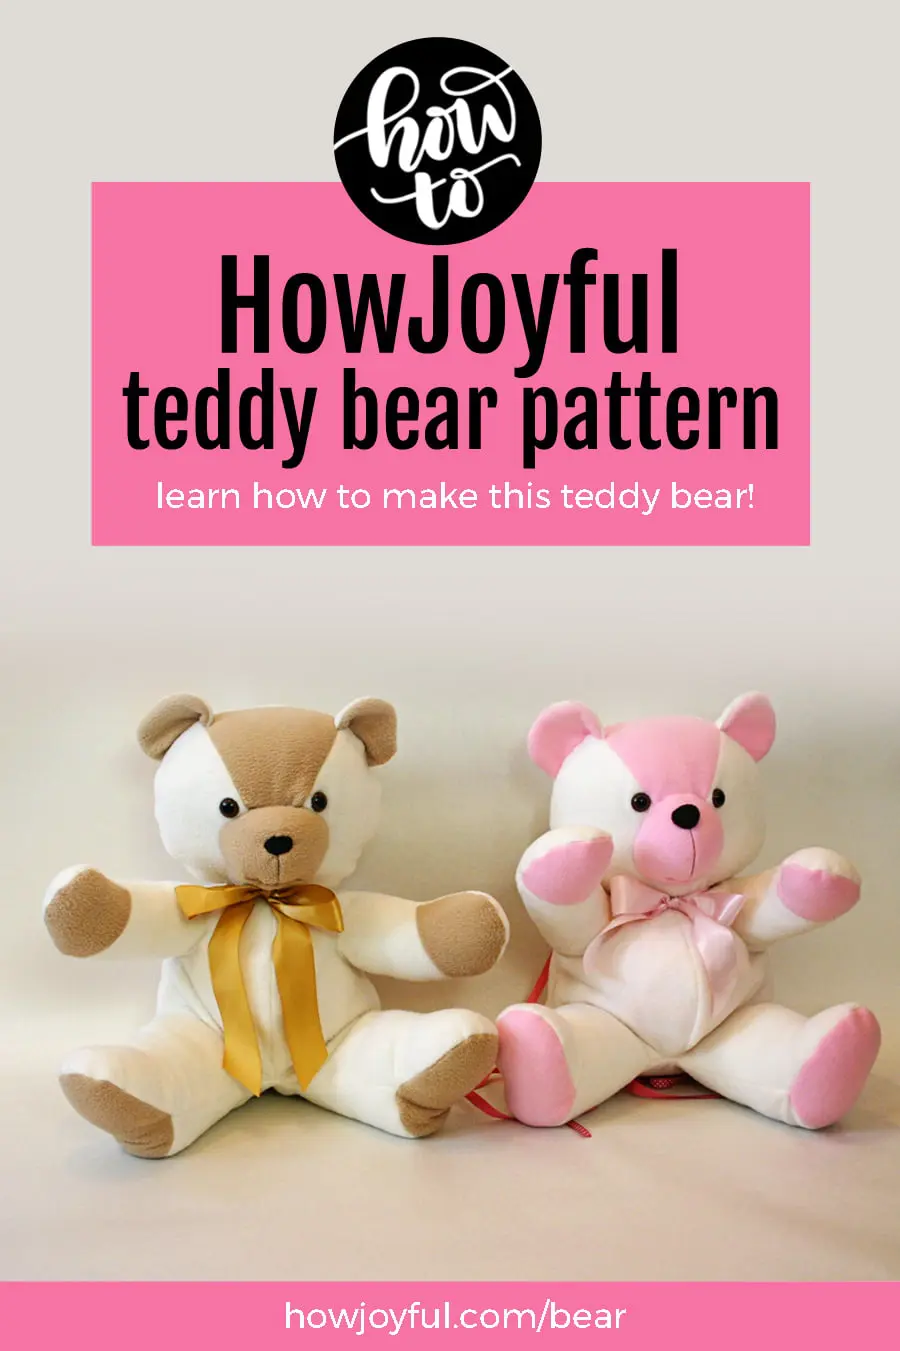
I started this project because I wanted to make something really special for our wedding photographers, so as a thank-you present I made two of these stuffed teddy bears for their son and daughter. I was so happy with how they turned out, so I decided to make a tutorial and share my pattern with all of you for FREE!

Oh! And now have a whole category dedicated to nursery and baby projects here.
Remember to scroll all the way to the bottom to download the pattern =]

Now that I actually finished and shipped the teddy bears, I wanted to share how I made them, and since I don't want to just share pictures, I figured it would be the perfect occasion to share a tutorial (my very first one in this blog!!! Eeekk!).
IMPORTANT NOTE
This project is NOT for beginners, and if you have never made stuffed animals and are not familiar with patterns. I would recommend you start with a more simple project and attempt this teddy bear once you have the skills and patience to put together pattern pieces and are familiar with your sewing machine (if you are not fully hand-stitching it).
I first published this post in March 2010; it was my first tutorial ever, so I might not use the correct terms for some things.
I've added extra instructions and updated this post in February 2012. So hopefully, now it will be a little easier for all of you to follow. I have no extra instructions or images but what I am sharing here.
I am unable to give one-on-one or any personalized help with this project. I do not make bears for sale, but I have a list of awesome shops that have licenses to sell them here.
I've found a few shops stealing and selling my pattern for profit; please DON'T DO THAT. It's not only a shameful thing to do, but also very discouraging to continue to create free resources when I see that happening more and more. It's so heartbreaking.
Thank you for understanding and respecting my work!
The story behind the HowJoyful Bear
I first created this pattern while in high school. We had a sewing class that taught us the basics of making patterns, and as my final project for the class, I decided to venture into stuffed animals and made the first version of this bear.
Granted, when I first made it, it looked like a little blob; it was not pretty. So the following year I made different versions to try to make it cuter. I started buying discounted fur fabric with my allowance money and, after developing a pattern really close to this one, I started selling them as a way to make money when I was getting close to graduating high school.
I used to go to my uncle's meat shop in Chile and set them in a corner so his customers could buy from me. They became a great seller during Christmas, and one year I got many family members (mainly aunts and uncles) to make them so we could all sell them for Christmas at flea markets. We all pitched in for fur fabric and split it, made them all together while helping each other, and will go sell them at different spots in Santiago. So they became a family business venture for about two years =]
Years after that, when I moved to the USA and started brainstorming ideas to gift for our wedding photographers, this bear flashed back to my mind. I had brought with me my little “crafty notebook” where I used to log all my drawings and drafts. I was so happy that I still had the version before last!
So, I made a tester and changed some things here and there, and the HowJoyful Teddy bear was born!! (or technically reborn?) Right?
I am so excited to share this beloved pattern with you now! So gather your materials and get ready to make your very own teddy bear! =)
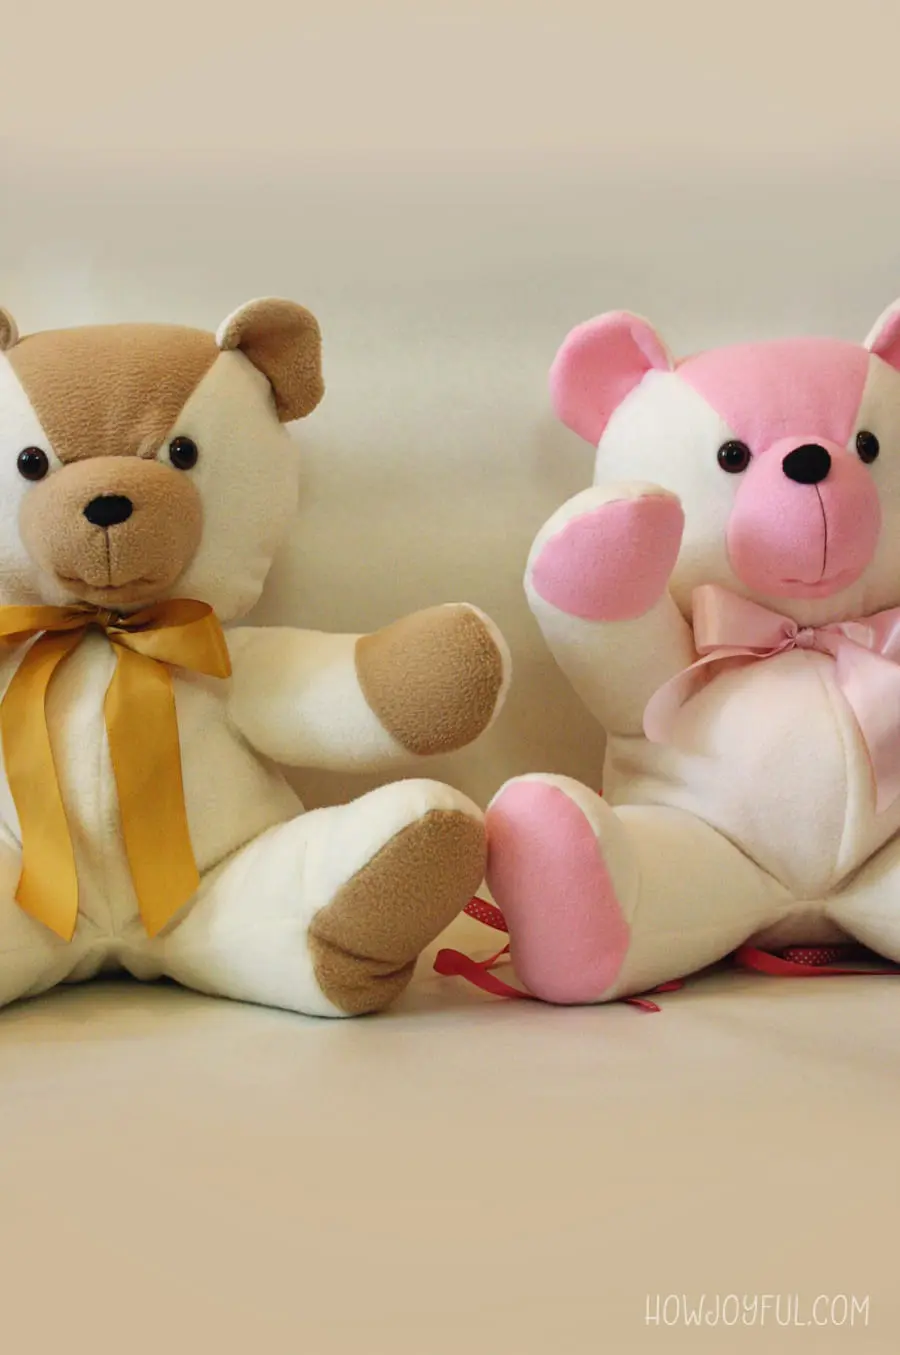
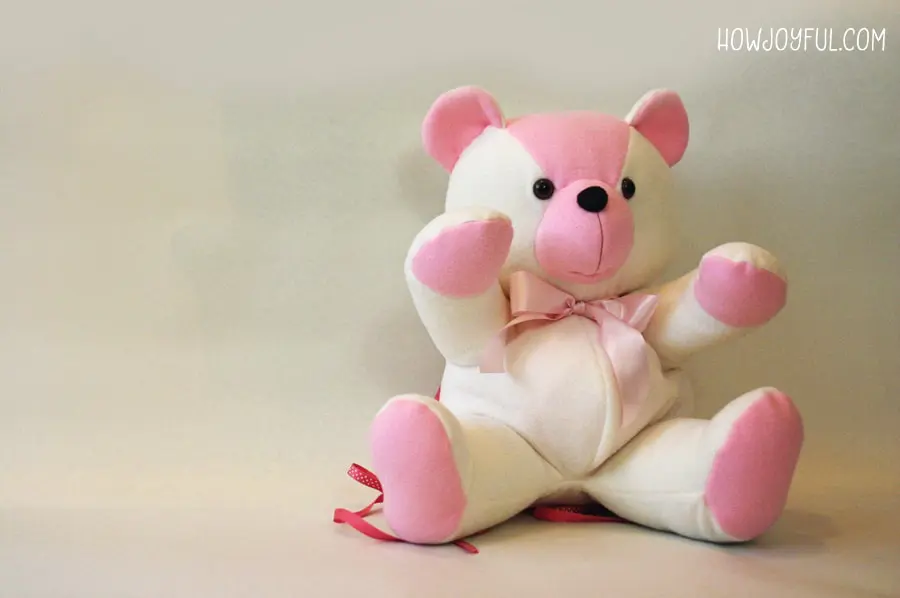
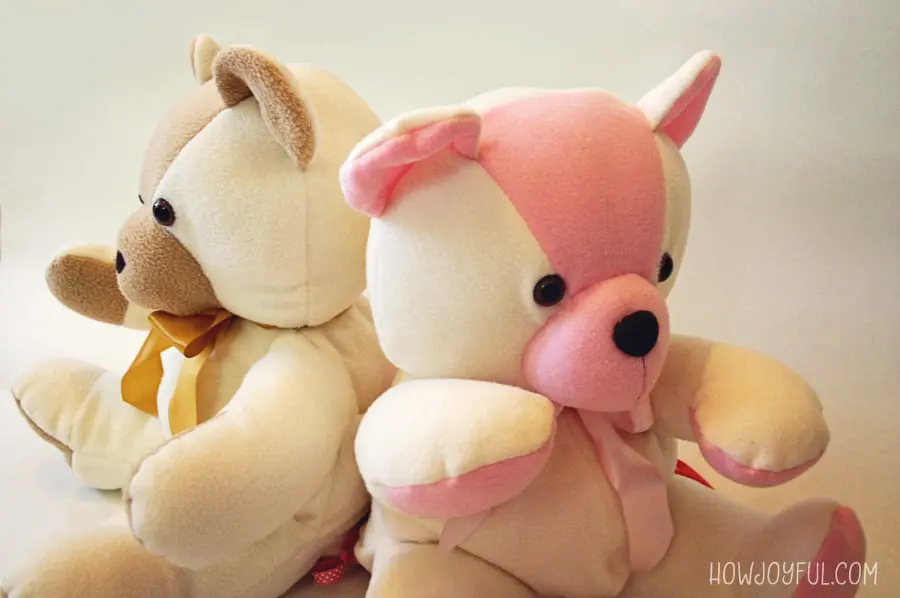
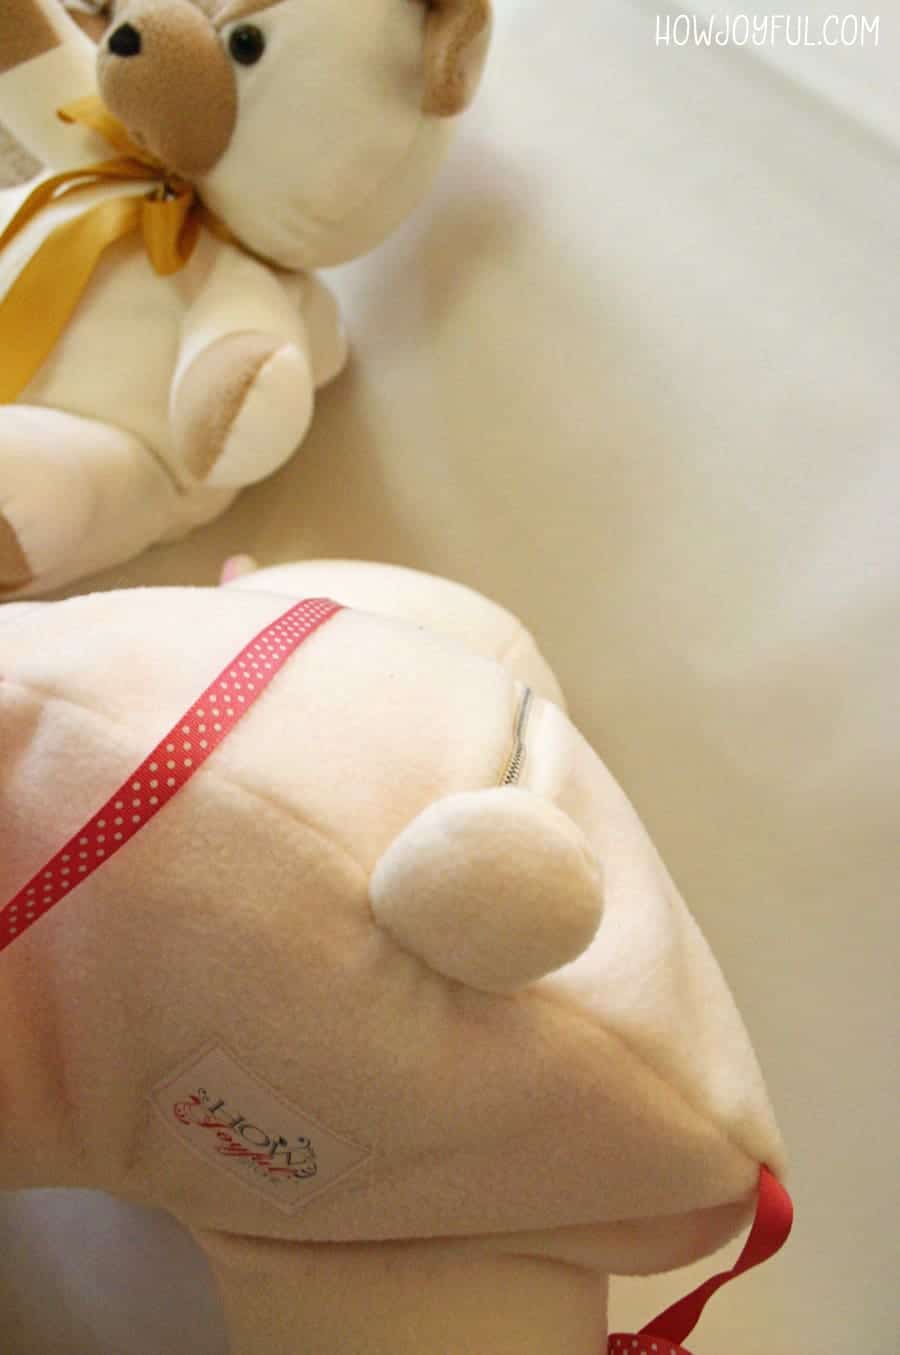
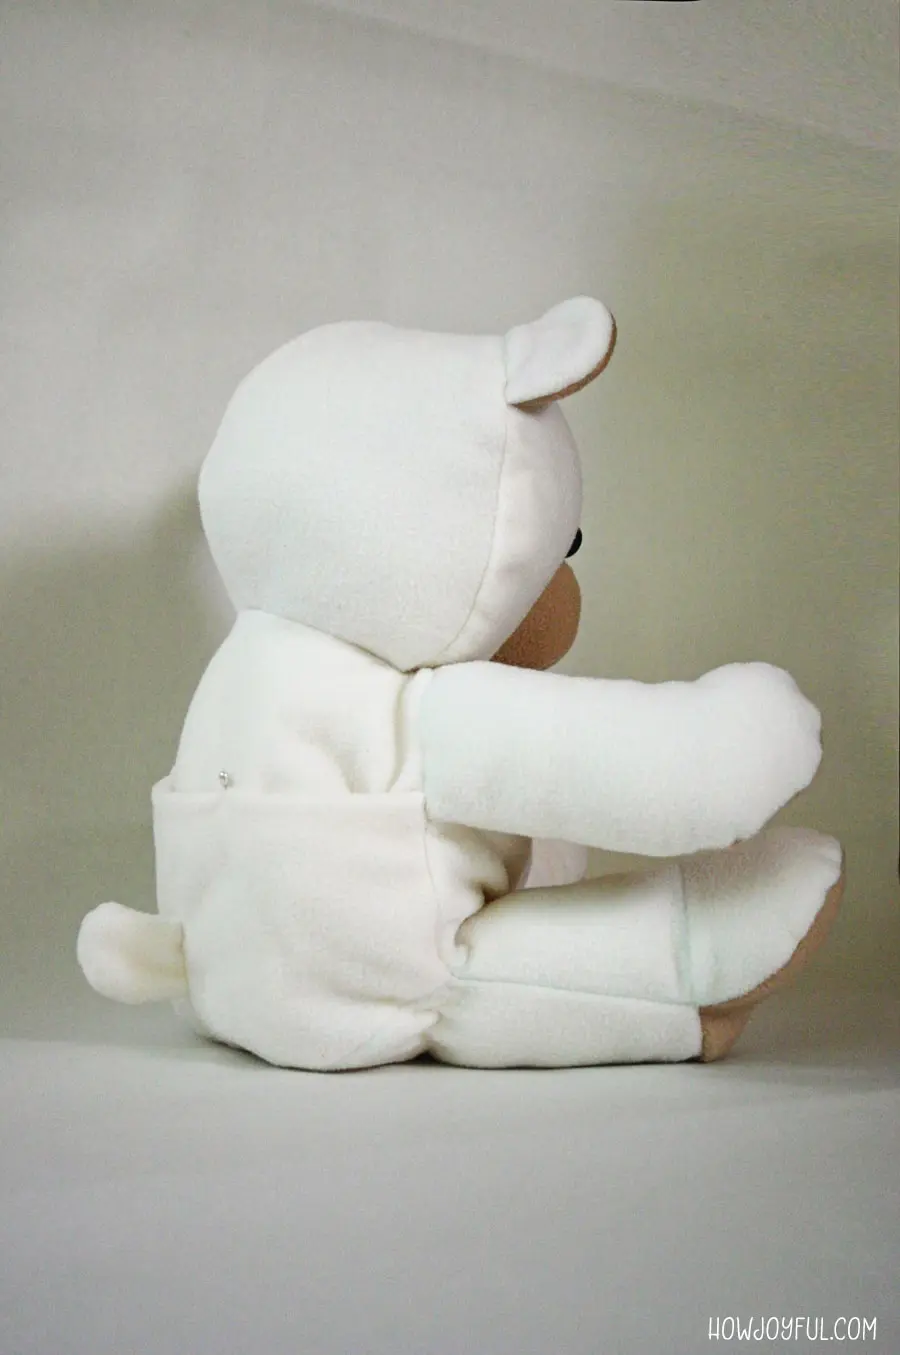
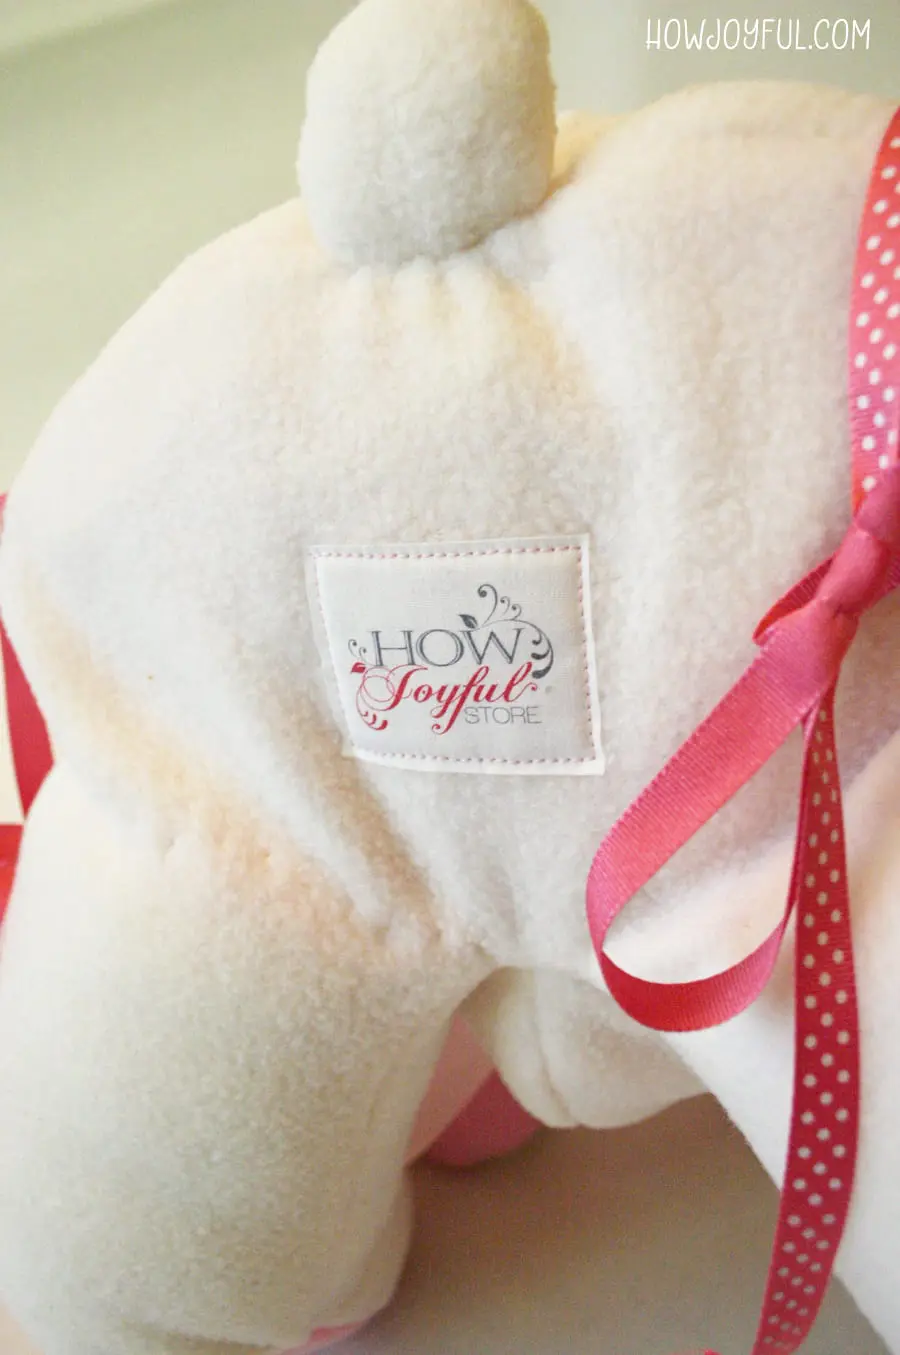
You will notice that the ones I made and are pictured here have little modifications in the back; that's because I didn't want them to just be regular stuffed toy bears.
I wanted them to be snuggly toys but also be useful. To achieve this, I added straps and a back zipper to one of them by modifying the back pieces and made it a backpack. I made the second one with a different modification to the back so it could have a little butt pocket to make it pajama storage or a secret compartment.
For this tutorial, since the pattern is complicated as it is, I am going to share just the basic way to make them. You can always experiment with them once you are comfortable with the pattern.
One cool thing is that you can also use this pattern to make a memory bear; just select a piece of clothing from your loved one and make a bear that will always remind you of them.
Or use your kid's old pajamas and have a little token of when they were little! The sky is your limit!


The Bear Material List
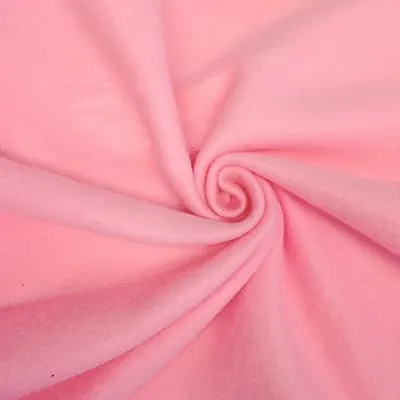
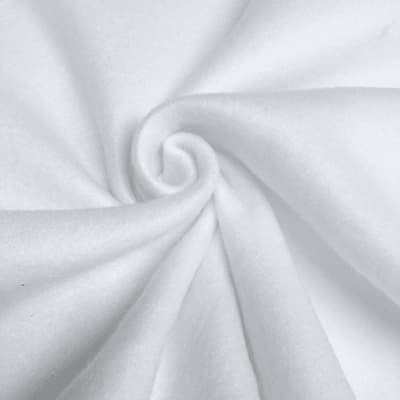
- One yard of fabric for the body (I used cream color fleece, you can use faux fur fabric too). I used fleece because these are for a little boy and a little girl, so I wanted the bears to be as soft as possible.
- 1/2 yard of fabric for the color highlight details (I used light brown)
- One set of animal eyes, I used 18mm
- A plastic nose or a small piece of felt for the nose (you can use felt for the eyes too if gifting it to a baby, to keep them extra safe; you know how babies put everything in their mouths!)
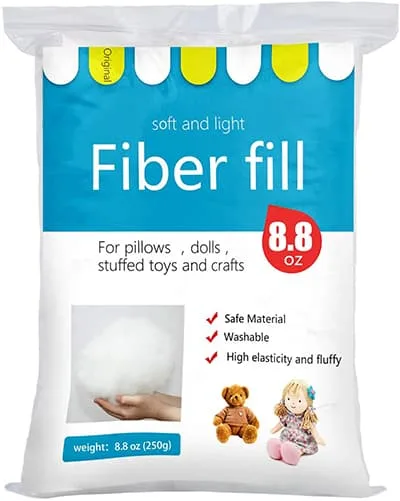
- Stuffing material (I used polyester filling)
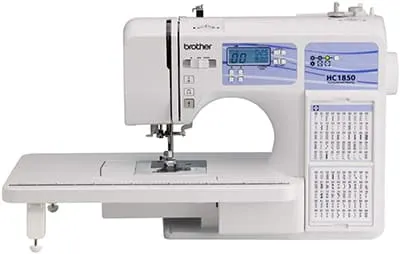
- Sewing machine or thread and needle for hand-stitching; I especially recommend long needles for fluffy fabric.
⇊ Scroll all the way to the bottom to download the pattern ⇊
Recommended Materials


The teddy bear making process
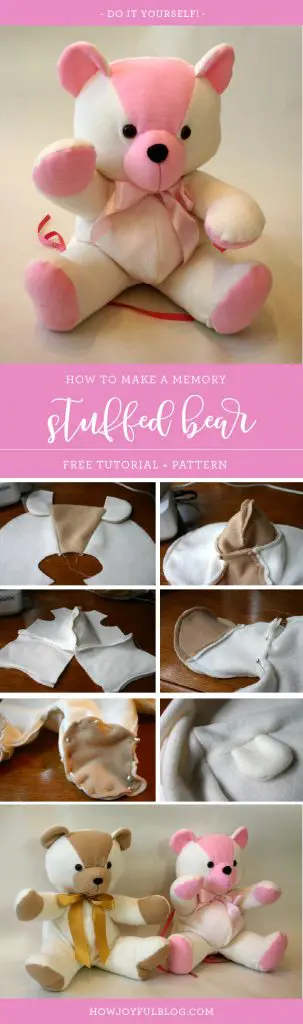
Before you start, you need to print the pattern (the link is at the bottom). I printed my pattern and then glued it to cardboard (before cutting each piece out) so that way the process of tracing to the fabric (and making more bears) can be easier.
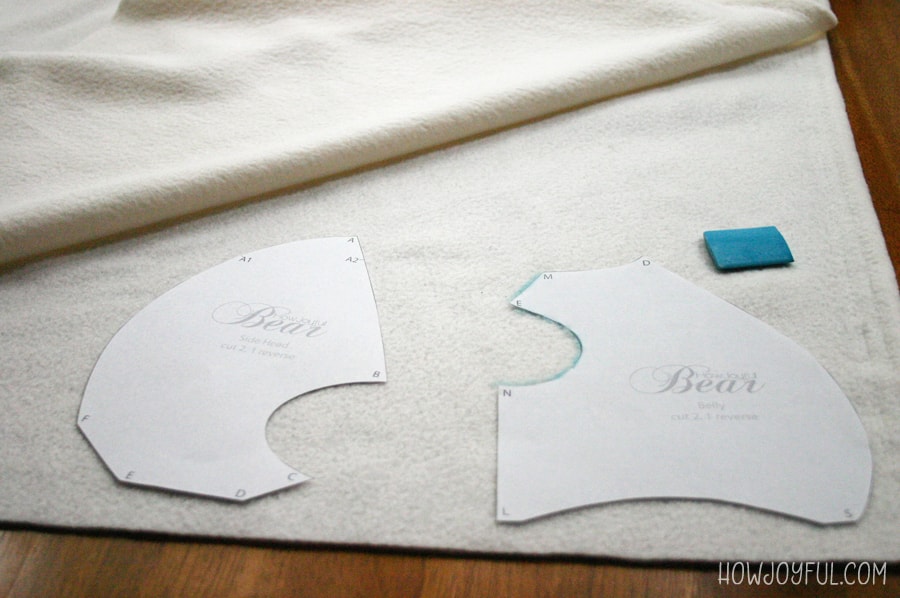

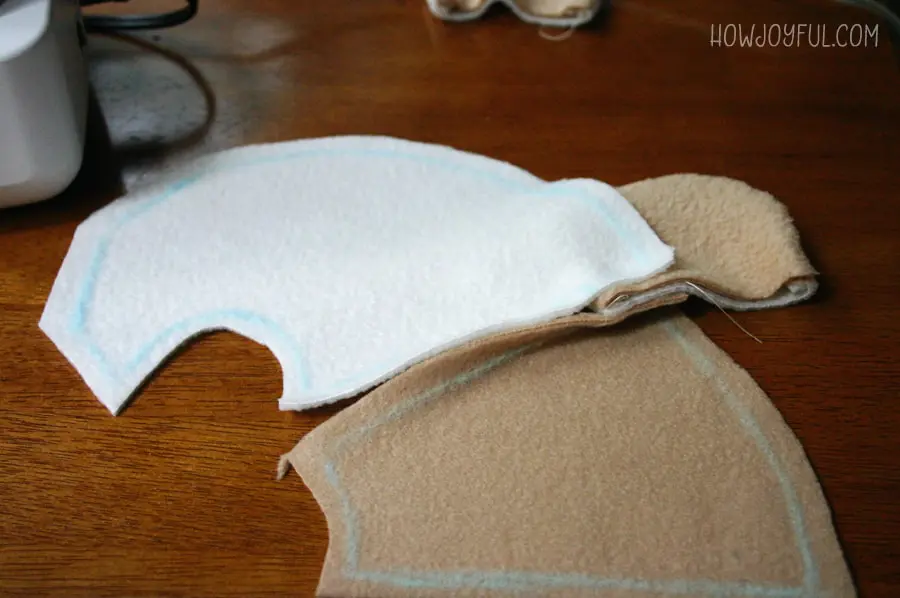
First, you need to trace all of your pieces on the fabric. Cut out all pieces, adding a 1/4 inch seam allowance.
Note: If you are doing a two-toned bear, as shown, you will need contrasting fabric, and these pieces will be used:
- #1 (ear, 2 only),
- #2 (forehead),
- #4 (mouth),
- #8 (arm front, hand)
- #15 (feet bottom).

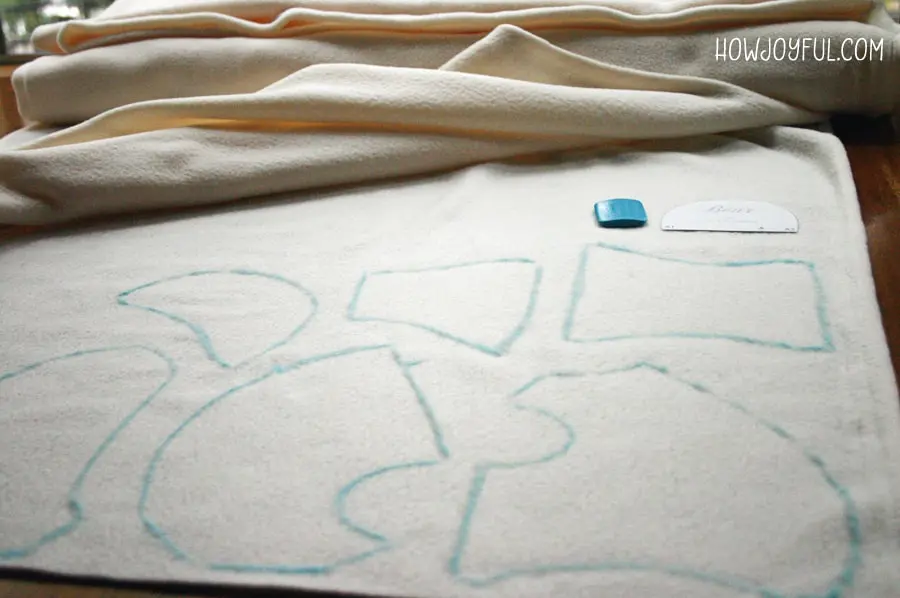
For all of those pieces that say you need “2, 1 reverse” after tracing the front, turn the pattern and trace the second piece. Cut out the pattern and pin it onto your fabric. When only one piece is necessary (#2, forehead, and #4 mouth) place the pattern on the right side of the fabric.
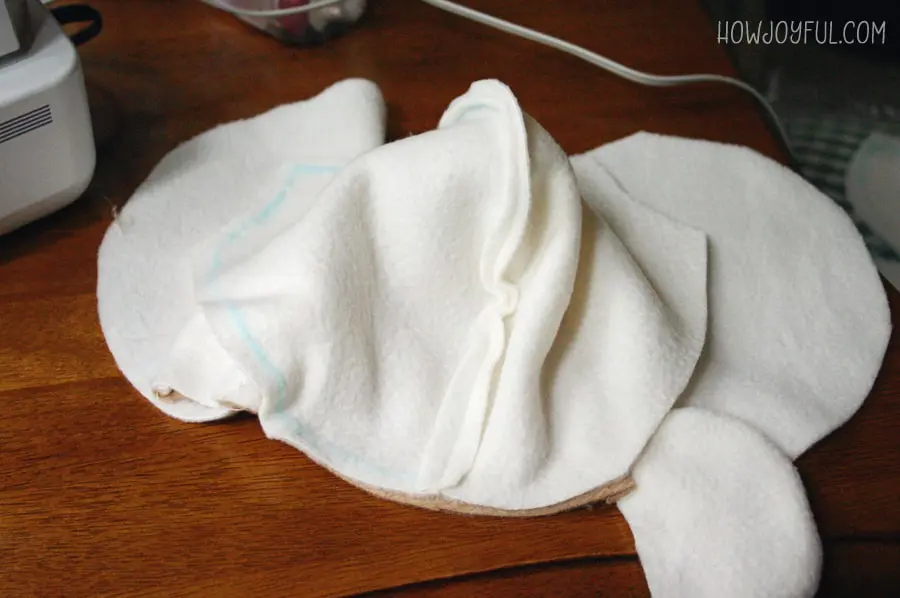
Teddy head assembly
Pieces #1-5
- Sew ear (contrasting) pieces (#1) right sides together, leaving a straight portion open. Turn right side out.
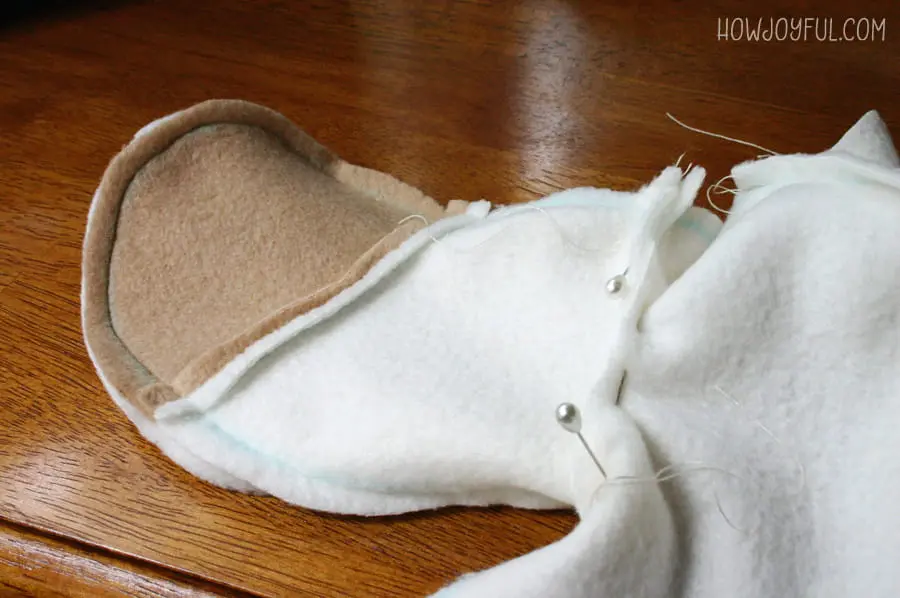
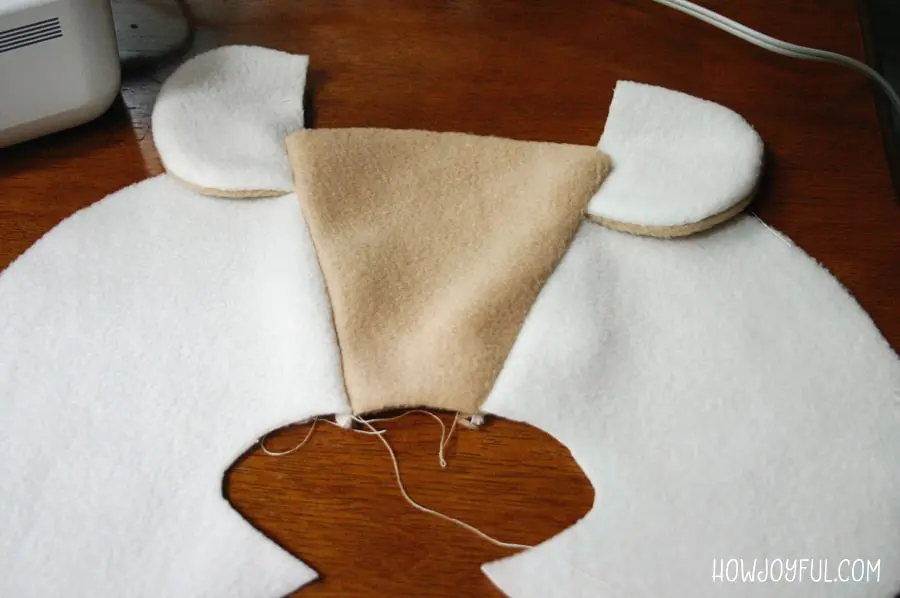
- Sew forehead (#2) and side head (#3) together, making sure ears are in place (A2), see the picture.
- Attach mouth (#4) to forehead piece matching “B” and center.
- Sew mouth center seam to close.
- Sew center seam of the back of the head (#5).
- Attach head back to front, making sure ears are pinned in place (A1) and the center of forehead matches the center seam.
- Turn head right side out


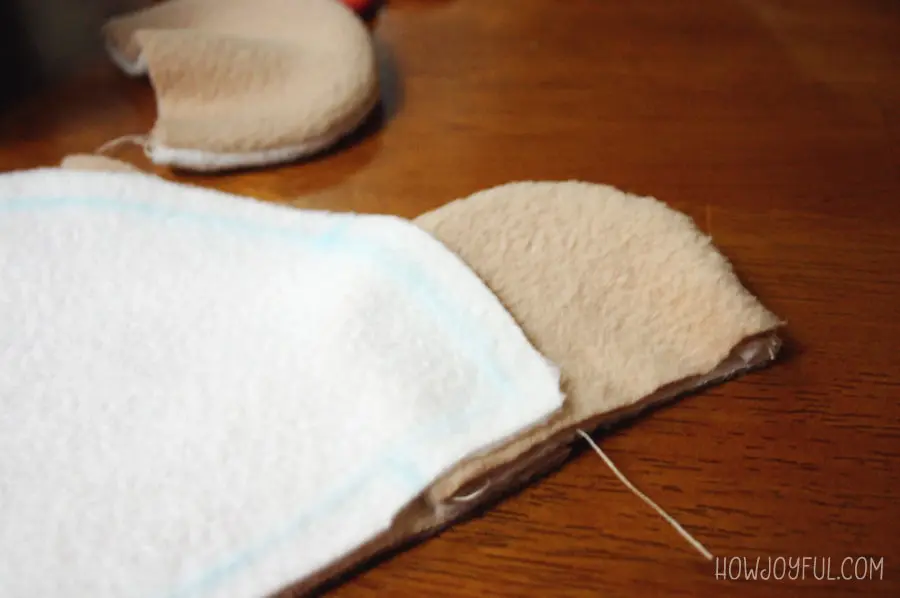
I recommend starting with the ears; once you have them done, attach them to the front and side parts of the face.


Repeat and make sure the color of the ears is on the inside part.

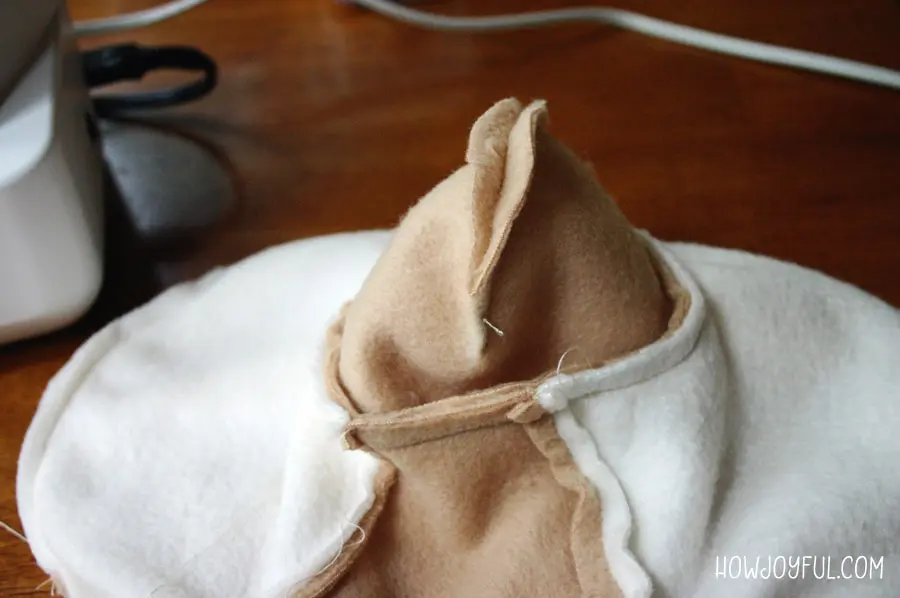
After attaching the back, proceed to sew the mouth, first to the headpiece, and after that sew the front.
Front body assembly
Pieces #6-10
- Sew belly (#6) center seam.
- Attach hand front (#7) to arm front #(8)
- Attach leg top (#9) to foot top (#10)
- Connect leg and arm pieces to the belly according to letters on the pattern, making sure the outside edge of the leg is on the outside (this can be an easy mistake).

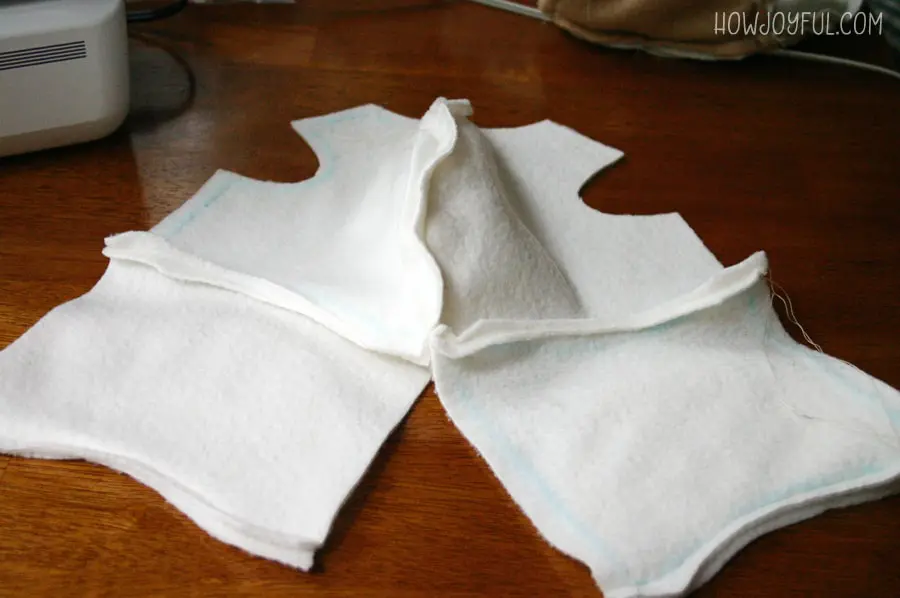

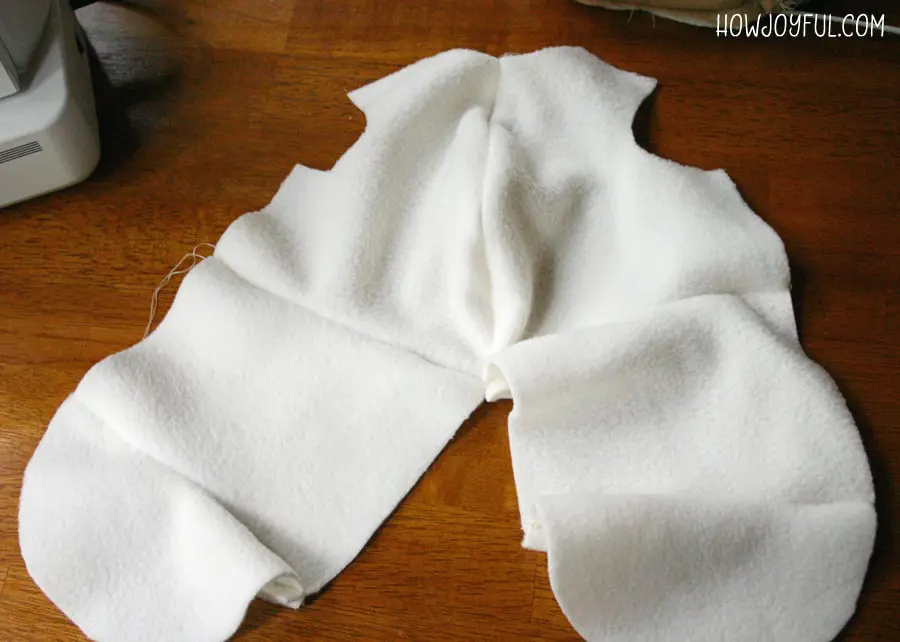

Then sew the body as marked on the pattern.

Sew the arms before attaching them to the body, then pin the parts to make sure everything fits properly.
Back body assembly
Pieces #11-14
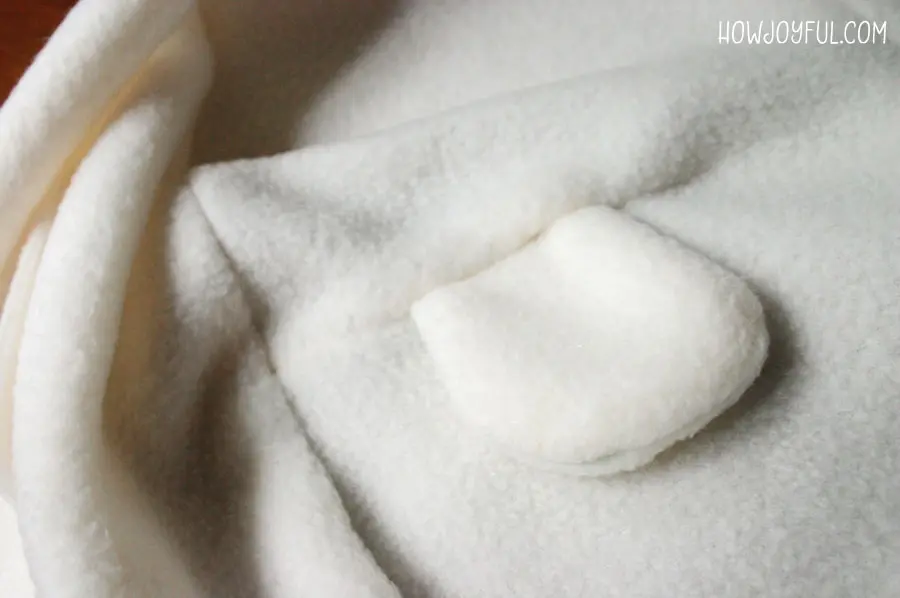
- Sew the tail (#11), right sides together, leaving a straight portion open. Turn right side out.
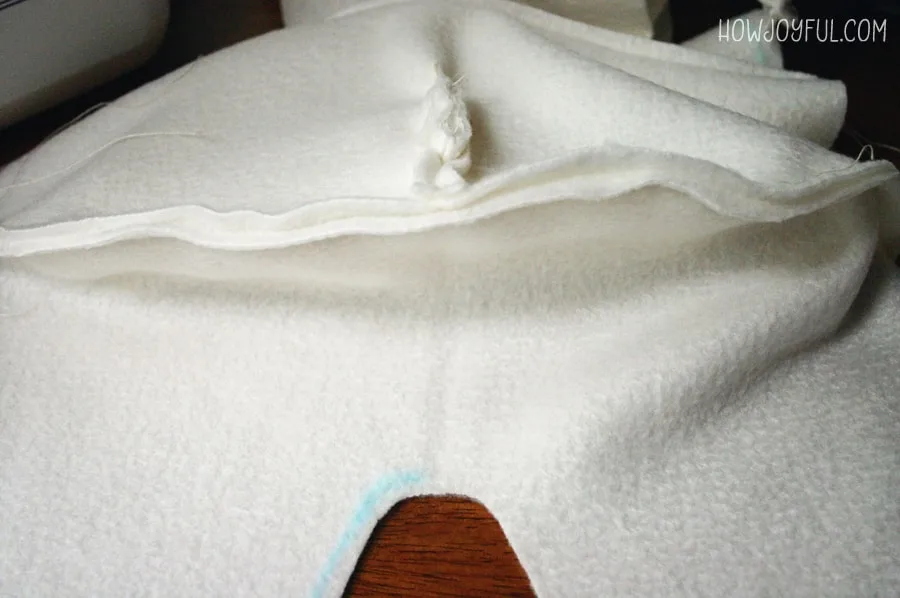
- Sew back (#12) center seam with tail in place.
- Sew the bottom leg (#13) center seam together from point S to K.
- Attach the bottom leg to the back, matching letters on the pattern.
- Attach arm back (#14) to back (#12), matching letters on the pattern.
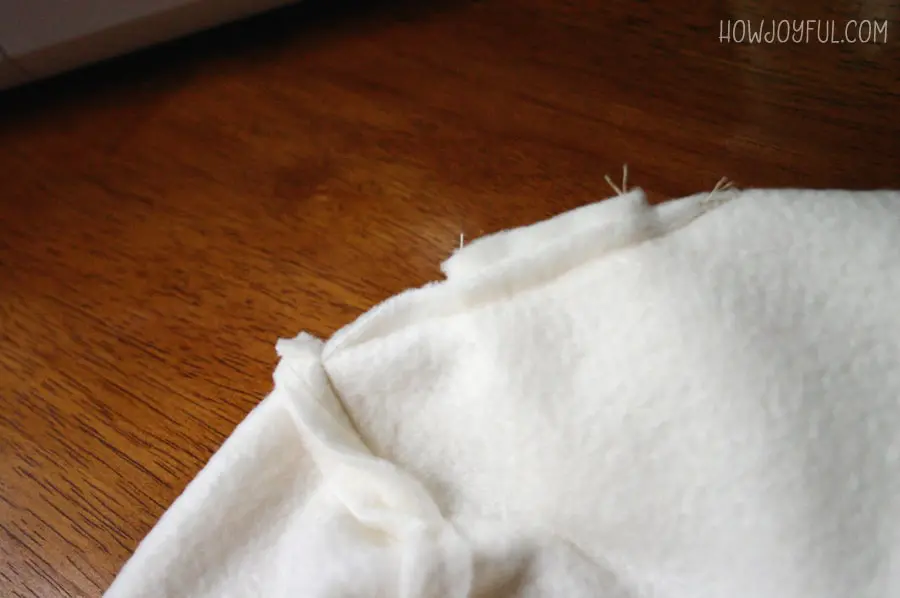
- Sew your front piece to the back piece, leaving the neck open and feet open.
Attach feet bottoms (#15) to leg openings, matching points Q and R to leg seams. Turn bear right side out.

Make sure you assemble the tail and place it before closing the back.

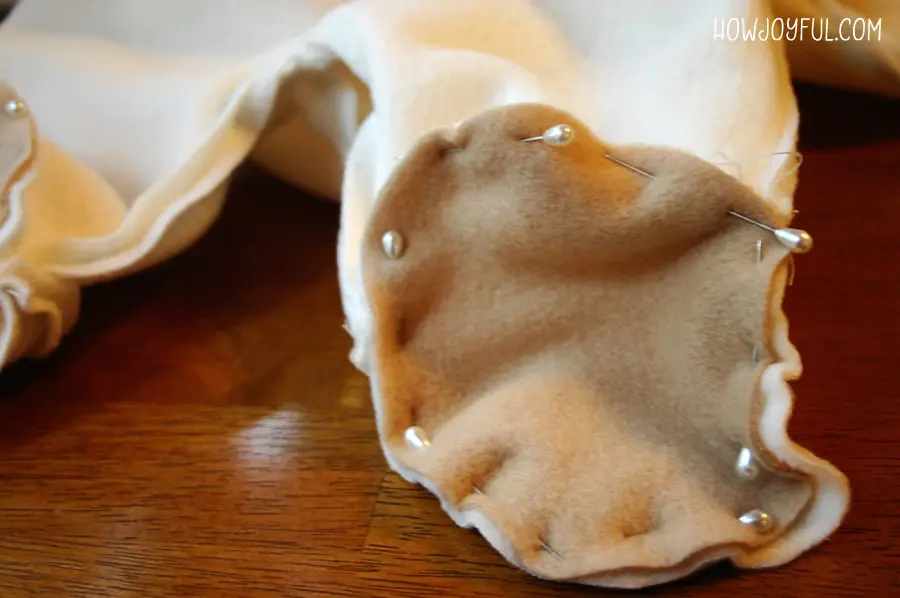


For the feet, repeat the process and pin all the pieces together before sewing; sometimes it can be an overflow of fabric in this area depending on the kind of fabric you are using.

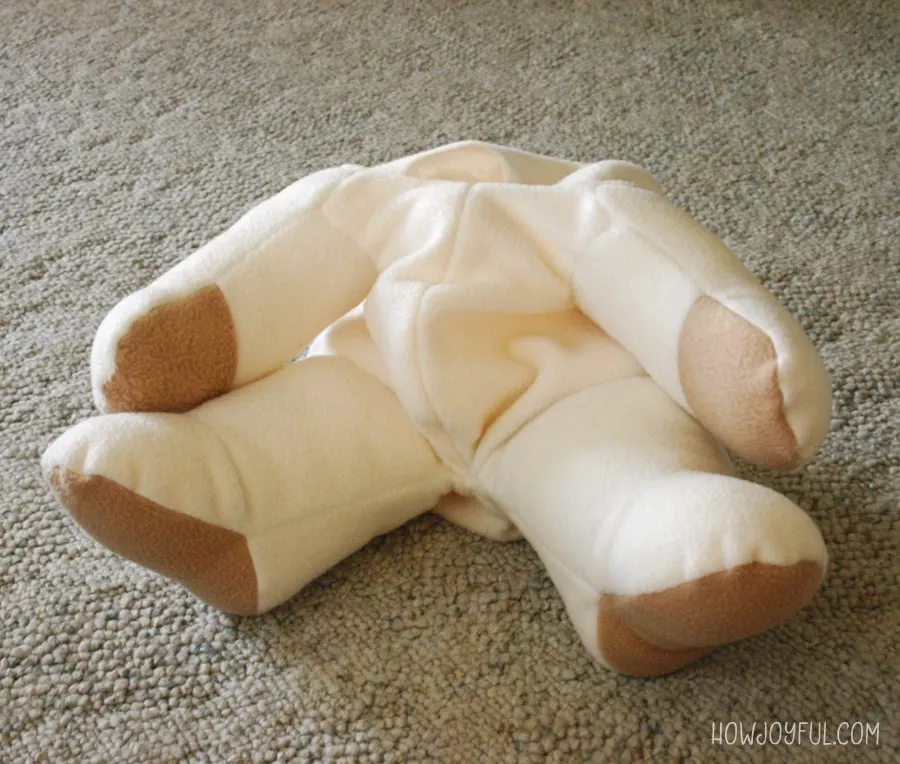
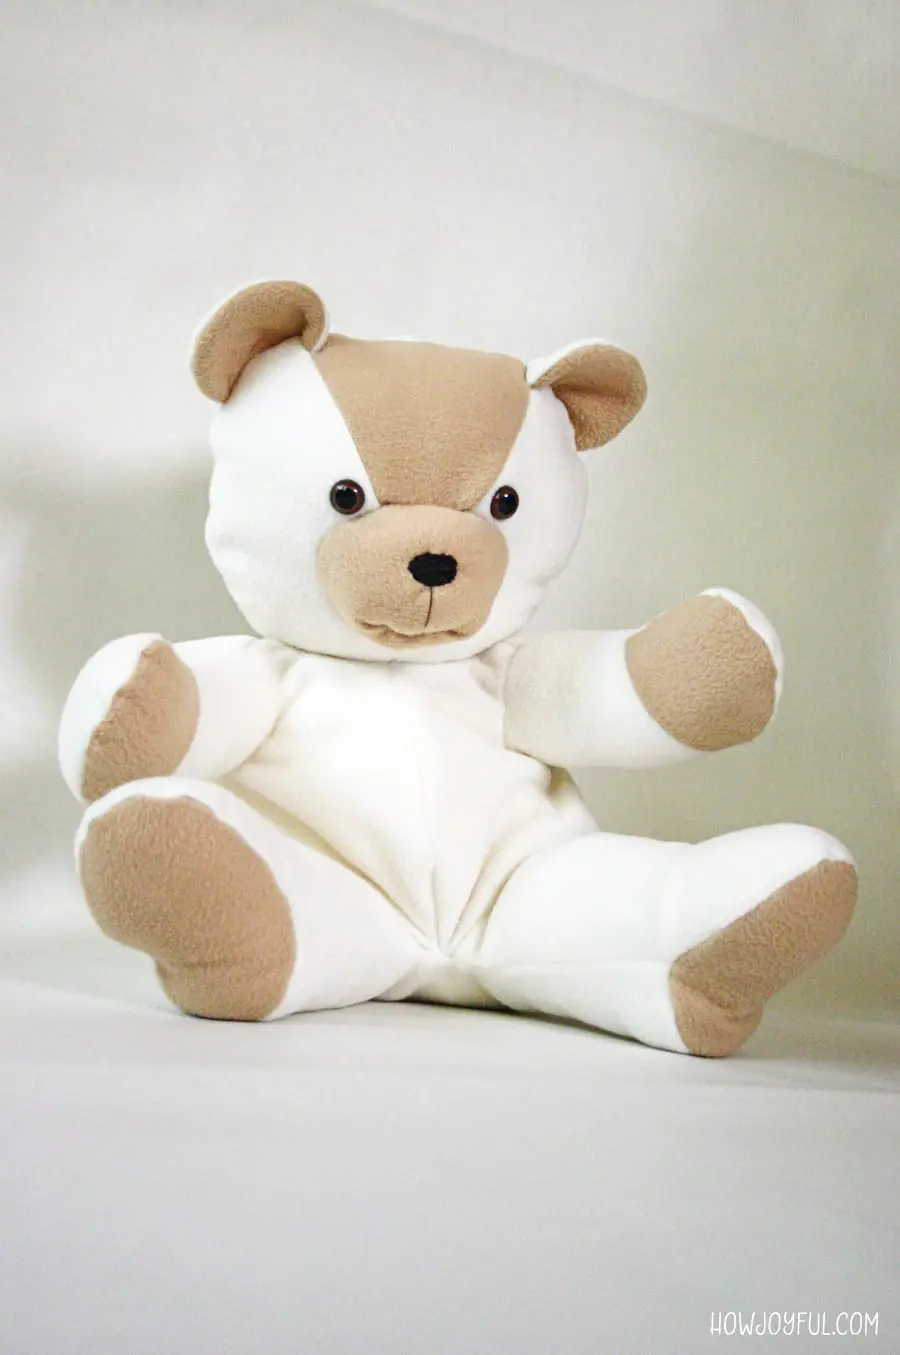
The body of your teddy bear is done!
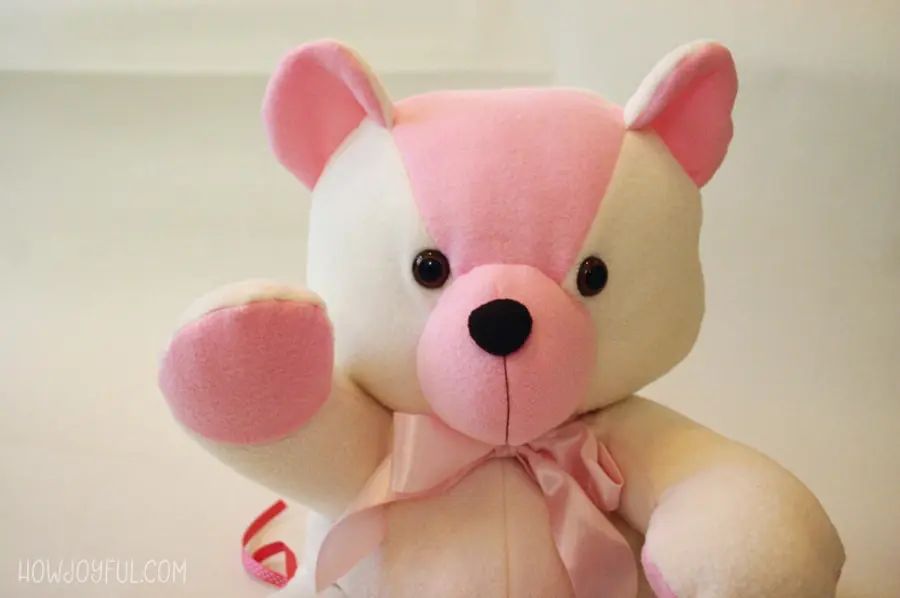
Finish face details
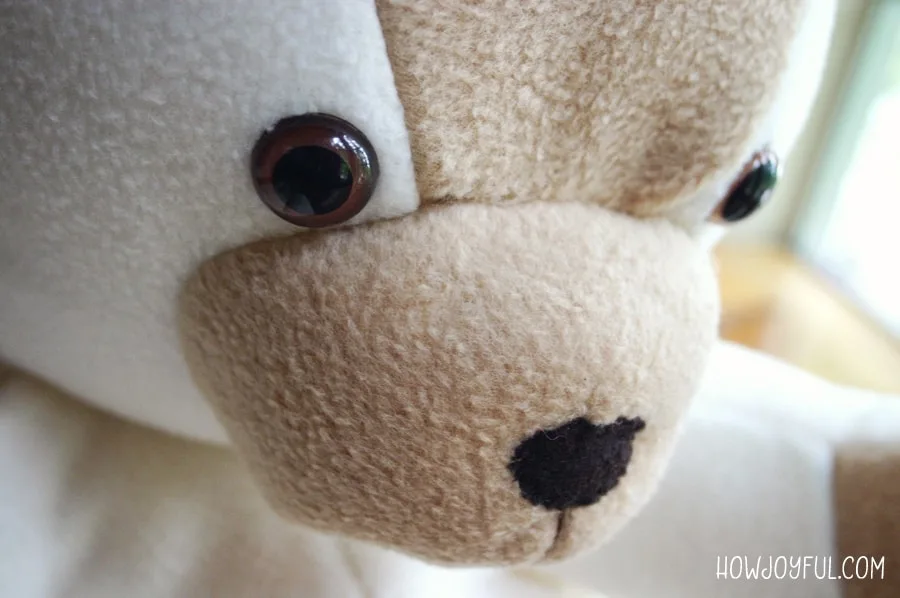
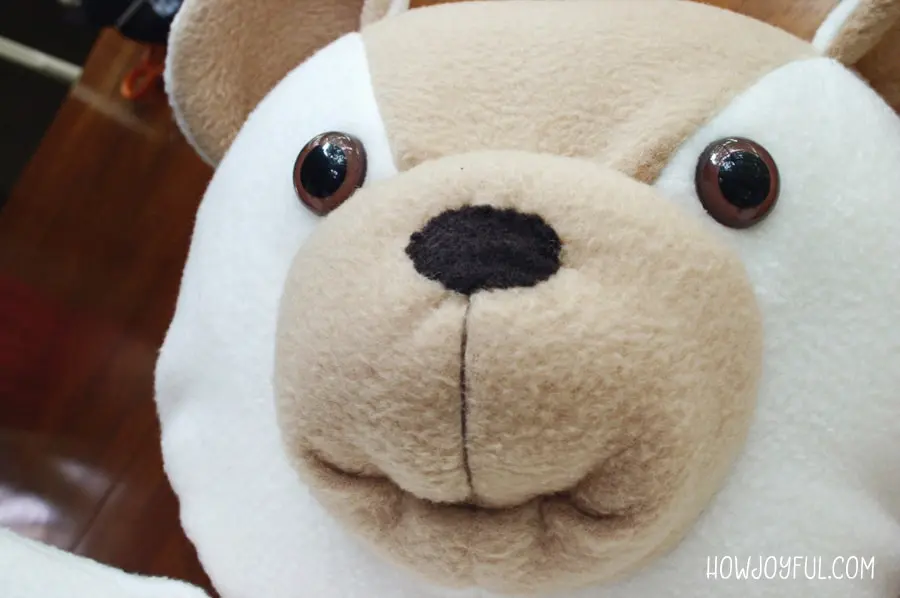
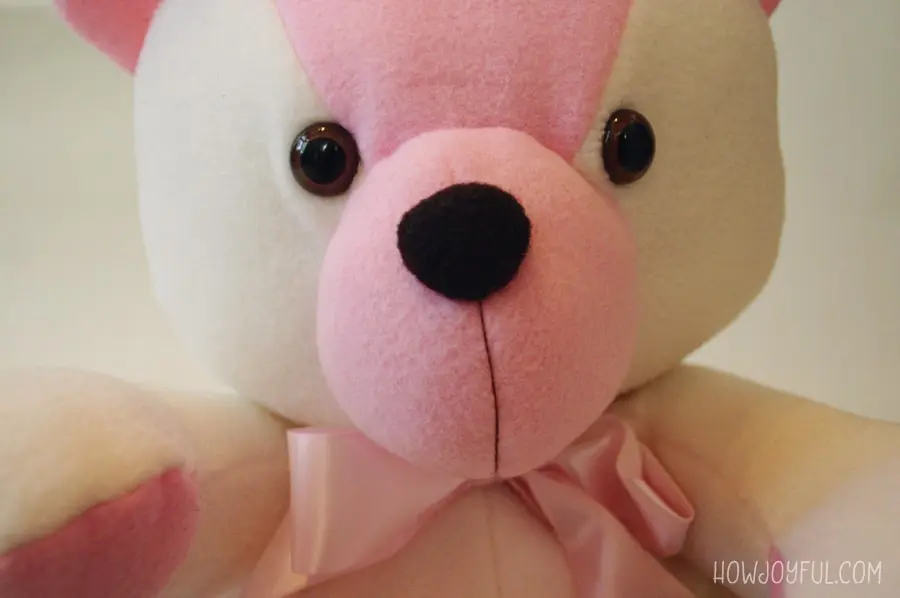
- Attach eyes.
- Cut a nose out of felt, put it in place, and hand sew all around.
- Fold mouth as shown, pin, and tack into place.
- Hand-sew the head to the body with an invisible seam.

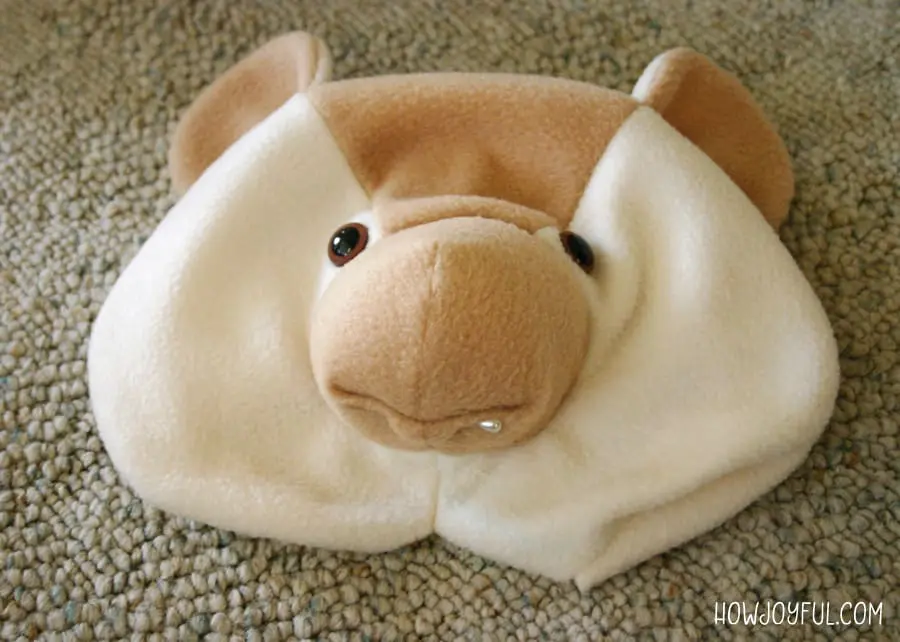
Proceed to attach the eyes and pin the mouth to stitch it together. If you are giving this to a baby, I would suggest you either embroider the eyes and nose or use fabric patches; the plastic eyes can come undone and become dangerous.

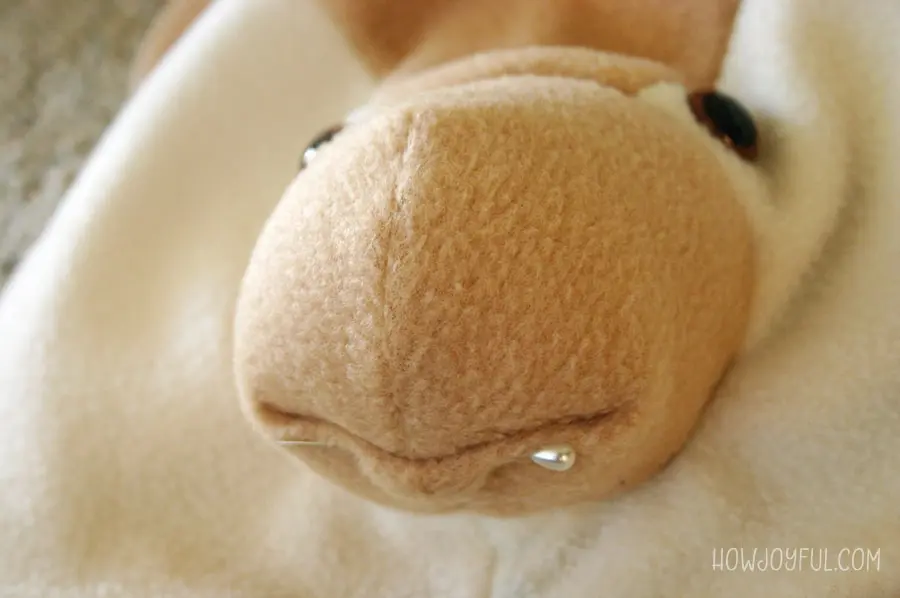
I folded the very bottom of the mouth to shape a lip and then made two stitches on each side (the same place the pin is)

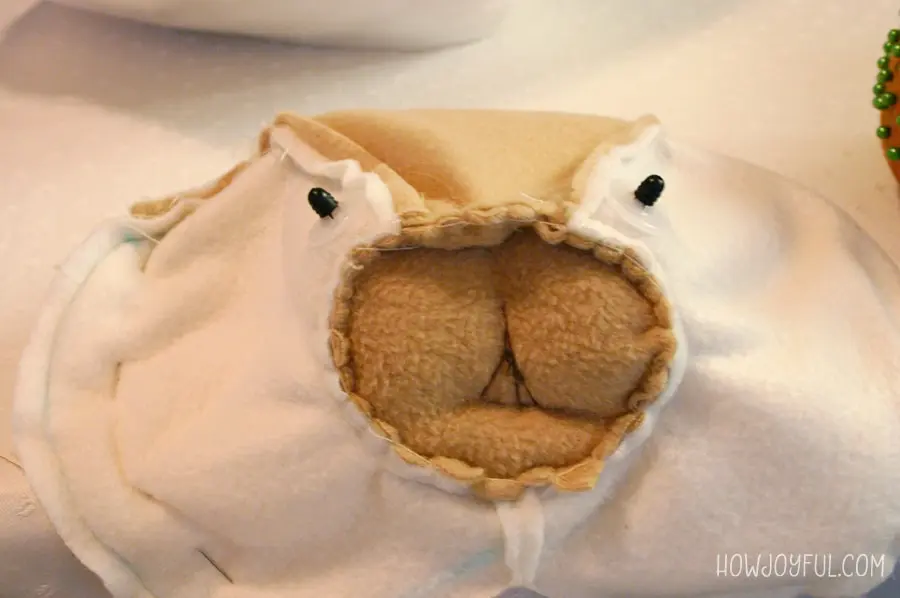
After that, mark his nose with a stitch from the lips to the nose; this is how the inside looks after being done.


For mine, I used a piece of felt to shape the nose, sew all the way around, and your Teddy Bear’s face is done.


Sew the head and the body together
What I did was I sewed the back of the neck and the back of the head first.
I place them with the wrong sides to the outside (before stuffing, so you can fold them inside out easily) and sew all the back of the head to the back body piece.
Then turned the bear inside out (right side facing out), stuffed the bear, and hand-sewed the rest, trying to make the stitch as hidden as possible.
If you finish without any trouble, pat yourself on the back! Because YOU ROCK!


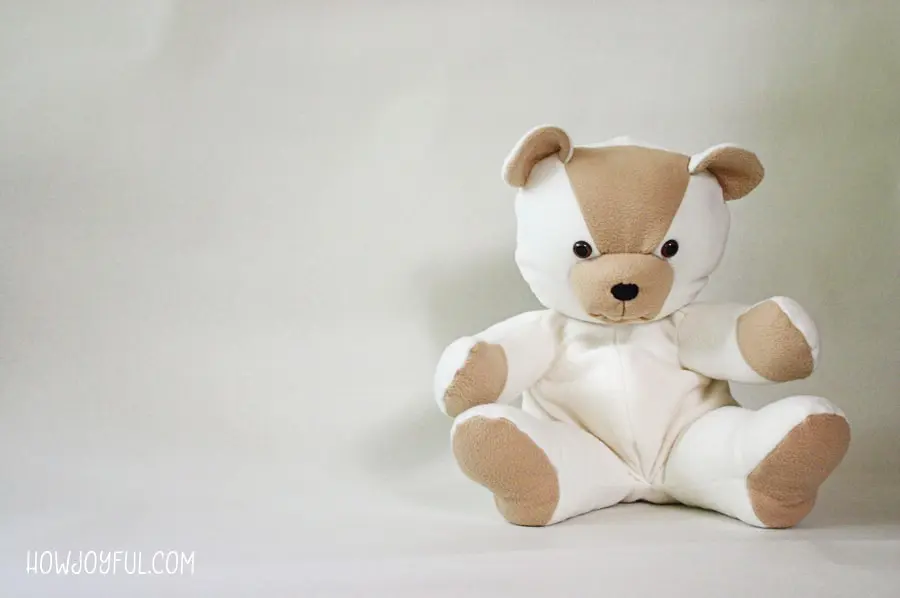
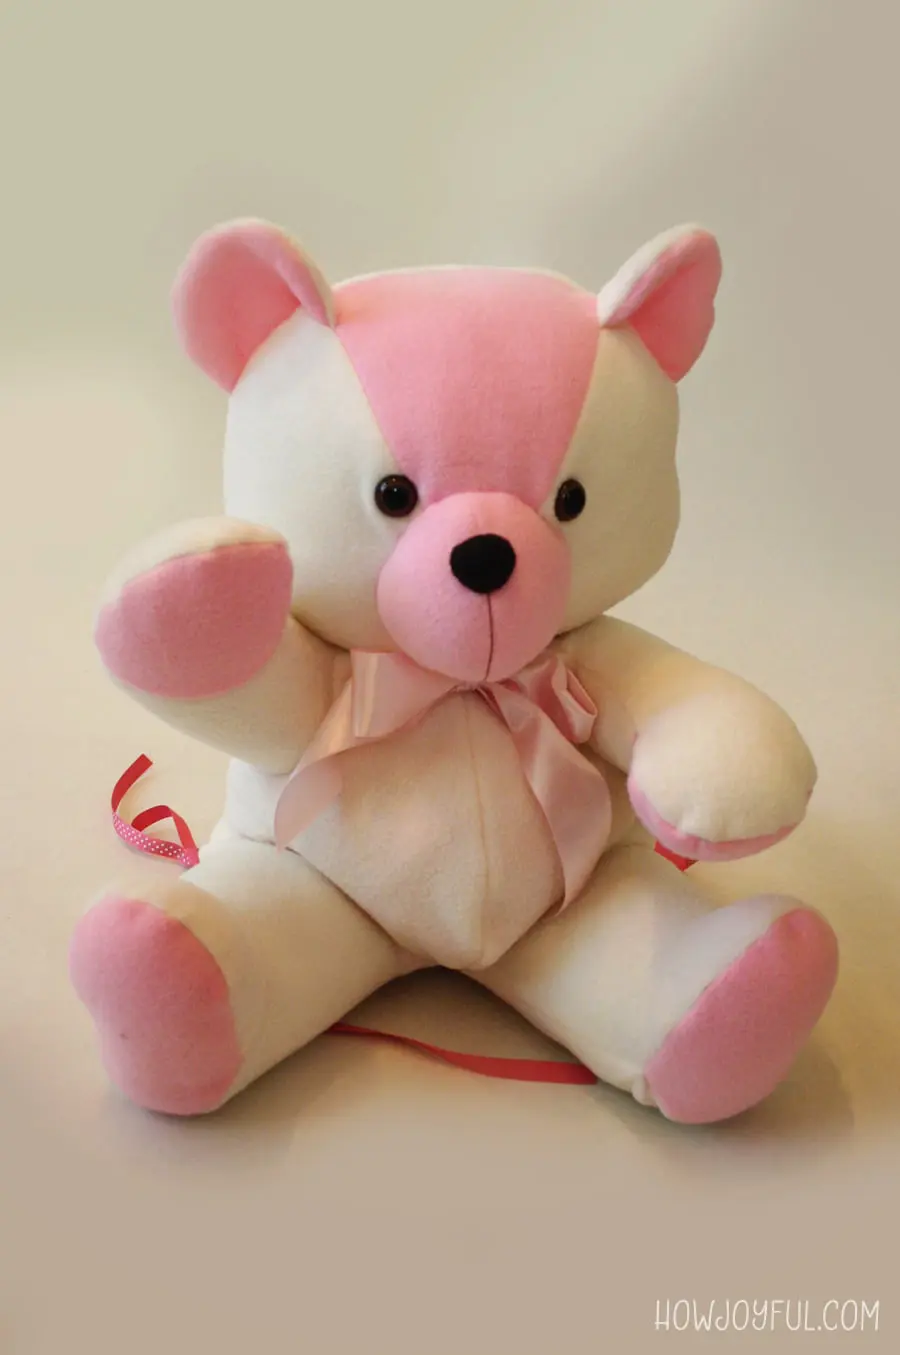
The finished HowJoyful teddy bear is about 16″ inches tall (from his bottom to his ears), so if you need it to be bigger or smaller, you can enlarge or scale down the pattern. =]


EXTRA TIPS:
Some of the best hints I can share:
- Each pattern piece is labeled with a letter (and in some cases with a letter and number), so take each step in alphabetical/numerical order. As the instructions state, start with the ear first; this is a pattern piece “A”.
- Keep your pattern pieces handy so you can refer to them for placement during the process.
- Different parts need to be attached to each other, so letters need to be matched up together.
- If you already cut your pieces without adding seam allowance, it's not a big deal; it will just be a tiny bit smaller.
- If you want to make a smaller or bigger bear, use a copy machine to make the pattern bigger or smaller, magic!! =]
- Are you using a sewing machine? If you are, then know that some sewing involved will be too difficult to do on the machine and will need to be hand-stitched. With sewing experience, you will know when this is necessary.
- This is NOT a beginner project, so to avoid the frustration, try something easier before attempting this =]


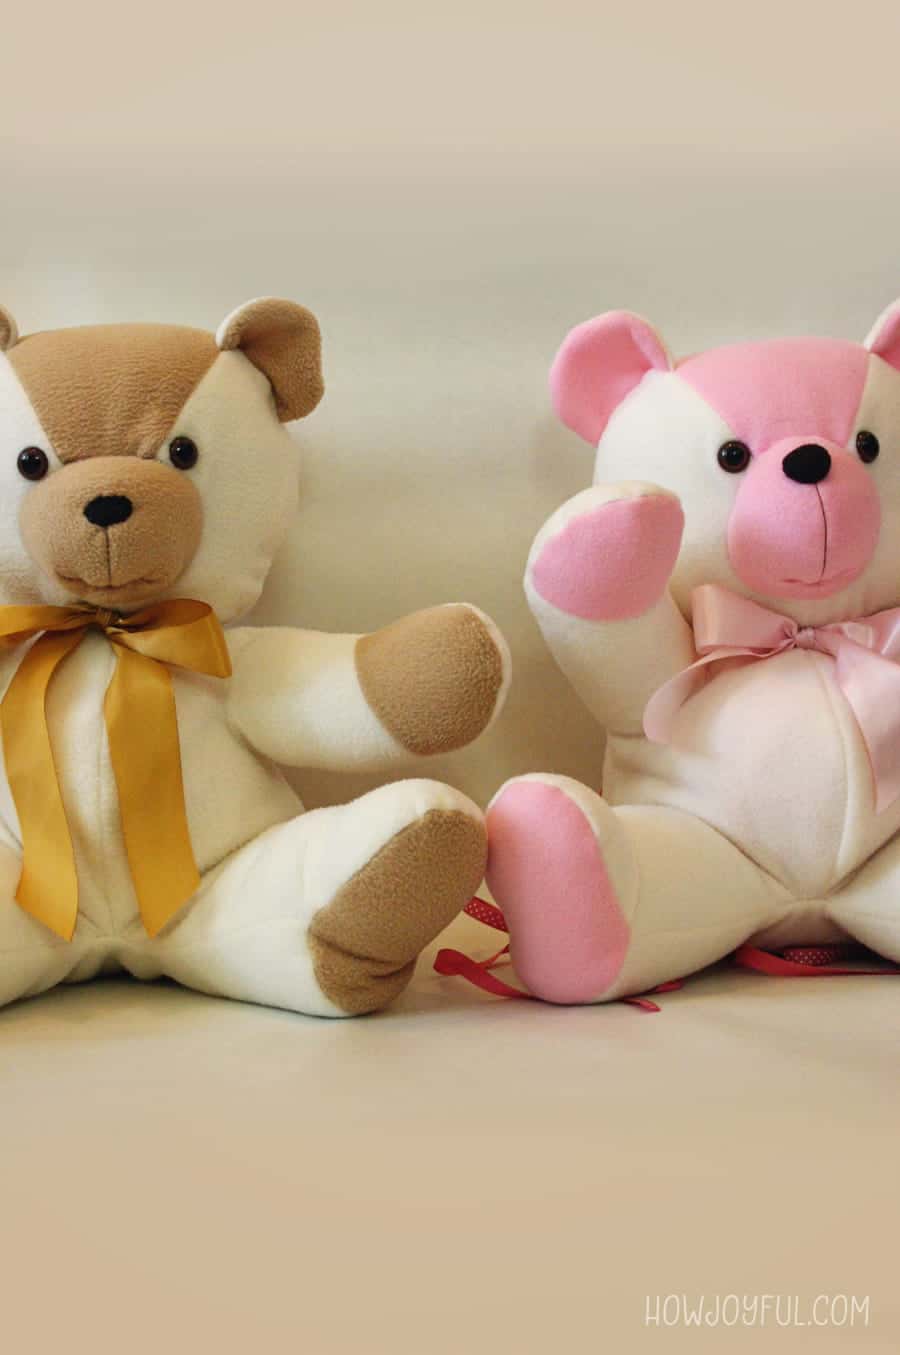
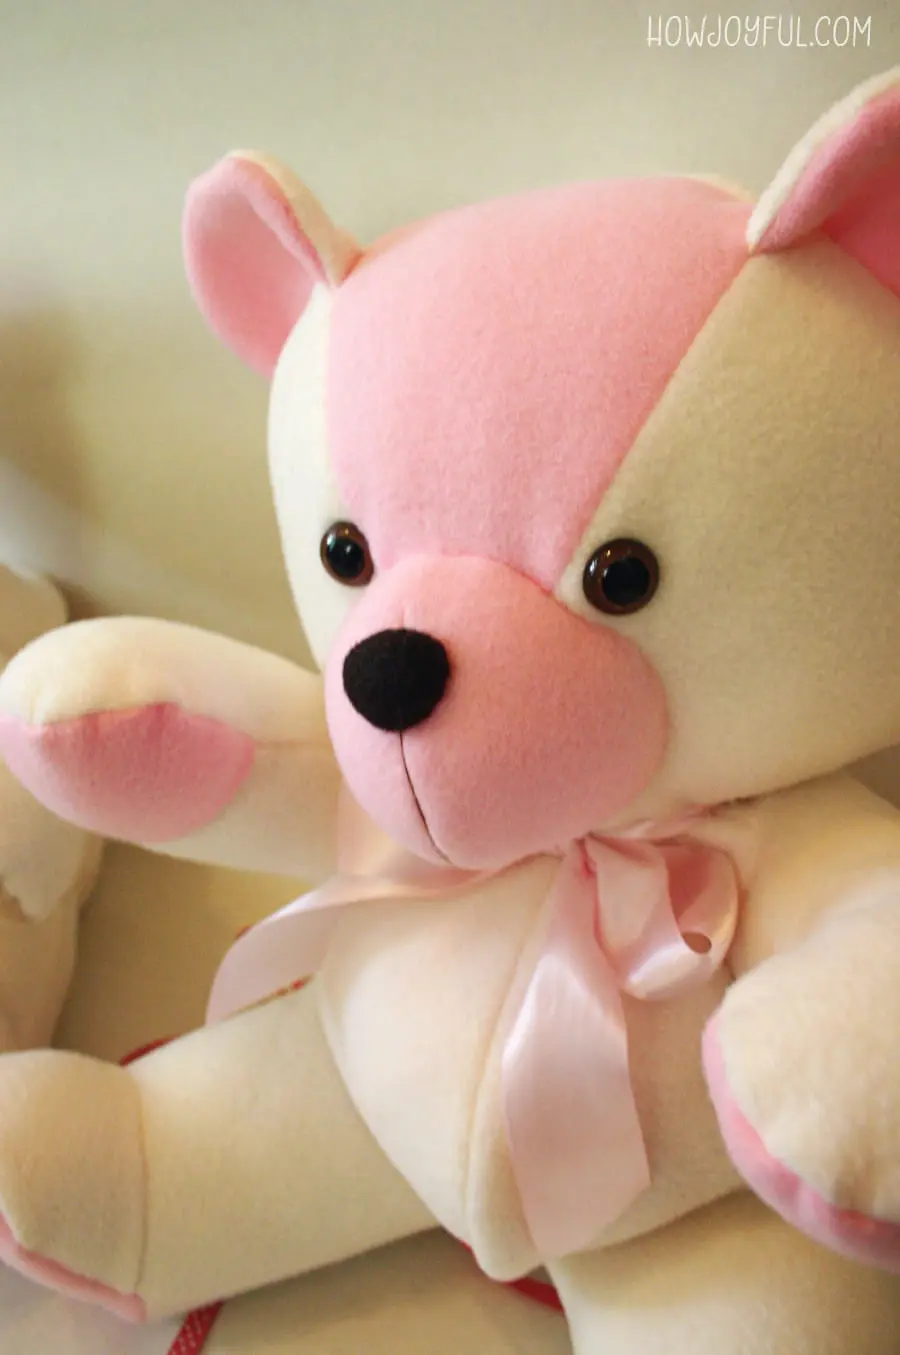
For the Bears I made for our photographer's babies, I changed the pattern a little and made different backs.
So, they could use their bears as a backpack for the little girl and for stuffed pajamas for the little boy. =] I am super happy with how they end up, so I just hope they like it as much as I do!

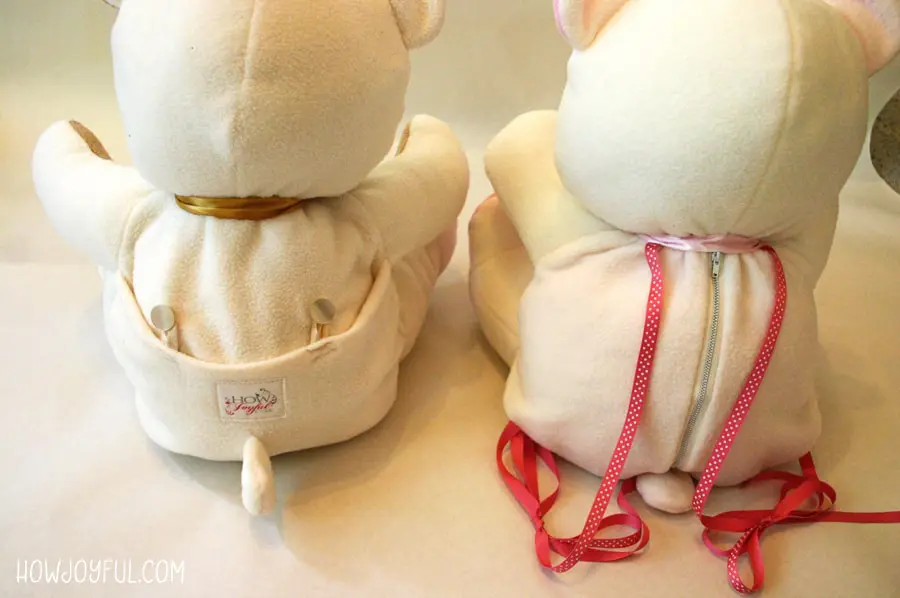
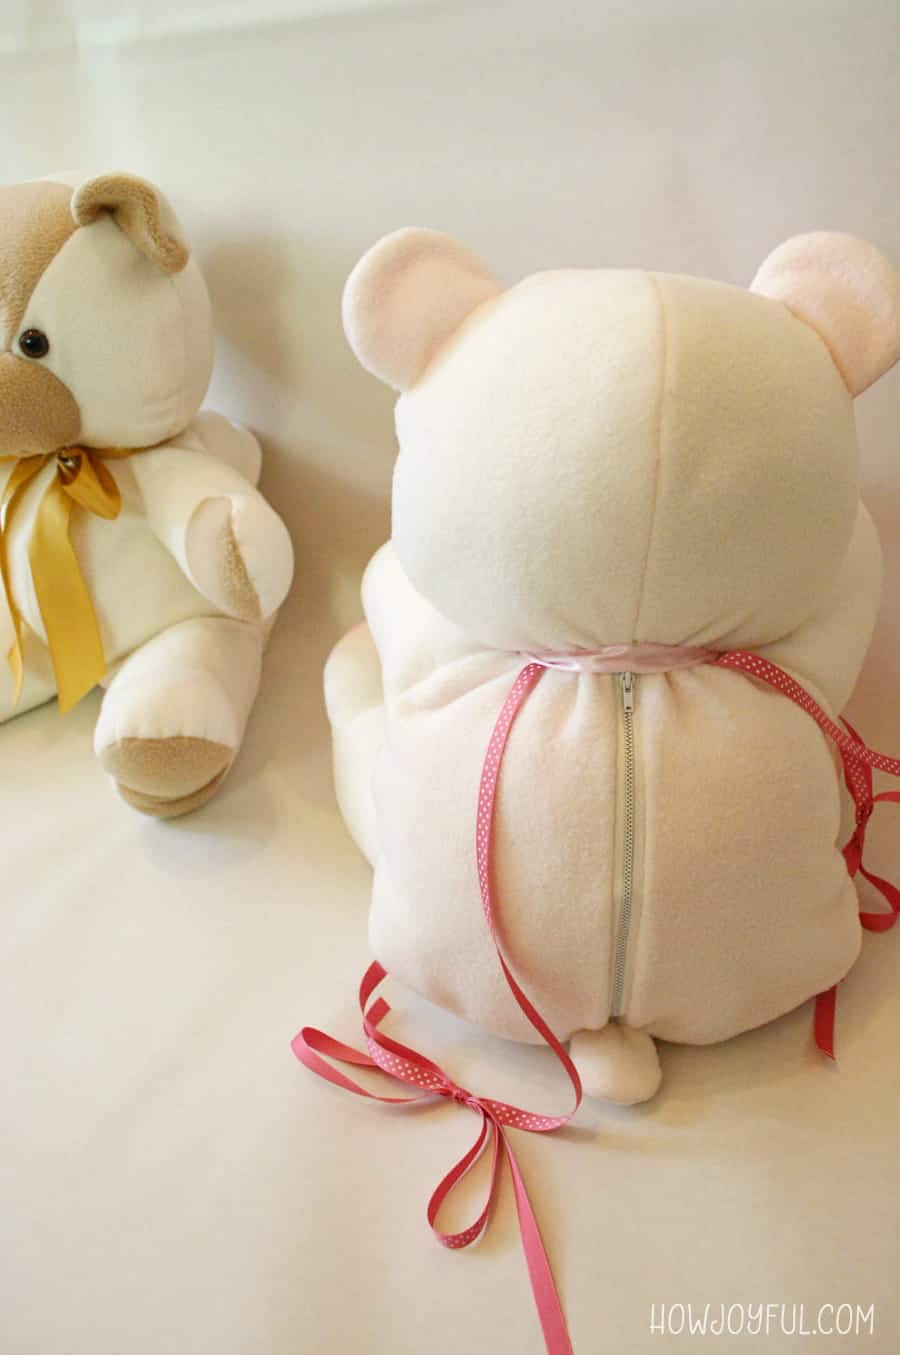


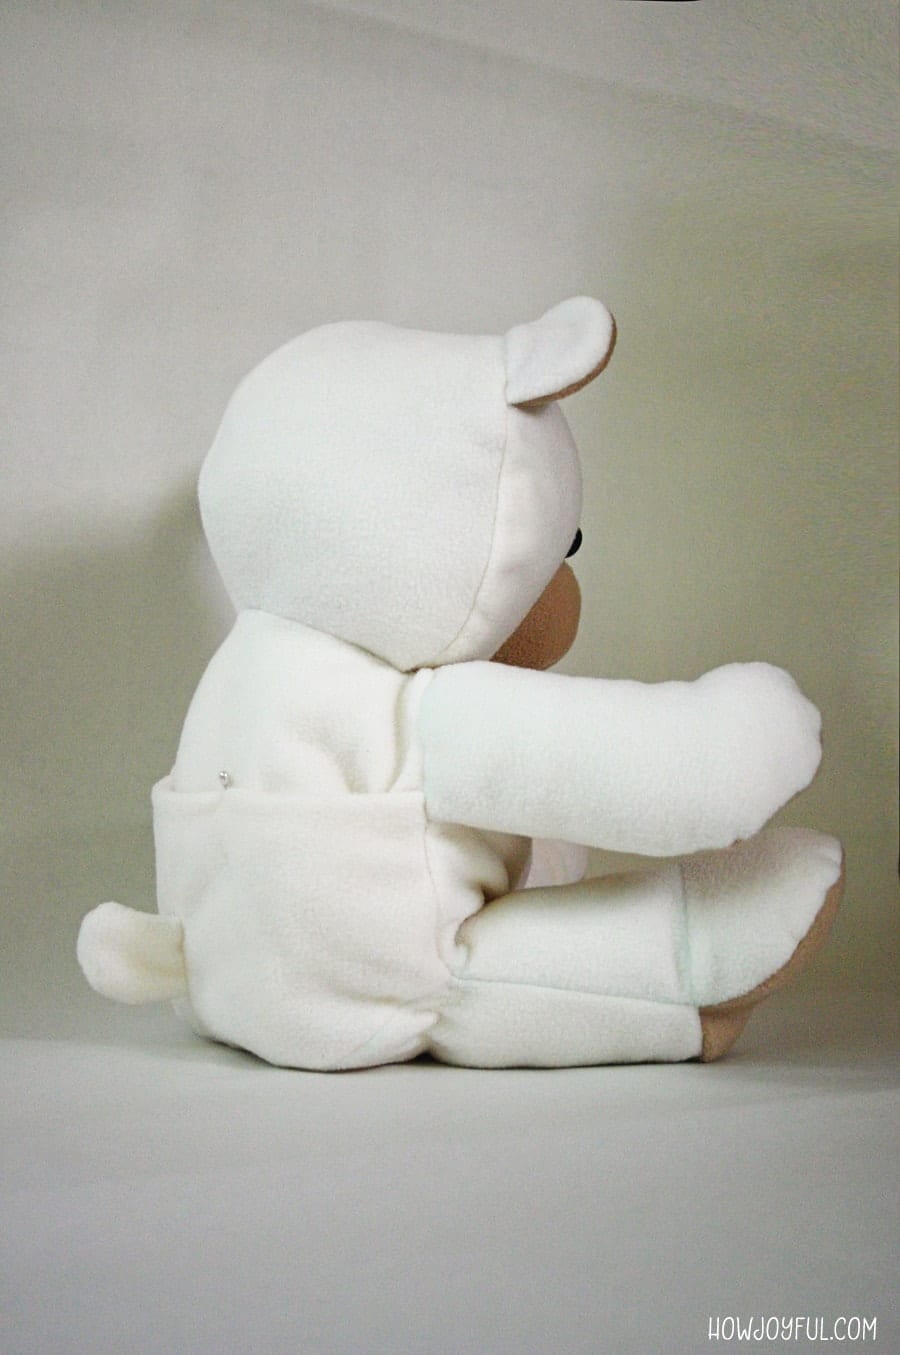

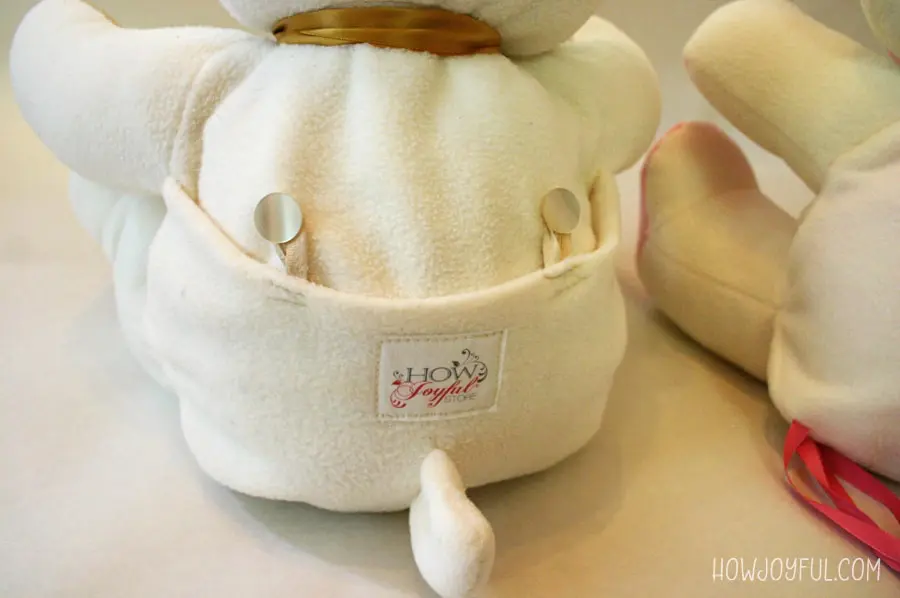

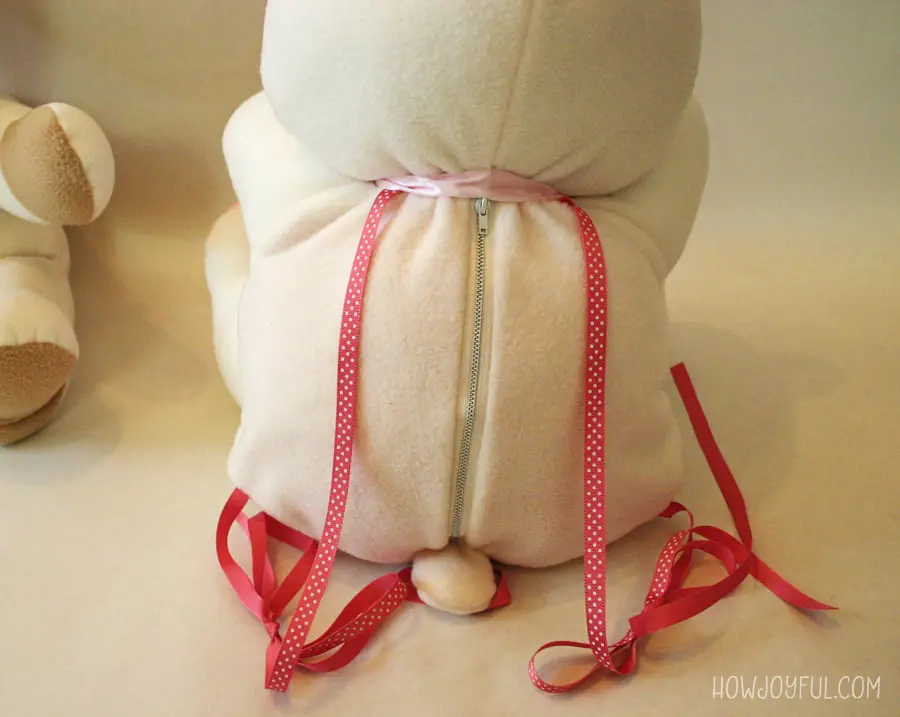

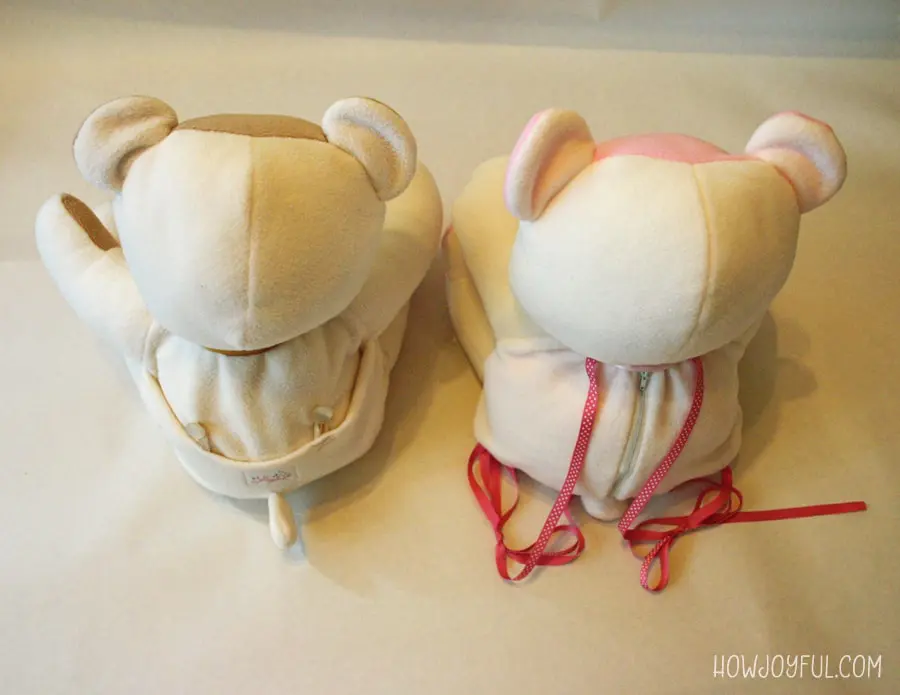


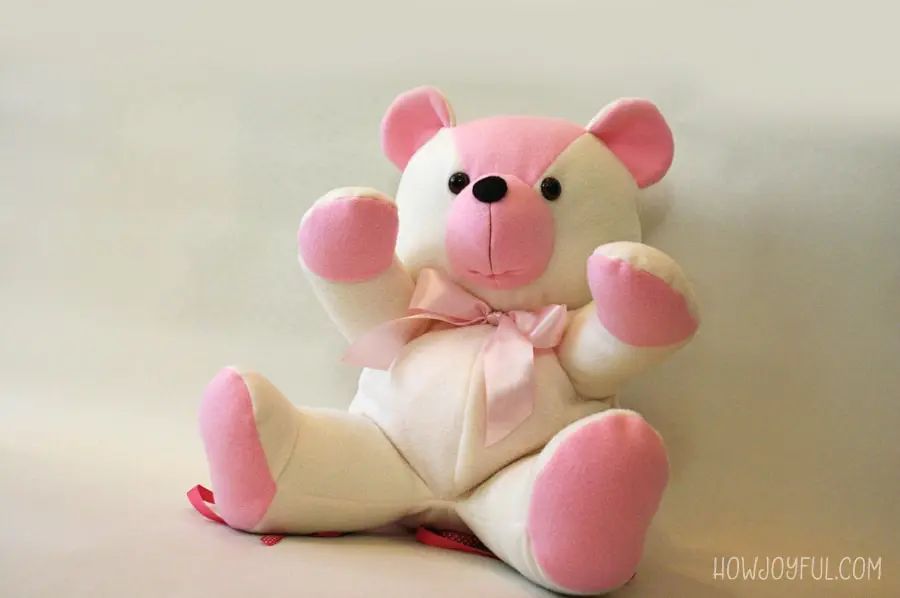
I decided to make a pink one with ribbon strings that work as handles to be a backpack and the brown has buttons that make a pouch for the pajamas =]


Download the Pattern
- One yard of fabric for the body (I used cream color fleece, you can use faux fur fabric too). I used fleece because these are for a little boy and a little girl, so I wanted the bears to be as soft as possible.
- 1/2 yard of fabric for the color highlight details (I used light brown)
- One set of animal eyes, I used 18mm
- A plastic nose or a small piece of felt for the nose (you can use felt for the eyes too if gifting it to a baby, to keep them extra safe; you know how babies put everything in their mouths!)
- Stuffing material (I used polyester filling)
- Sewing machine or thread and needle for hand-stitching; I especially recommend long needles for fluffy fabric.
The pattern is a PDF file; the link goes directly to Dropbox, but you don't need an account to view it; you will need Adobe Reader or a similar program once the file is downloaded.
I hope you enjoy this project! It’s very fun.
And if you make this, email me a picture! I always love to see them in the wild! <3
Joy
Saturday 14th of May 2011
Hello there, I have decided to close the comments on this post. I have added extra instruction and updated this post Feb 20th 2012. So hopefully now it will be easier for all of you to follow. I have no extra instructions or images but what I am sharing here and I am unable to give personalized help with this project, as I stated on the post this is not an easy or beginner project, so start with something smaller and easier, then once you have more experience upgrade to this teddy bear, Thank you for understanding! =]
Keyth Sokol
Monday 25th of April 2011
I'd love to see others' bears. If you post pictures please link to them. My nake is a hyperlink so you can see mine in Flickr.
Graziela Bravo
Friday 22nd of April 2011
Oi,sou do Brasil e amei, o seu ursinho, vou me animar para fazê-lo bjs carinhosos.
Keyth Sokol
Friday 22nd of April 2011
I am on my third and fourth bear. Second one has a lighter brown than he first. But the third and fourth are in primary colors! I love this bear!
Joy
Sunday 22nd of May 2011
I am so happy you have made so many of them =] I'd love to see them if you have a chance, have a lovely day!
Amy
Monday 18th of April 2011
Thank you for this beautiful Teddy Bear Pattern I'm Excited to start it I'll post photos of him when I'm finished.