A couple of weeks ago I showed you one of my first upcycled dress over on Instagram, and many of you started asking how I did it! SO, today I will show you a step by step tutorial on how I made it so you can re-create it if you want!

Well, I thought I should share the tutorial in case any of you would like to make one for yourself! I know finding a 6x t-shirt is not an easy task (I got mine at my local a thrift store for $2.00) but if you happen to find one, here is how I transform mine into this cute dress.
The before:


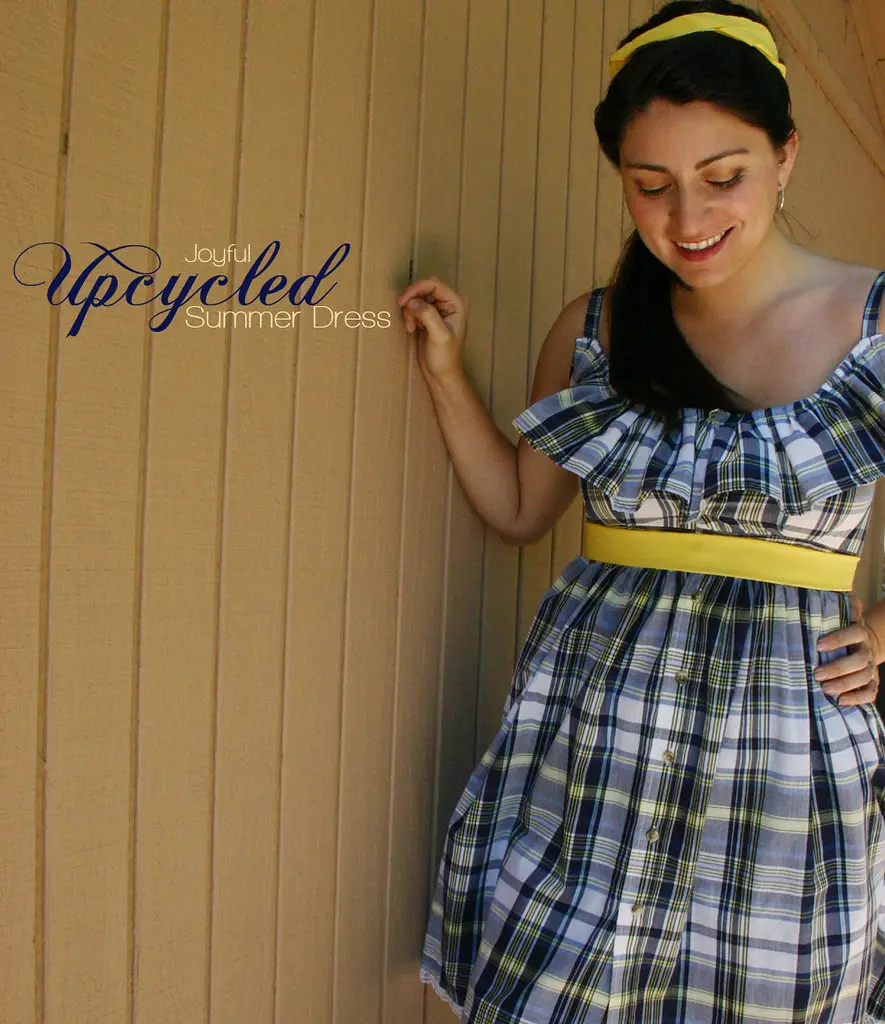
The after!


I was so excited to find about 10 shirts with different patterns, so I am making more of these dresses!
I know that running into a 6XL shirt at a thrift store is not common, but if you are petite, you might not need such a big shirt. I and almost 6 feet tall, so I do need extra fabric in order to cover the length that I need
I am so obsessed with my dresses!


THE PROCESS:
I will try to share as much of a detail of how I cut all the pieces and the measurements that I took so that you can adjust and make your own.


A- First you need to disassemble the shirt (I named what part of the dress we will use for each part of the shirt)
I un-sew the front pockets (you can always sew them back to your dress if you want), cut the body of the shirt and the sleeves.


B- Next up is to disassemble the top, cut out the sewing lines of the back and neck so you will end up with something like the picture. remember that normally the back of the shirt has a double layer (cut them to rectangles because we will use those pieces for the ruffles on the front of the dress)


C- Cut the front of the shirt like shown in the picture, I made sure to measure my bust from under my arm to the other side and use that measurement for the width of this piece to fit me better.


D- Now open both sleeves and cut one like this picture (that piece will be the back of the dress) and with the other sleeve cut two stripes of 2inches width (those will be the straps of the dress)


E- To make the straps for the dress, fold the 2-inch stripes in half and sew along the edge, to turn them inside out I always use a big safety pin.
- secure the end of your strap with the safety pin.
- turn the front to the inside of your strap.
- pull through the inside of your strap.
- reach the other side and pull the safety-pin out.
- keep until all you turned the whole strap.
- strap ready, just press to finish.


F- Out of the back piece I named “waist stripes”, cut 2 pieces of 3inches wide each and half the length of your waist measurement + 3 inches, (in the second image) to have an even pattern in the front I cut one of those strips in half and added to the end en begging of the other one, the 3 pieces together must be your waist measurement.
Put pins to mark you the bust measurement on the final stripe, leaving an extra inch for comfort.
Make another piece just like this one out of ribbon, shirt or anything you can use (if you have enough leftover you can make it with the shirt in my case my leftovers were not enough)


G- Ruffle the bottom of your dress, by sewing with the widest stitch your machine has and then pulling on one of the ends of the threat, center your waist stripe, and make sure the ruffles are the same width as the measurement under your bust marked in the waist stripe.


H- Pin to secure the ruffles, remember the right side of the fabrics had to be facing each other.
Grab the other piece you made and place it on top of the ruffles, with the wrong side facing out.


I – Sew the sandwich made out of the 2 waist pieces with the ruffles in between.


J- Turn the fabrics up and this is how it should look.


K- Ruffle the back pieces of the shirt and fold and sew the edge to prevent fraying.
Cut 2 small pieces out of your shirt leftovers to cover the edge under the arms of the front of your dress.


L- Protect the edge of the underarm.
- Sew the stripe to the back of your top's arm.
- Fold and sew on top of the fold for a clean finish.


M- Repeat the same process for each side and it should look like this picture.


N- Attach the ruffles to the back of the front, with the wrong side facing out.
- Secure the edge of the straps in between the ruffles and the front. Sew them together.
- Turn the ruffle to the front.


K- Sew the edge of the ruffle to prevent them to fall back.


O- Add the back piece on both ends, if you want you can add elastic to the edge. (the sleeves already have the old so you just need to pass the elastic through it and secure it on both ends)


P- Pin and center both pieces together, remember to sew on the dress piece because we will fold the other fabric's waist stripe to cover and make the inside clean.


Q- Once everything is centered, sew it.


R- Now fold the “other” fabric, and pin to secure it.


S- Sew all the way around, I did it double because I like the look.


T- Add an extra buttonhole or pin to the waist so it fits better and doesn't open in that part.
I added some lace to the bottom of mine but it's just because I love lace!
…and you are done!


I added a simple yellow sash to my dress to spice it up :) Let me know if you make it I will love to see, Happy Sewing!


If you want to check more dress ideas, I have this other strapless dress that I made with another of the shirts I found at the thrift store. And also this one I made form Ken's old shirts.


* This tutorial and patterns are provided for personal, non-commercial use only. The pattern is a PDF file, the link goes directly to Dropbox, but you don't need an account to view it, you will need Adobe Reader or a similar program once the file is downloaded.
Check the Site policy at the bottom for further information. Thank you!
Have a wonderful day!
Cheryl Hawkins
Sunday 14th of June 2020
This is gorgeous!! How impressive! I'm going to be sure to check out other refashions you have on your blog!!!
Joy Kelley
Saturday 1st of August 2020
Thank you so much! <3
create own t shirt
Saturday 12th of September 2015
Hi, its pleasant post on the topic of media print, we all know media is a great source of information.
Jinn
Thursday 11th of June 2015
Such cute little dress. Thank you for the idea. Gonna make this one of this weekend!
GKFashionStore
Friday 4th of July 2014
You have a great artist in yourself. You have made a really stylish summer dress. Thank you for sharing a very valuable information to us. I will definitely to create for me as i'm not much creative I know it will not look as cool as you had created. I'll sure update this kind of stuff in my collection soon so you can even earn money for your creativity.
mam pee
Sunday 18th of May 2014
wow i will try it great work !