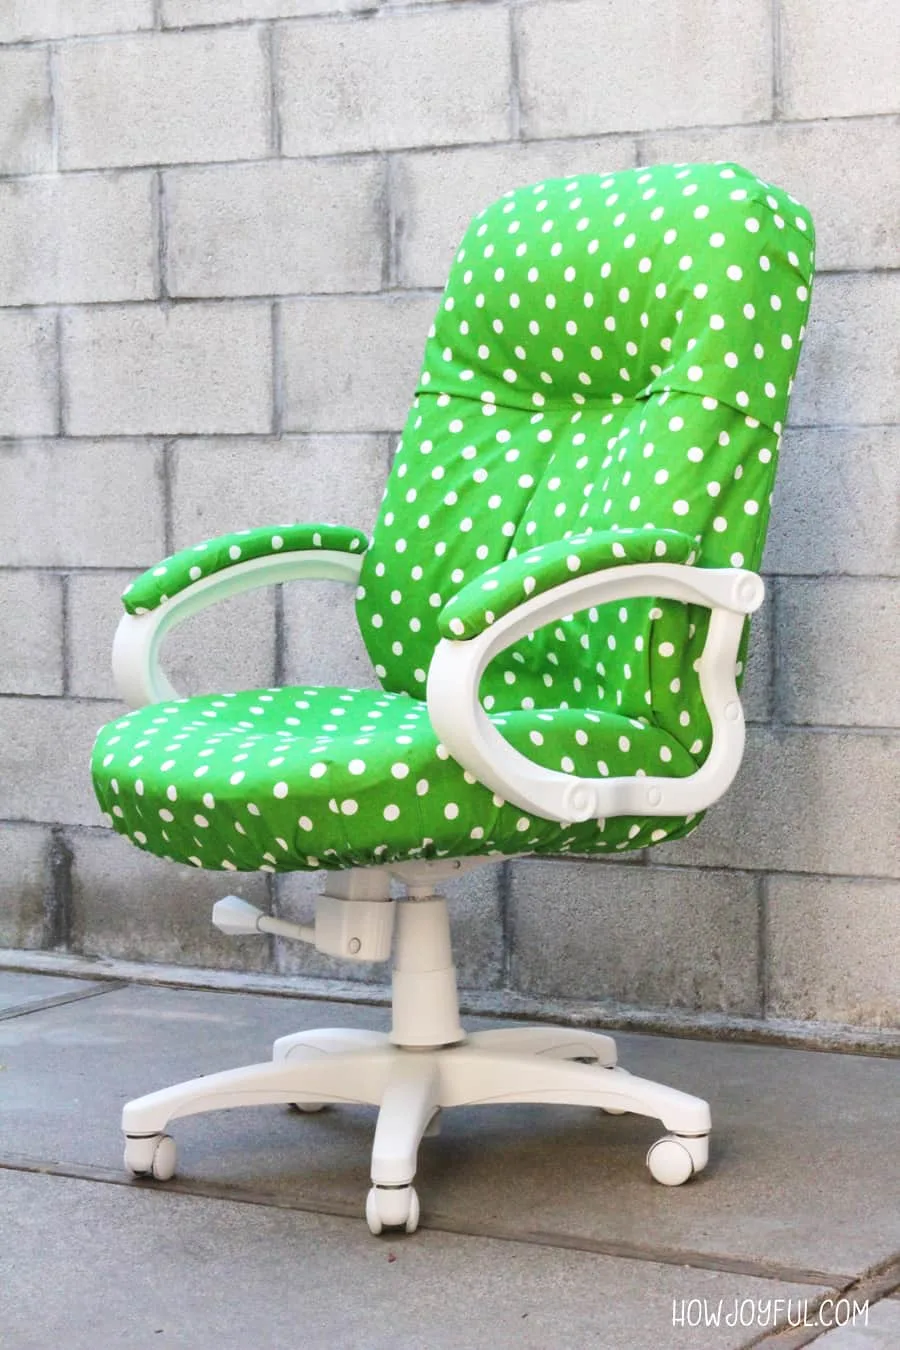
How to recover an old chair with a DIY reupholster washable cover

If generic desk chairs are not your cup of tea, then this post is for you! I will share how I changed my boring (but very comfortable) desk chair with a custom cover and a little spray paint.
Also, make sure you check out the update at the bottom where I share how the chair looks after two years of use.
Last Christmas my in-laws gave Ken and I matching desk chairs. We only had one and it was pretty broken.
Ever since we assemble them I've had a love-hate relationship with mine.

I love it because it's so (I mean SO) comfortable, actually one of the best I've ever had. My back does so much better with this chair!
BUT it's all dark and leather, on hot days I feel like I get stuck on it and it hurts when I get up :P
Also, it's cold in the winter and I just do not like the look of it.

So the other day I decided to prettify it with polka-dot fabric and some spray primer and paint.
By now you should know that I LOVE polka-dots hehe.

My main idea was to make covers that I could easily take out and wash because, well as long as it's fabric it will get dirty.

I used Velcro for the back piece and elastic for the seat so I can remove them later.
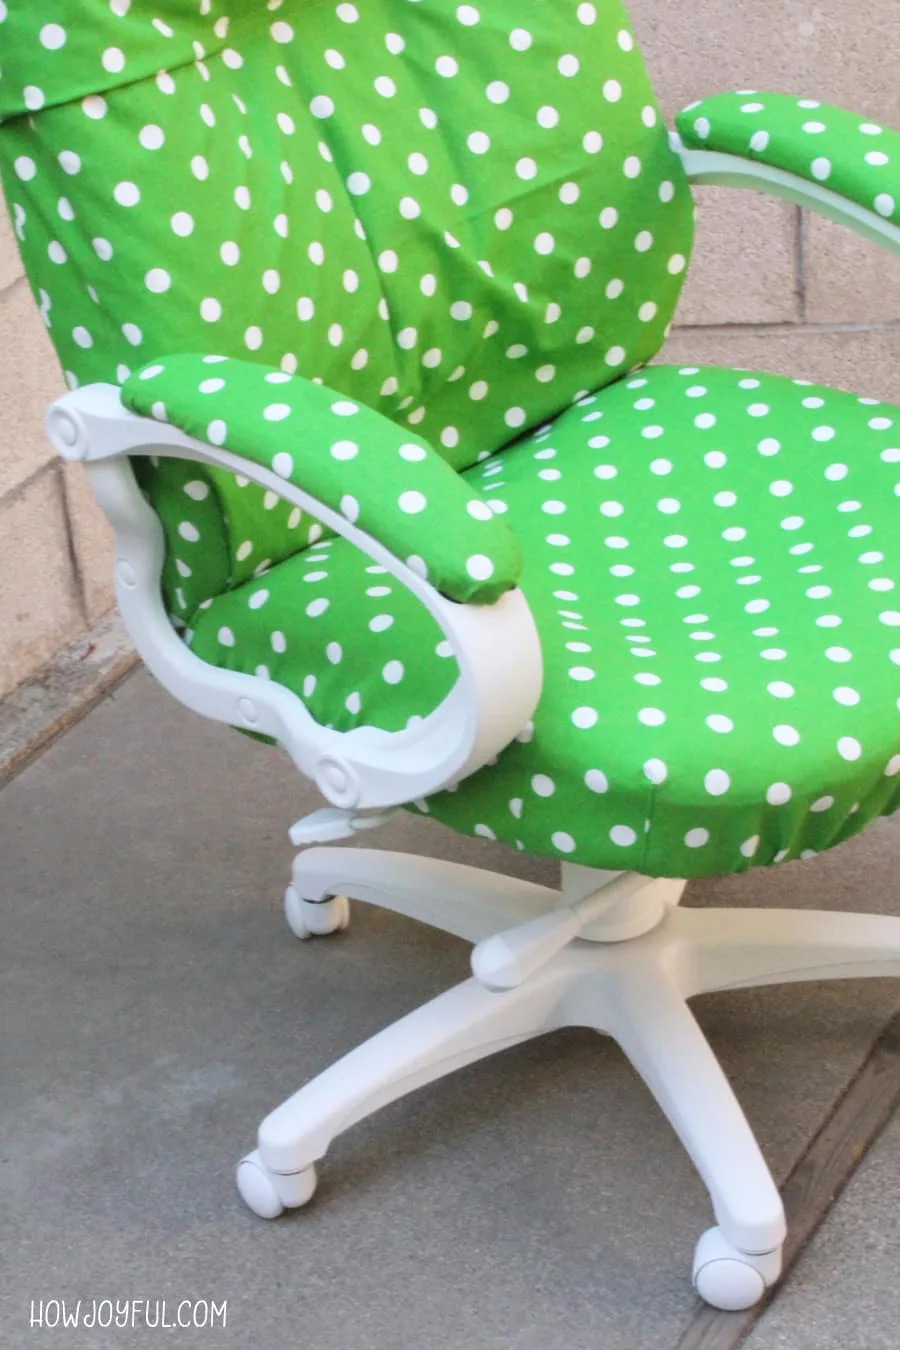
The chair had a couple of wear sports in the bottom of the arm-rest so it was the perfect time to give it a little upgrade.
I am working on the office-craft-sewing room, so I will show you all the pieces I am working on (I have 3 more half done projects right now)
SO HOW DO YOU DO IT?
Since every chair is different I will give you all general pointers in case you want to upgrade your own chairs.

list of materials
- Your fabric of choice
- Spray paint for METAL and for PLASTIC
- Velcro for the back and headrest
- Elastic for the bottom of the seat
- Sewing machine or sewing kit if hand-sewing
For the covers, I use about 4 yards of outdoor cotton canvas (but you should measure the height of the back and seat – don't worry about the width) + about 1 yard of Velcro and about 1 yard of 1/2″ of elastic.
First, you need to identify the surfaces you are going to paint, in my case I had plastic pieces and metal pieces.
So I purchased spray primer especially for metal and another one for plastic, so that way each surface is covered the best way.


You will need to pull your chair apart using whatever tool it came with, in my case this chair came ready to assemble with an Allen wrench.
I separate all the different parts so I could spray them depending on the material. And make the covers for the seat, back piece, and armrest.

The arm-rest was the only parts that I didn't make easy-to-take (for washing purposes) covers because mine didn't really have room for anything and if I added elastic in the bottom like I did with the seat, I would not have the space to screw it back to the arm piece.
So I just staple the fabric, so when I need to wash it I'll have to take the staples and once it's clean I'll redo the process.


THE SEAT
For the seat I placed the piece I was going to cover on top of the wrong side of the fabric, so that way I could mold it to fit (doing that you will see the seat covered just like when it's done).
I measured 5″ to fold in (that will be the edge that has the elastic) from the top edge of the seat (remember you have the seat laying backward).
After that, I made folds on the corners and pin them securely (you can see them already sewed for the back piece too in the image below) then sew on top of the fold. That made the gather on the bottom (because of the elastic) way better.
Once the sides are sewed you will end up with a bowl shape and in order to make it stay on the seat.
You will need to make a 2″ fold on the top of your bowl, sew it leaving a little piece open to run the elastic. Tie a knot on the elastic and finish the fold seam.
You now have a cover for your seat, but if your chair is anything like mine, you will need to make little holes on the sides (where the screws go).
I marked them and cut 1/2″ holes and then I zig-zag stitch around it to prevent fraying.

For the back part, the process was kind of similar.
The main difference is that my chair had a fold to separate the back with the headrest, that piece looked kind of complex.
So to avoid having to stitch the cover to the chair I simply glued a piece of velcro to the leader using some Gorilla glue and then pinned the opposite piece of velcro on the center of my fabric.
I laid the fabric on the seat with the right side facing out, just like it's going to look, and then I accommodate the sides and made the folds (just like the seat piece)
I sewed on top of the folds and also sewed the piece of Velcro that I pinned at the beginning, I end up with a bowl shape again, but in this case, I could not use elastic because that would mean that the back will be exposed.
So I laid the fabric on top of my back piece again but this time with the wrong side facing out (so I could have the cover inside out) and placed the second piece of fabric on the back
TIP! Remember that as long as you shape the top and not the bottom your slip will get out of the back easily.
I pinned both pieces together and cut out the excess, after that I sewed them and added a piece of 10″ of Velcro centered on the bottom, so I could fold the sides in and close the back seat cover on the bottom.


THE BACK
Just like the seat piece, I had to make holes for the screws that go to the arm pieces, I zig-zag around them to prevent fraying when it's time to wash them.
You can see in the image below how I just folded the sides in and secure it by using the velcro pieces on both ends (top and bottom)

I know it will be a pain to have to take the arms apart each time I have to wash the covers, but on the other hand, I rather do that and be able to just throw them on the washer if they get dirty than spot cleaning.
But that's just me =]
I've had the chair for 6 weeks now and it works great!
The paint has no scratches, even tho Curly has played with my feet a lot and his little paws scratch the bottom, so that's great.
And I haven't spill anything, so kudos to me =]
Also, I added an update with more images for the back, so scroll all the way down for it!


I would totally recommend making covers that you can wash because to me spot cleaning is just a pain – hehe.
Ken laugh a bit about the fact that my chair now screams “I belong to Joy” but you know I think that's good!
No one will be stealing my chair anytime soon :P
I just hope in the future Ken takes my offer to give his chair a little revamp =]
We could have matching chairs!!!
But I don't think he is polka-dot friendly…

Even Curly liked the chair =]
So here you go!
I hope this post helps you if you are thinking about making covers for your chair, XO.
EDIT to add – Sep 12, 2013
I made this chair update almost 2 years now, and it's still holding so good guys!
Since I've got a lot of requests I am adding more pictures of the chair, especially the bottom-back side.
This are pictures of the chair a year and a half after I made the cover!
I've washed it several times and the paint on the chair is still almost-perfect =]


And you can also see it in action on this post about the HowJoyful office!
Here a little peek!
Have a lovely day and happy creating!


Elizabeth
Sunday 6th of December 2015
Thank you so much for the help with recovering the chair.I have a few questions regarding the top portion of the chair, where you put the velcro. Was it just under the padded headrest and the top and bottom of the chair? Also, I wanted to know about the folds in the cover. Did you sew them or simply velcro and fold into place after the cover was installed? I was going to make a template and lots of work and sewing to cover my chair, but found your site and really like your results! You make it sound so simple! Would love to see a video of you making this! Thanks again!
Carl C. Hampton
Sunday 18th of October 2015
thanks howjoyful.com , I really love this chair, where can I buy this ?
Carl C. Hampton
Sunday 18th of October 2015
I will have this chair for my office, really nice chair. thanks :)
Sheila Coon
Tuesday 2nd of June 2015
I love what you did to that chair "awesome" very well put together the chair as well as the directions.Thank You for sharing.
JuaShaunna
Sunday 3rd of May 2015
I have to do this when I create my new office space :) Thanks for sharing!