I teased some post a go asking what could I make with a pillowcase, ribbon and some lace? Here is the answer =] A pretty vintage top. I loved the flow this particular pillowcase had and since it was one of the last sets Ken had before we moved together, I didn't think he'll miss it hehe (it's for a single bed and there is another one in case we need it) There are so many possibilities and well pillowcases are easy to find right?


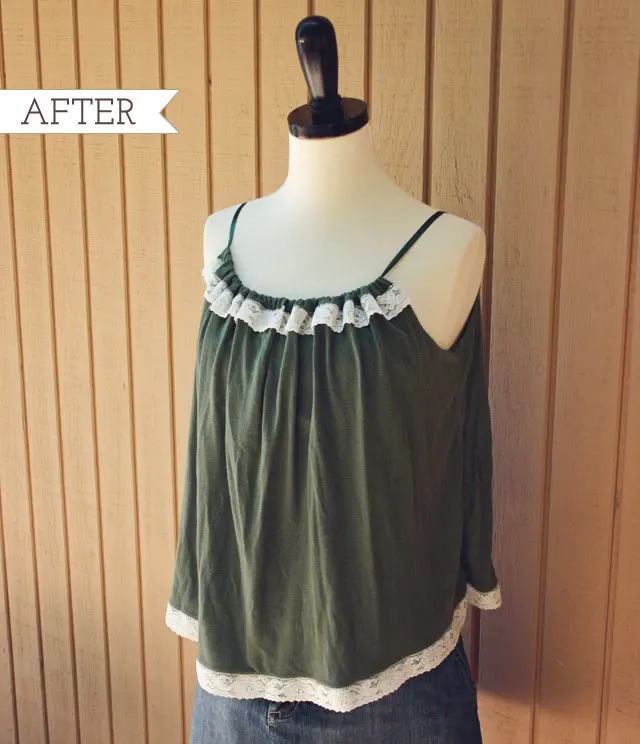
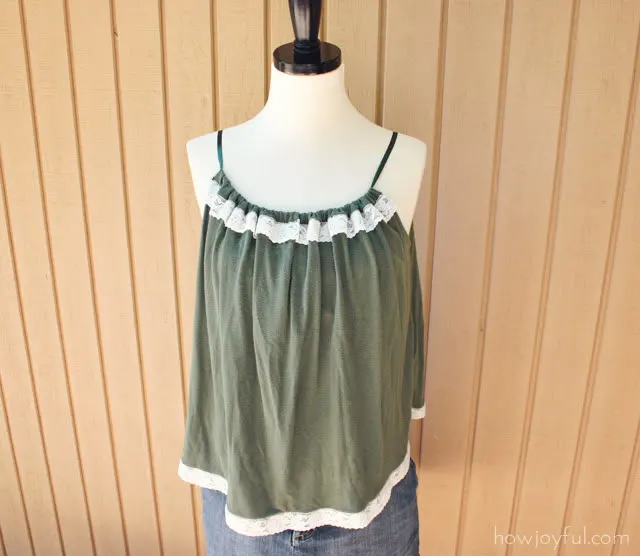
I really liked the green and mixed it up with some vintage lace I had hanging around, I used ribbon for the straps and even tho there is a lof of pillowcase dresses and t-shirts out there, I wanted to show my version because I made it so to be very loose-fitting and comfy.


To make this top is super easy and you dont need a serger at all (even tho if you have an extra one you can always send it my way! lol) It took me about 30 minutes to cut and sew this top so it's definitely something beginners could try, and here is a graphic tutorial for all of you, sometimes it's easier for to me explain something with graphics than pictures =]


I kind of tried to show my favorite way to wear it, with a belt, but I could not find the one I wanted so I just used a piece of ribbon, even tho it does not look as good you get the idea =]
I hope you all enjoy and sew on!


* This tutorial and patterns are provided for personal, non-commercial use only. The pattern is a PDF file, the link goes directly to Dropbox, but you don't need an account to view it, you will need Adobe Reader or a similar program once the file is downloaded.
Check the Site policy at the bottom for further information. Thank you!
Have a wonderful day!
Elise
Wednesday 4th of March 2015
Hi There Joy
Thanx for sharing the idea for the pillowcase top. I loved it.. Only problem is our South African pillowcases seemed to be a bit small. After I was done with my top it as if it ended as a short top but I fixed it with a lovely piece of material at the bottom, instead of the lace. I loved the lace idea though. Will try it again next time.
Dane
Wednesday 23rd of July 2014
un beau détournement très bonne idée j' aime l' idée reste a trouver la couleur que j' aime bravo et merci du tuto biz a bientôt
Elisabeth
Saturday 3rd of May 2014
Superbe recyclage et je vais étudier le tuto ça me donne des idées pour faire une robe pour l'été !! Merci à vous
Amanda
Tuesday 14th of May 2013
I've been making pillowcase tops/dresses for children for quite awhile now... But as I am a beginner seamstress, I'm having trouble drawing up a pattern to make larger sizes- for myself and my older girls. I desperately want to know how I should go about this, because I'm not sure about the arm area. I know that it's adjustable because of straps... But I don't want our "goods" being exposed if I cut it too deep. Any suggestions for this ? Or when you made your cuts, how did you determine the amount cutaway for yourself ?
Joy
Friday 19th of July 2013
Hi Amanda,
I actually measure from the top of my shoulder to under the armpits, I figure how high I wanted the end of the shirt in relation to the strap and cut =] I would suggest to make a newspaper template if you are not sure, that used to help me a lot when I was starting. Good luck!
Joy -
Gayatri karki
Saturday 16th of February 2013
hi! this is cool top, I'll make 1 piece for my baby, thanks joy I'm a great fan of howjoyful.com.