

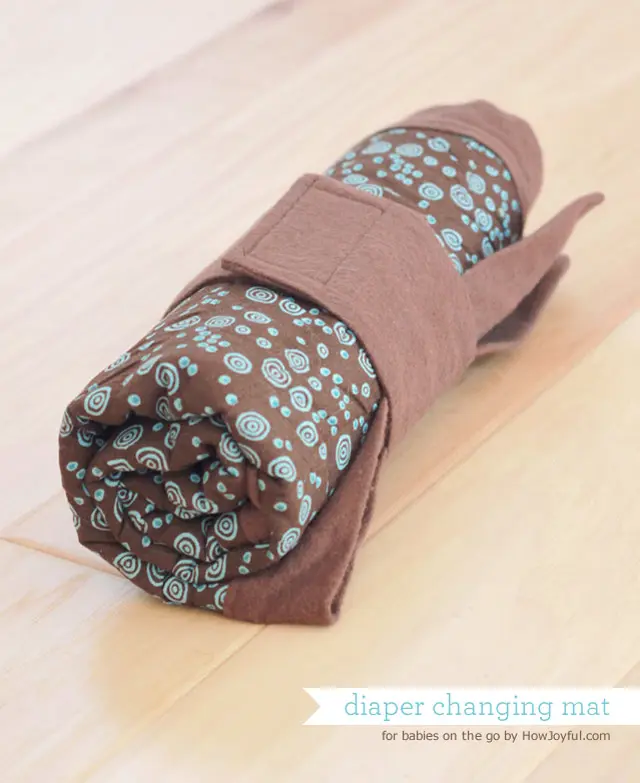
Learn how to make a waterproof baby changing mat that you can roll and toss in your diaper bag with this step by step tutorial. Right before baby Peanut was born, I made a few projects with the help of my Mom, it was so much fun to sew with her, especially when we're working on projects for her first grand-baby.

Now I've been using this diaper changing mat for (6 months) 10 months and still LOVE it. It saved us so many times in the car when Conner was little and we had accidents very often.
I actually took the photos for this post when Conner was 6 months old, now he's 10 months, so it's very cute to see how much bigger he looks now.
Back then he was just learning how to crawl, now he's learning how to walk and GOSH! I thought it was trouble back them =]
Now changing his diaper is a lot more challenging because he doesn't stay still and he hates when I lay him down (yup, he hates to go to bed too) so I don't use the mat as often as I used to, because sometimes I change his diaper when he's standing (pretty funny to see!)
But I love how long this mat has lasted with all the use we gave it, definitely keeping it for the second (in a couple more years)


I made this mat so that I could roll it, secure it and store it in my diaper bag, I made this along with a nursing cover and a cover for the car-seat with the same fabric, and my diaper bag is a different pattern but the same brown and turquoise colors, so everything goes well together =]
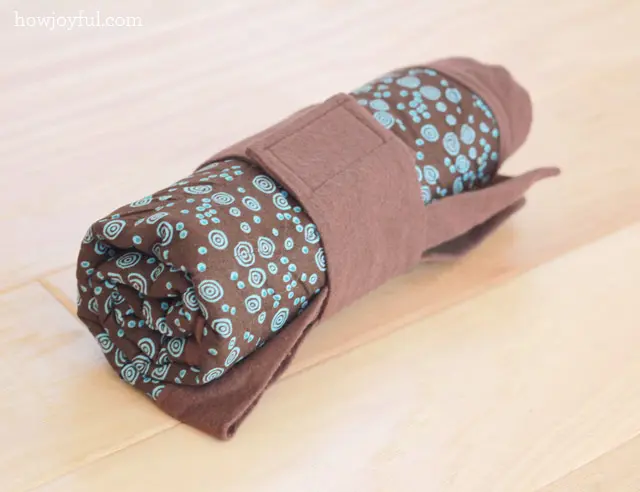
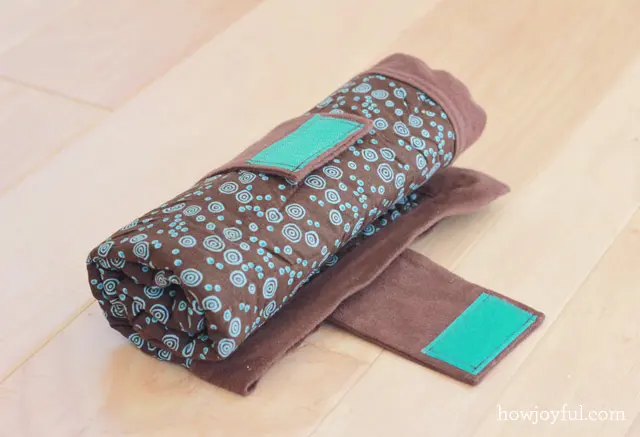
Below you can see how the cover un-rolls, it's very easy but sometimes I used to trow it on the diaper bag just folding it 2 times whenever I was in a hurry and then roll it and make it pretty while restocking the diaper bag.


So now I'm going to share how I made it so that you can make your own (or send this tutorial to your very skilled friend/Mom/MIL before your baby shower ;) )
MATERIALS
- 21″ by 24″ cut of Babyville PUL Fabric (Or any waterproof soft fabric)
- 23″ by 26″ cut of batting (I just cut a piece bigger than both my waterproof fabric and cover fabric, because while quilting, they kind of more a little)
- 23″ by 26″ cut of accent fabric (I used a left over turquoise and brown, from several baby project's fabric I got on sale at Joann)
- A 3″long piece of Velcro
- At least 20″ long of fabric for binding, I used a brown leftover flannel
INSTRUCTIONS
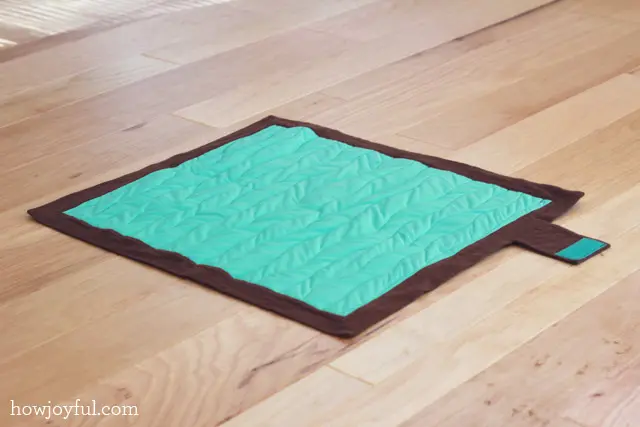
To start you will need to make a “sandwich” with your waterproof fabric, the batting and the cover fabric, just make sure you have them in the order showed below =] After that you need to either straight pins or use safety pins to bast them together so that you can quilt them, I like to secure the edges first and the walk my way to the inside.

After you have them together its time to sew =] I liked the look of the curvy lines, because they allow mistakes and still look cute, if you want to learn how to properly quilt curves you should check my friend Holly's wavy quilt tutorial, it's very simple and easy to follow =]

Once you have the cover quilted is time to bind the edges, for this I am not actually going to post a tutorial because I think Abby from Sew Much I do did a great job explaining exactly what I do to bind blankets and in this case, the changing mat. I used stripes of 5 1/2″ for my binding because I wanted an edge of approx. 2″ wide, but you can make it as wide of thin as you like =]

Now comes the last portion, adding the velcro closure. To do this I first made a double sided piece of (8″x15″ that you will fold in half) 4″ wide by 15″ long, sew leaving one opening to fold inside out, close side and topstitch, finally add the velcro and attach to the cover like the illustration shows. You are all done!

And of course I HAD to add some more pictures of my little model! I can't believe how little he loos in this pictures! You are really going to laugh when you see the next tutorial (carseat cover with front opening) because those pictures are from when he was 3 days old!


I hope you all have a wonderful day!!
Esther Heavnzbrat
Monday 25th of January 2016
Hi Joy! I have the same PUL set (with the dinosaurs/monster). Since you made the PUL side right side up it is no longer a wipe down fabric right? So you just clean it by machine washing? How has that been working for you? I'm debating between using my cute PUL fabric or laminating (which would make it wipe down and not machine washing).
Becki
Saturday 23rd of January 2016
Thanks for sharing this. I made this today but 24x30 - more space. Used the PUL and followed some of their hints - use polyester thread vs cotton and put in hot dryer for 20 minutes after finishing to take care of any holes made in construction. I did not put my strap in center but played with it to see where best for my size - closer to end. From the PUL site either side can be used as right side - but since I'm picky with my binding I put the fabric side as right side so could iron it.
Karen Kelleher
Friday 16th of January 2015
Thank you
pat
Thursday 11th of September 2014
Does quilting through the PUL make it less waterproof?
Mrs G
Saturday 17th of May 2014
I just made this. I used a plasticized cotton instead of PUL (not available locally) and I made a thicker mat by using two layers of cotton batting plus another layer of synthetic fabric (don't know the name). It's really soft, but more difficult to work with because it's bulky, but considering that this is my first quilting experiment ever, I'm quite pleased with the result. Thank you for the tutorial.