Making my own cardboard storage boxes is something that I've been doing for years now, and I know it seems crazy! But being able to fit a good sturdy storage box in weird shape or measurement places it so satisfying! Here you will learn the basics of how I make my custom storage boxes out of recycled cardboard!
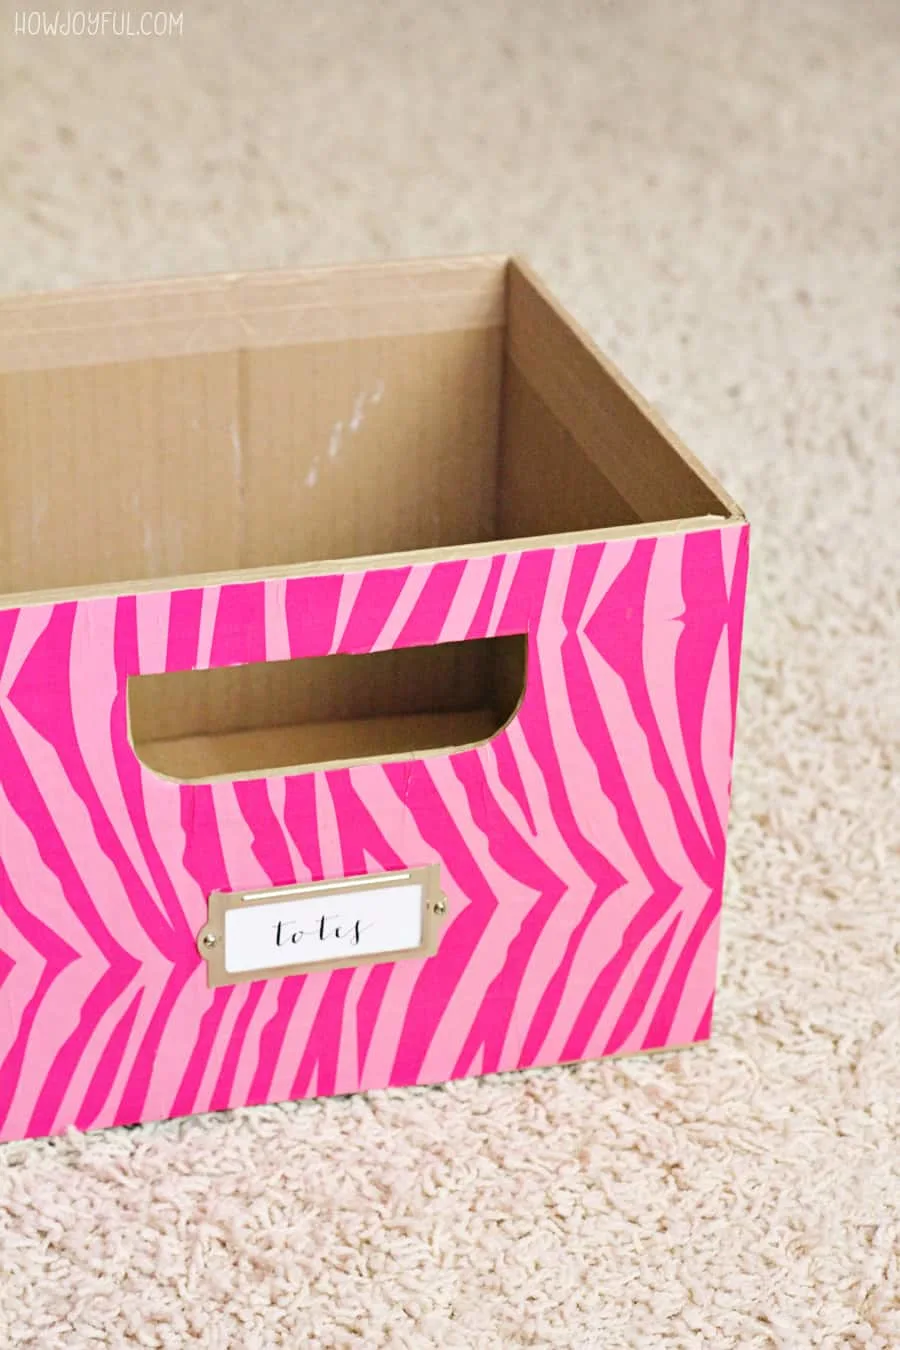
Many of you already know it, I am slightly obsessed with using cardboard for as many projects as I can think.
Right now I am in the middle of finishing up my studio, it has taken me a while, I thought I was going to be done before Conner was born, on my last month of pregnancy I worked on a lot of different projects for this space, but I didn't finish.
So now that finally, the cold of the winter is over I feel more comfortable going down to our 3rd floor (the heating system is not very efficient there) with my baby boy.

If you follow me on Instagram you have probably seen little sneak peeks of how this place is coming along and the things I've been working on. So today (without showing much about the space that is not finished) I wanted to share a solution for storage and organizing using recycled materials.
I collected a lot of cardboard boxes with the purchases for my shop and another (very exciting) project I'm working on right now, so I decided to make custom-sized storage boxes for a cabinet that I have in the studio.
Don't get me wrong, I actually searched everywhere for something that would fit there: Ikea, thrift store, Target, TJ-Maxx, everywhere!! but nothing had the measurements I needed, my space was too “custom”, so of course I decided to make them instead =]
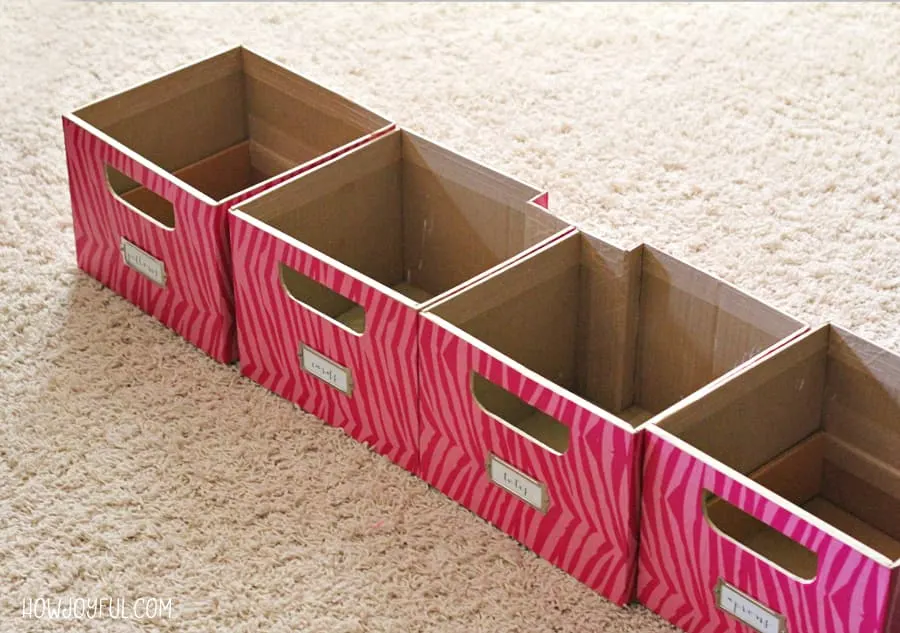
The grand total for the 8 boxes I made is $26, but that's because I wanted pretty card holders so I could write what each box contains.
The only things I purchased where the nickel cardholders and a gift wrapping paper on sale from Target, everything else was around my studio.
The materials
- Lots of cardboard
- Box cutter or x-acto knife
- Kraft paper gummed tape
- Wrapping paper or paint
- ModPodge if you use wrapping paper
- Nickel plated card holders
- Double sided sticky tape (the one I used is high contact so I am not 100% sure this one will work as well, I bought mine at my local scrapbooking store and it's a local brand)

THE PROCESS
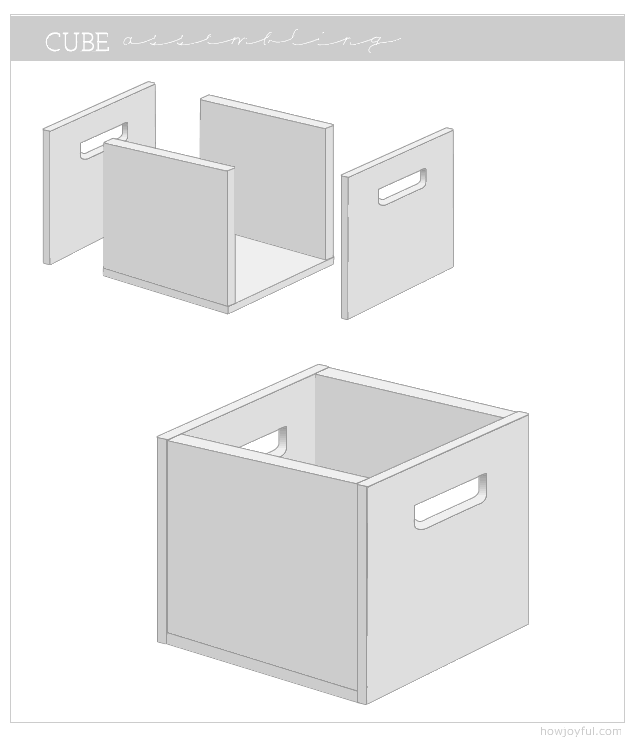
I actually explained in detail how I made the boxes I used to restore an old wire storage cube, in this case, the process I follow was EXACTLY the same, but instead of using those measurements I used the space I needed to fill to make my boxes.
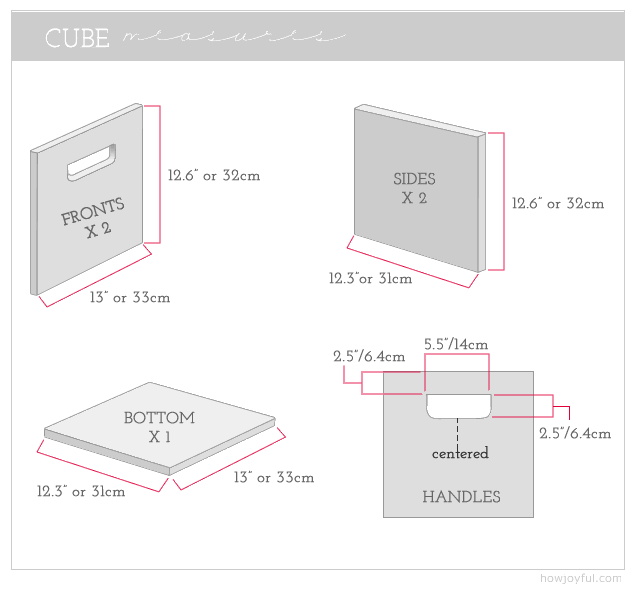
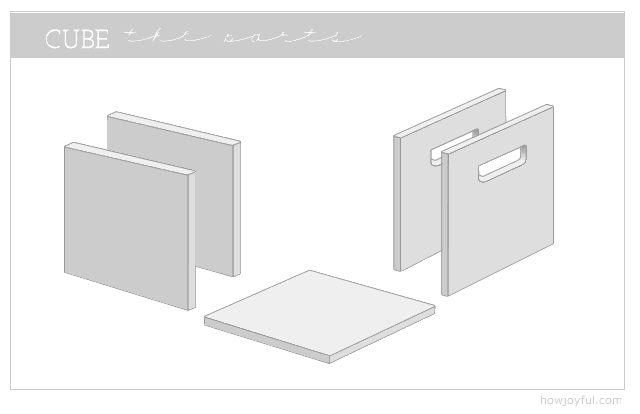
I left an inch and a half on the top and half an inch on the side (from the total measurement) so that the boxes would not fit too tight.

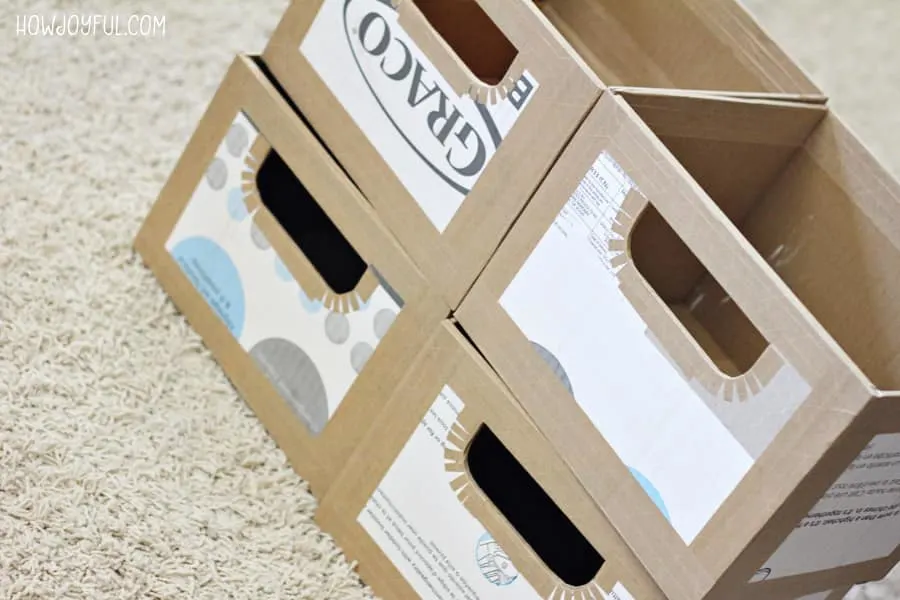
For the pink boxes on the cabinet I used the box from conner's high chair because it was double layer cardboard, so I didn't need to double that one, but the bottoms are normal cardboard, so for those, I used a double layer.

One of the reasons I could not fit anything that fit the shelve perfectly was that right in the middle there is a small piece that runs through the back of the cabinet, to solve that I made a “cut” on the back of the center cubes, so now they fit like a glove =]

To add the card holders I actually used the double-sided sticky tape, the holders come in packs of 25 and come with tiny little screws that would work perfect if the boxes were made out of wood, but since it's cardboard I just used the tape all the way around the edges.
As I mentioned in the material's list, I got mine at my local scrapbooking store and it's supposed to be high contact, it bonds after 24 hours. I haven't read the one I linked so I am not sure if it works that way too, I've had the boxes for about a month now and it's working great!

I've only used 8 card holders so far, so it breaks down to a little bit more than a dollar a cardholder, which is not bad because I'm planning on using most of them in handmade boxes in the studio.


Here you can see a little better the space I was trying to fill, I would have probably chosen a different pattern for the boxes, but HEY! blame it on Target's wrapping paper sale =]
I also made taller boxes for my shipping station, I'm still not done with that space but you can see the boxes in the images below. I painted them instead of using wrapping paper and it's actually a lot faster, I used the same paint as in my walls, just thin layers so that the boxes will not get all bent.


I am very happy with how the boxes turn out and they fit the spaces I needed beautifully! I am excited to get the studio done so I can show you all, but for now, I'll just share projects along the way =]
Update after 5 years
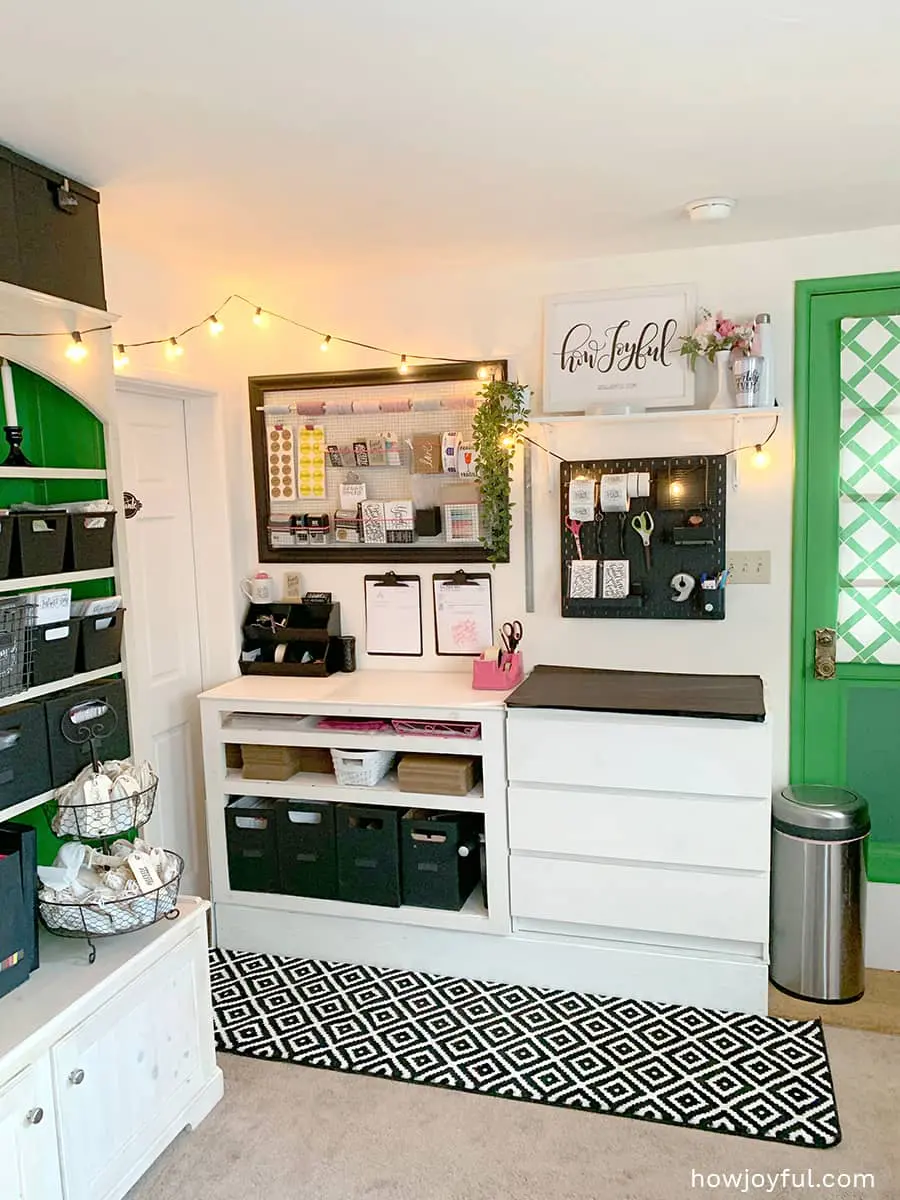
I recently shared how I organize my shipping station and also an update of my office, there you can see that I am still using all of these boxes, I just painted them black to match the new theme of my Studio.

And remember if you have a tricky spot you want to organize with boxes but haven't found anything that fits, cardboard might be the solution!
I hope you all have a wonderful day!!


Karin
Monday 25th of November 2013
thanks for the tutorial! I've done three now and really love the finished product (so sturdy) :-)
stephanie
Friday 23rd of August 2013
Where did u get these cardboard boxes .. they look different from moving boxes .
Joy
Saturday 24th of August 2013
Hi Stephanie,
This where all packaging from the screen-printing kit I got from ryonet.com their boxes are double layered, so it's a lot more sturdy, but the other organizing boxes I made are normal moving boxes that I double layered. I hope this helps you!
xo
packing materials
Tuesday 20th of August 2013
You have made great use of these cardboard boxes...you are truly genius. Now i too will try this out! I am glad that i visited this post!
Vicki Atkinson
Tuesday 23rd of April 2013
Cardboard is great... I've always wanted to make a coffee table like this: http://freshome.com/2007/03/24/speech-bubble-cardboard-coffee-table/
Joy
Saturday 24th of August 2013
Oh that looks awesome! I love cardboard! so I'm always making cardboard things around the house =]
Anni
Saturday 20th of April 2013
I love this! you are so genius!! now I know what to do with my extra cardboard boxes