
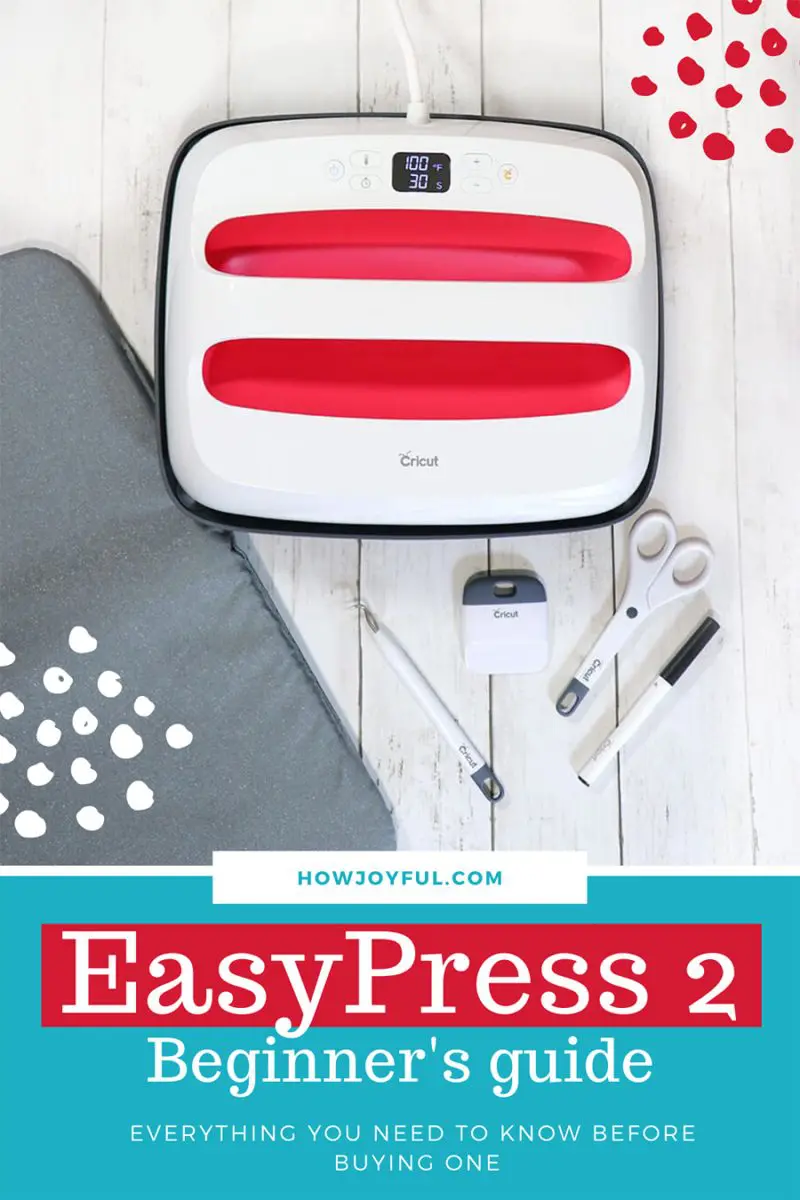


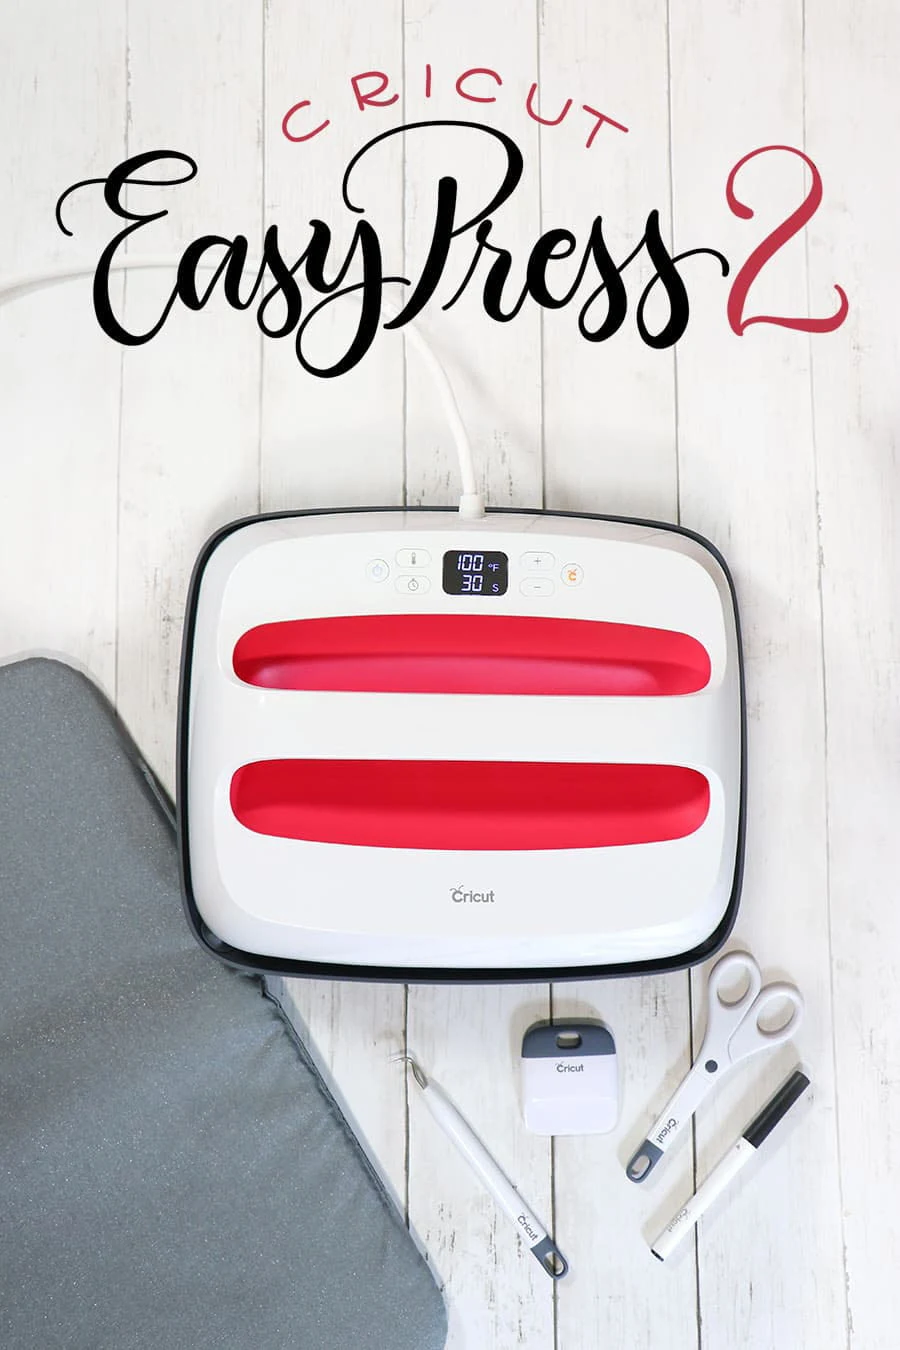
Read this post before getting an EasyPress 2 machine and determine if you need one, the right size to choose and how to use one to make projects with heat transfer vinyl. I will also show you how to apply Iron-on vinyl!

This is a sponsored conversation written by me on behalf of Cricut. The opinions and text are all mine.
I’ve heard the craft community buzz about the Cricut EasyPress for a long time, and before getting one I thought that it was a little unnecessary, because I *could* do iron-on with my regular iron.
But boy, was I wrong!
Being able to do something doesn’t mean it's done at its best or that is going to last more than one wash!
Trust me!
I am going to start by saying that I thought peeling-off vinyl after a couple of washes was normal until I read some forums about issues with iron-on.
I found out that having all those issues was NOT common nor unavoidable.
CLUE: Its was the heat!
I was using a household iron to apply my heat transfer vinyl and it was just not reaching the required temperature for good adhesion.
Now, I have a Cricut EasyPress 2 (yay!) and things have changed around here.
After the first use, my mind was blown and my love for the EasyPress 2 started.
I have tested washing my sample project 4 times and it's still just as new!
But, before I jump into more details I want to share all the points I will cover in this post, most of them are the questions I had in my head before owning an EasyPress, so hopefully, this will help you determine if you need one as well.
Table of contents
1 – What is an EasyPress?
2 – How is the EasyPress different than using a household iron?
3 – EasyPress 2 improvements
4 – The anatomy of the EasyPress 2
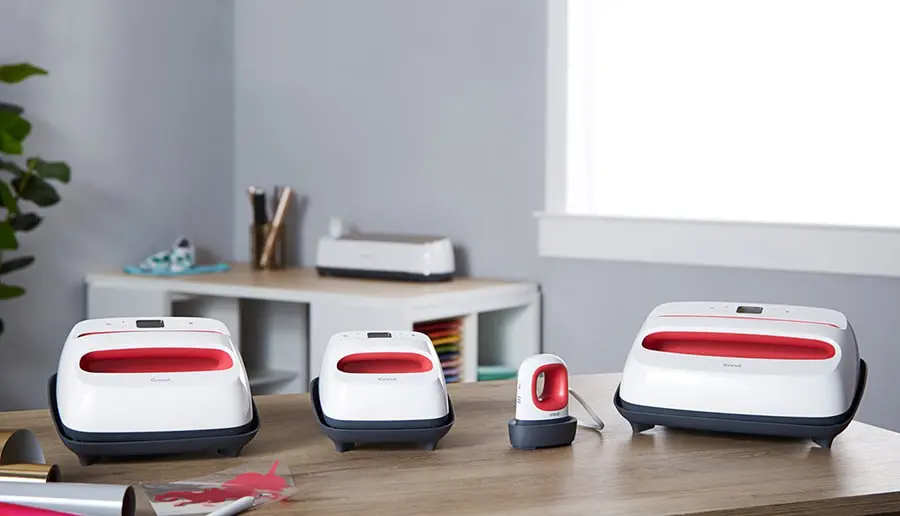
5 – EasyPress 2 different sizes
6 – How to choose the right size of Easypress 2
7 – What comes in the box of a Cricut EasyPress machine?
8 – What is a Cricut Easy Press mat?
9 – What else do you need to make a project?
10 – Tips to use the EasyPress
11 – How to apply Iron-on vinyl?
So let’s start at the very beginning!
1 What is an EasyPress?
The EasyPress is a Cricut machine companion, it combines the lightweight portability of a regular iron with the evenly-distributed heat and the surface of a heat press.
It has the power to apply iron-on within 60 seconds or less. It is fast, efficient, and offers top quality when applying an iron-on vinyl or HTV (Heat transfer Vinyl, as other brands call it) and sublimation (with Cricut Infusible ink projects)
The EasyPress 2 heats up to 400 degrees Fahrenheit which makes it perfect to use with infusible ink products since you need constant, spread-up high heat for the transfer to be successful.

The EasyPress also has a control panel that allows you to not only set the temperature to exactly what you need but also the time that your project needs to be pressed.
Another benefit of the EasyPress in comparison to an industrial heat press is the size and the weight, heat presses are bulky and extremely heavy.
But since the EasyPress is so lightweight, in order for your transfer to be successful, you HAVE to apply down pressure using the handle.
RELATED: Thinking about getting a Cricut machine? Read my easy guide to Cricut cutting machines here.
2 How is the EasyPress different than using a household iron?
Using a household iron to apply heat-activated vinyl, while common, (Hello! That’s what I was using!) is very inefficient because the heat is uneven, most household irons also have steam holes at the bottom that further deter the even distribution of heat.
With a household iron, you will never know the exact temperature of the exact area you are trying to press. This means that when you are pressing with an iron, while some areas might get the required heat, other areas might not.

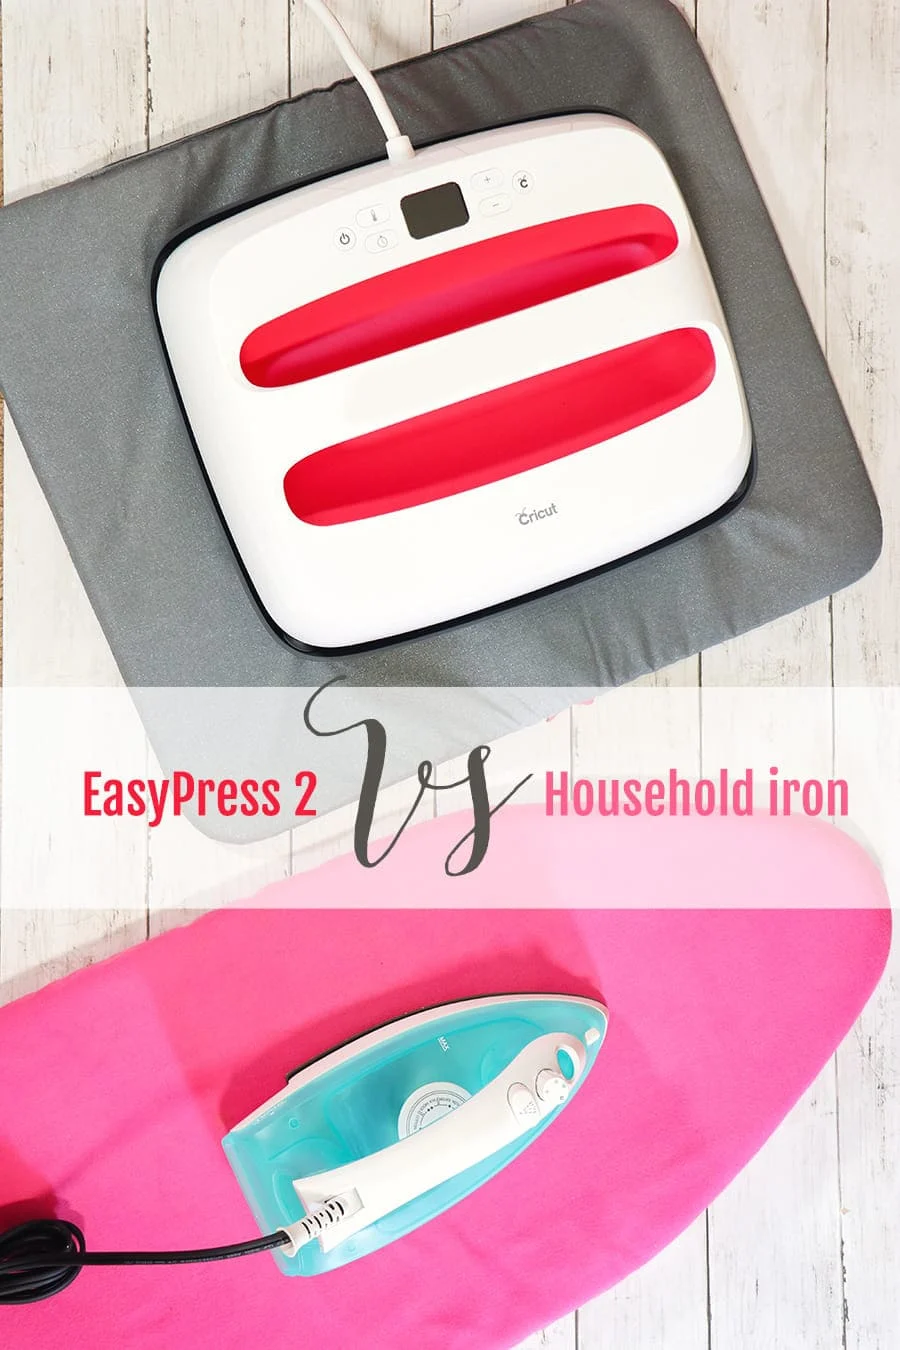
Also, the area of a regular iron, is set in a shape that allows control for small places, (because it was designed to iron clothes and get to small areas) but that, while a good thing when ironing a shirt, is not what we need when trying to press iron-on vinyl into a garment, and with the 4 different sizes that the EasyPress 2 offers, you will for sure find one for your needs.


[ Image from cricut.com ]

Heat presses normally have square or rectangular shapes and the heat is evenly distributed through the whole surface to provide a high-quality transfer.
Unlike regular industrial presses, the EasyPress 2 is easily transportable thanks to its lightweight plastic body, and a base that allows to move it around safely.
Cricut also offer caring cases for each size, making it easier than ever to carry it with you!
3 EasyPress 2 improvements
The EasyPress 2, as the name implies, is the second iteration of the Cricut heat press.
They have improved several aspects, the first version was only available in one size and one color, now some of the sizes are available in a range of colors.

Some of the other improvements that are worth mentioning are:
- More sizes to accommodate different kinds of projects.
- Higher max temperature of 400°F
- Heats up 25% faster than the original
- Thicker heat plate with less temperature variance
- A USB port for firmware updates
- Improved safety base that protects the surface underneath a lot better.
- Remembers your last set time and temperature

[ Image from cricut.com ]
One safety feature that I consider extremely handy is that the EasyPress 2 will shut down after 10 minutes of inactivity. Having left my iron unattended for longer than I’ve liked before, I love this feature.
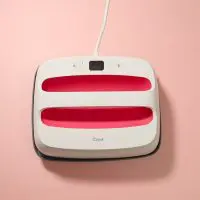
4 The anatomy of the EasyPress 2
The EasyPress is not just a beautiful machine design-wise, it's also a very intuitive and easy to use heat machine.
It has 2 main components, the base, and the actual machine, and as you can see below, it's pretty simple, and beautiful!
One thing I've read people complain about is the position of the cord, some people wish it was on one side or lower in the back, but for all the testing I've done I really like where it's placed.
My sewing table plugs are in the back, so it reaches with no problem, but if you find that it's too short, I would recommend you a surge protector power strip, to make sure you and your machine are safe.


The controls:
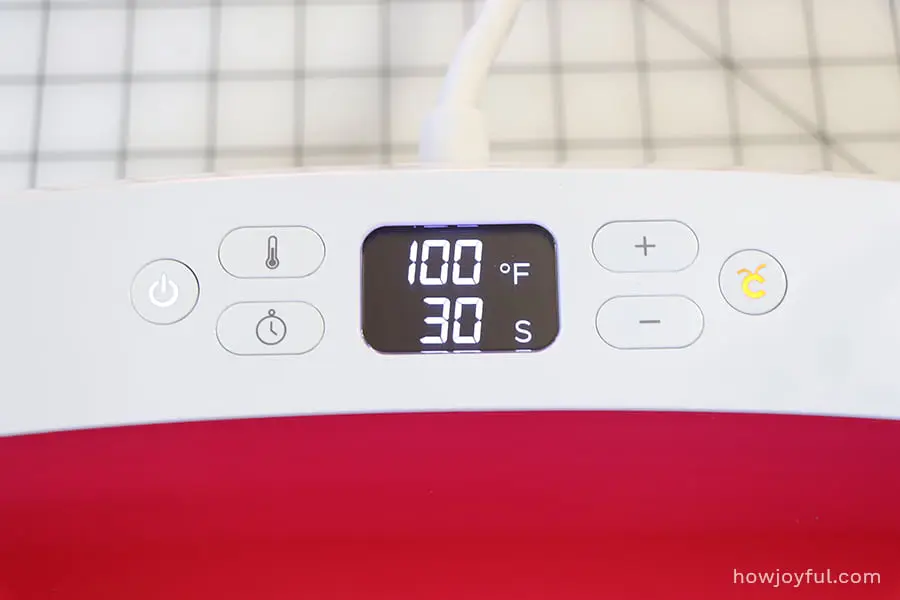
- Power button: this one turns the machine on and off. When you turn the EasyPress 2 on, it will revert to the last settings used.
- Temperature button: To set a temperature, simply press this button and use the + or – to get to your desired temperature. Hold this button down and you can change between Fahrenheit and Celsius.
- Timer Button: This button works just like the temperature button. Press down and use the + or – to change the timer.
- Plus and minus buttons: These buttons are used to set the temperature and time.

5 The EasyPress 2 sizes
One thing I love about the new models is the wide range of sizes that you can choose from, no matter the project you have in mind, they got you covered!

[ Image from cricut.com ]
-
Cricut EasyPress 6 x 7 inches: This is the smaller size of the regular design EasyPress, at 3.3lb in weight is perfect for small flat projects like:
- Baby clothes
- Beanies
- Small bags
- Gloves
- Socks
- Etc.
-
Cricut EasyPress 9 x 9 inches: This is the medium size and weighing only 5.7lb it’s the perfect size for most projects and probably the most recommend if you are an EasyPress newbie. It works perfectly for projects like:
- Tote bags
- Pillows
- Apron
- T-shirt
- Etc.
-
Cricut EasyPress 10 x 12 inches: This is the biggest size of the EasyPress and it’s perfect for bigger projects where you need a larger area to transfer like:
- Big T-shirts
- Blankets
- Sweatshirts
- Large projects
- Etc.
-
Cricut EasyPress Mini: This is the latest release from Cricut and it’s the perfect shape for small projects in awkward places or surfaces, like:
- Shoes
- Baseball caps
- Small non-flat clothes
- Etc.
6 How to choose the right size of EasyPress 2
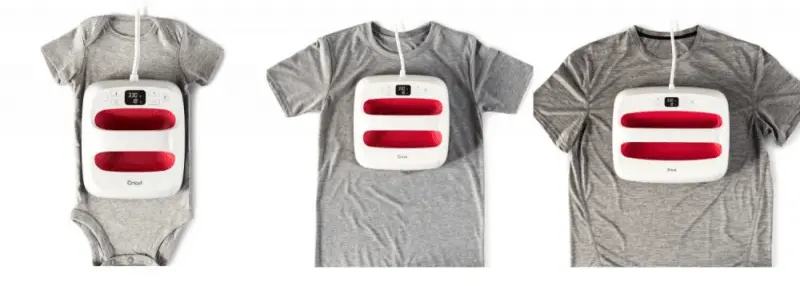
As I've mentioned before, it all depends on the kind of projects you are making, I have the 10×12 inches and while it's perfect for most projects, it's not the best when trying to use it with small items like toddler tees or baby onesies.
So if you plan to make small projects, your best bet would be to go with either the 6×7 inches or the 9×9 inches.
For reference this is how I am able to press a toddler size tee:

And this is how big the 10×12 inches Easypress 2 in comparison to a 3-6 month onesie:


While I can still press them, Ia m not sure if I get the *best* transfer, because of the seams of the onesie, I think that with a smaller press, I could get way better results.
But for me, since I don't make enough of those projects, I am sticking to the big EasyPress 2.
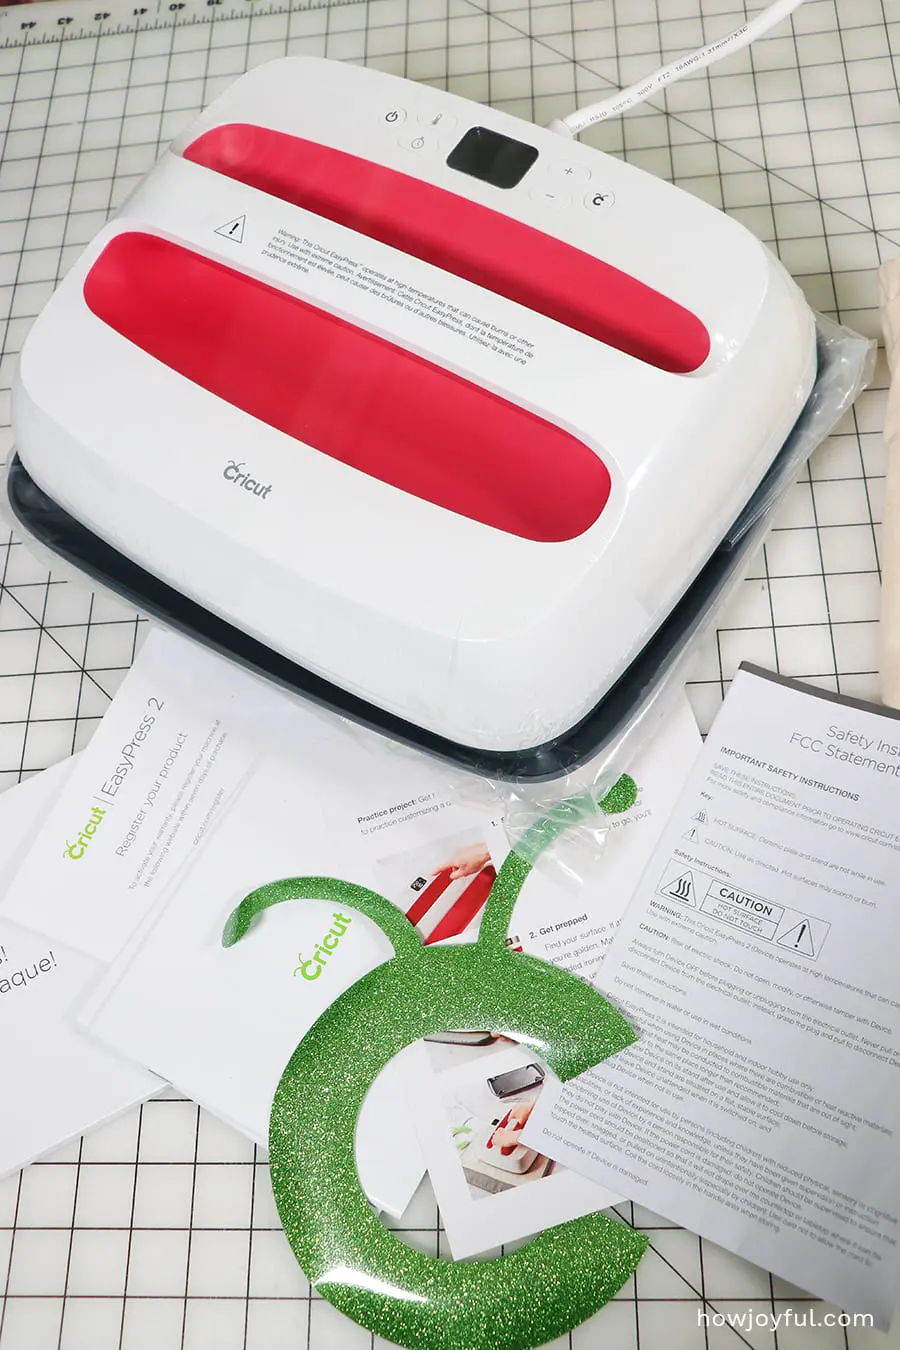
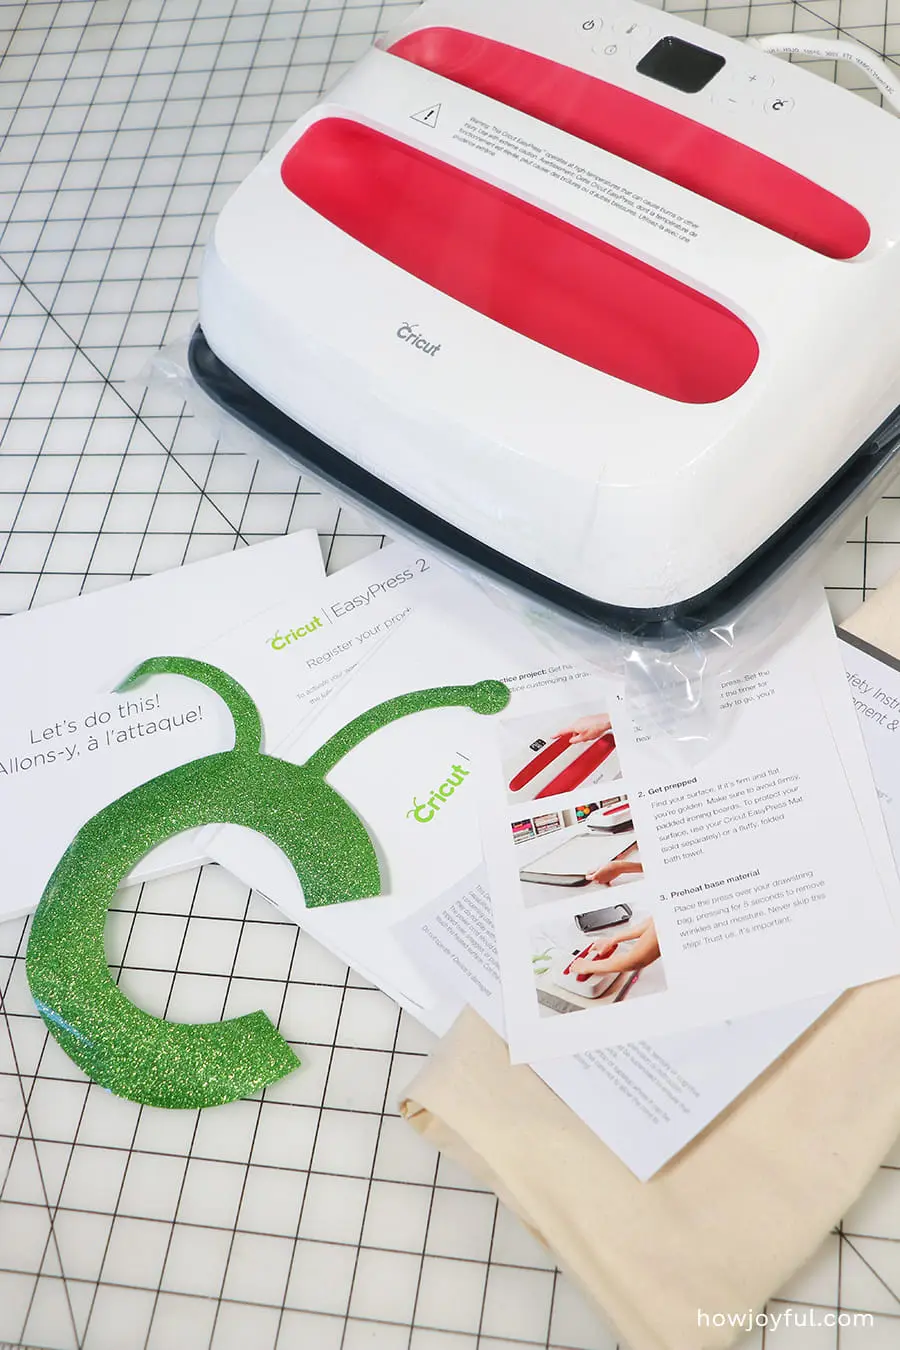
7 What comes in the box of a Cricut EasyPress machine?
Along with the machine, here’s what’s included in the box when you purchase a Cricut EasyPress 2:


- The safety base is included
- Quick time and temperature reference for pressing various transfers (You can also find it online here)
- A welcome booklet (You can also find it here)
- Some practice materials for your first project
- Warranty

(For more information about the EasyPress check this help page)
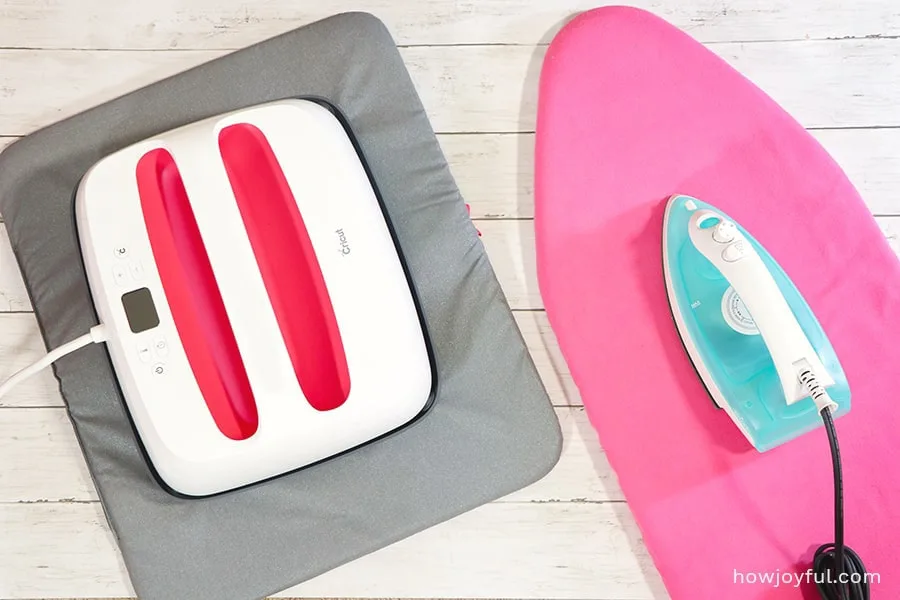
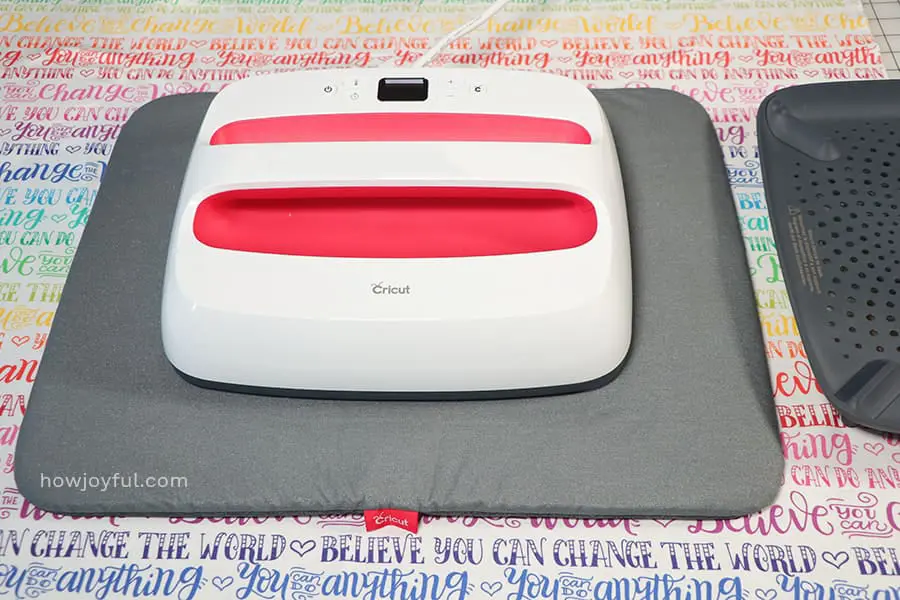
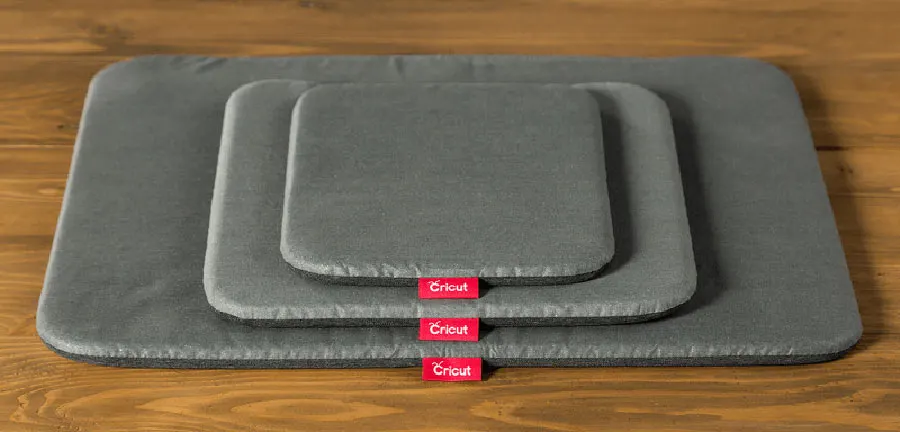
8 What is a Cricut EasyPress mat?
The EasyPress mat, as the name implies is a thick mat that helps protect the surface you are working against the heat of the press.

 Some people recommend to just use a towel when using the EasyPress 2, but towels don't have moisture-wicking capabilities and when folded too thick, they do not offer the flat support needed for good adhesion.

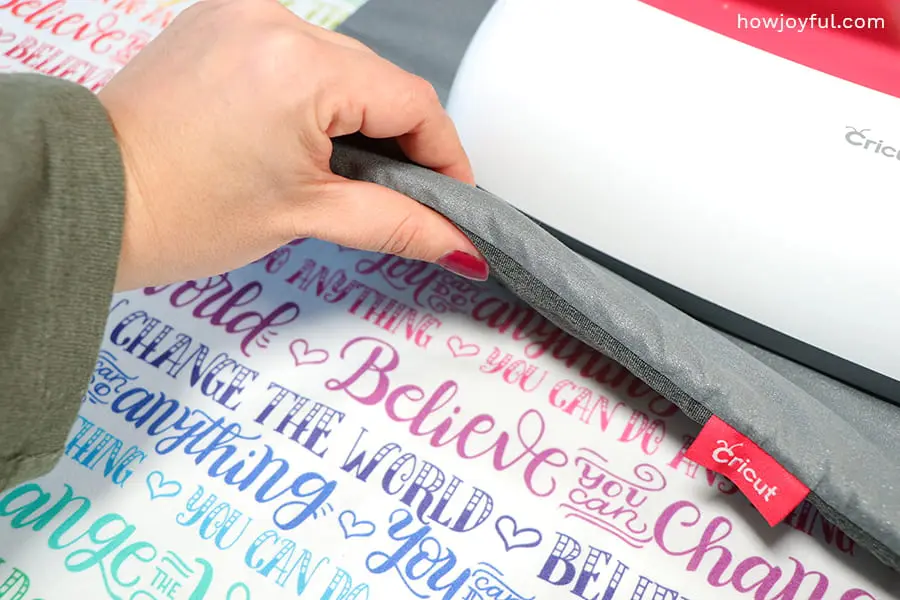 The EasyPress mat consists of 5 layers of heat resistant, moisture-wicking insulation. And most importantly, it helps redirect the heat back to the surface you are pressing.

[ Image from cricut.com ]
Just like the EasyPress 2, the mats come in sizes that match the presses.
9 What else do you need to make a project?
The EasyPress 2 is a companion to the Cricut cutting machine, and it makes transferring iron-on vinyl and Infusible materials way easier.
But, one thing worth mentioning is that Cricut sends you materials for you to create your first project with all cutting machines as well as with the EasyPress 2.
If you are new to making things using iron-on vinyl there are some extra things that you should pick in order to make your projects successful.


So in order to complete a project, you will need:
- The Cricut Easy Press Mat – Place the mat under your project and press on top of it to protect the surface underneath. It also helps to redirect the heat back from the back.
- A Cricut cutting machine – Most Carter’s get a cutting machine before getting a heat press, but if you are working the other way around: The Cricut Explore Air 2 is a great affordable option, but the Cricut Maker is great for a wider variety of materials. What to check more information? Read my post all about the Cricut machine.
- Heat Transfer Vinyl – Make sure you are using HEAT transfer vinyl, this is a different kind, and you also have to remember to mirror the graphics before cutting them.
- Iron-on protective sheets – This Teflon sheet protects your projects when using the EasyPress at high temperatures. While most kinds of iron-on vinyl don't require it to be at very high temperatures, sublimation requires for the Easypress to reach 400°F, this temperature can definitely burn some substrates, so better be safe than sorry and get some Iron-on protective sheets.
10 Tips & tricks to use the EasyPress
Well, I am glad you ask!
Before getting an EasyPress 2, I did a bunch of research, so by the time I received mine, I had a bunch of helpful tips already written down.
Below are some of the most important:
1- Always work on a flat surface! I know that this should be a very obvious point, but many times, especially if we are in a rush, we could potentially forget to clear a flat and firm area to work with the EasyPress. This will make applying pressure so much easier.
2- Preheat your surfaces. This was something new to me, but most crafters recommend pre-press fabrics and other substrates before applying the heat transfer.
Once you think about it, it makes sense because you don't want any wrinkles or moisture before pressing, and preheating takes care of that for you.
Also, if you are going to press fabrics, consider pre-washing them as well, this way you take the initial shrinkage out of the way.
3- Make sure your transfer is centered and aligned. I love to use a sewing ruler to make sure that the transfer is where it’s supposed to be. If you want to use marks, another trick is to use dots made with the washable Cricut pen (and if you make dots in the inside of where you iron is supposed to be, will give you a clean, and covered transfer)
4- Use the EasyPress heat setting guide. The guys at Cricut did a wonderful job of setting up an interactive guide that covers most materials. This guide will guide you in the exact setting you should use your press
5- Use a protective sheet. Teflon sheets are the best way to not only protect your press but also your projects. I learned this lesson when using my regular iron, you need to be cautious as possible when using heat, and especially with the temperatures that the EasyPress achieves to do sublimation projects, you should always protect them using Teflon sheets!
6- If possible use a Cricut EasyPress mat. I know they can be a little more expensive, but the Cricut mats are designed specially so they can redirect the heat back to the project you are pressing. This will give you a better transfer all around.
7- Re-hit from the back if you are not using an EasyPress mat. If you want a better transfer and are not using a Cricut EasyPress mat, but a towel or iron board instead, make sure that after you are done, if the substrate allows you, to hit the project back from the back or turn over tees and press again from the back (remember to use a protective sheet here as well)
8- Check if you have to cold, warm or cold peel your iron-on vinyl. Depending on the kind of transfer material you should check the temperature that they recommend to peel the carrier sheet away.
9- Follow the iron-on care instructions for longer transfers. Another important point to remember is to check what your iron-on has as care recommendations. Most of them recommend that you:
- Turn clothes inside out before washing
- Wait for at least 24hrs before the first wash after application.
- Avoid harsh detergents and do not use bleach
11 How to apply iron-on vinyl
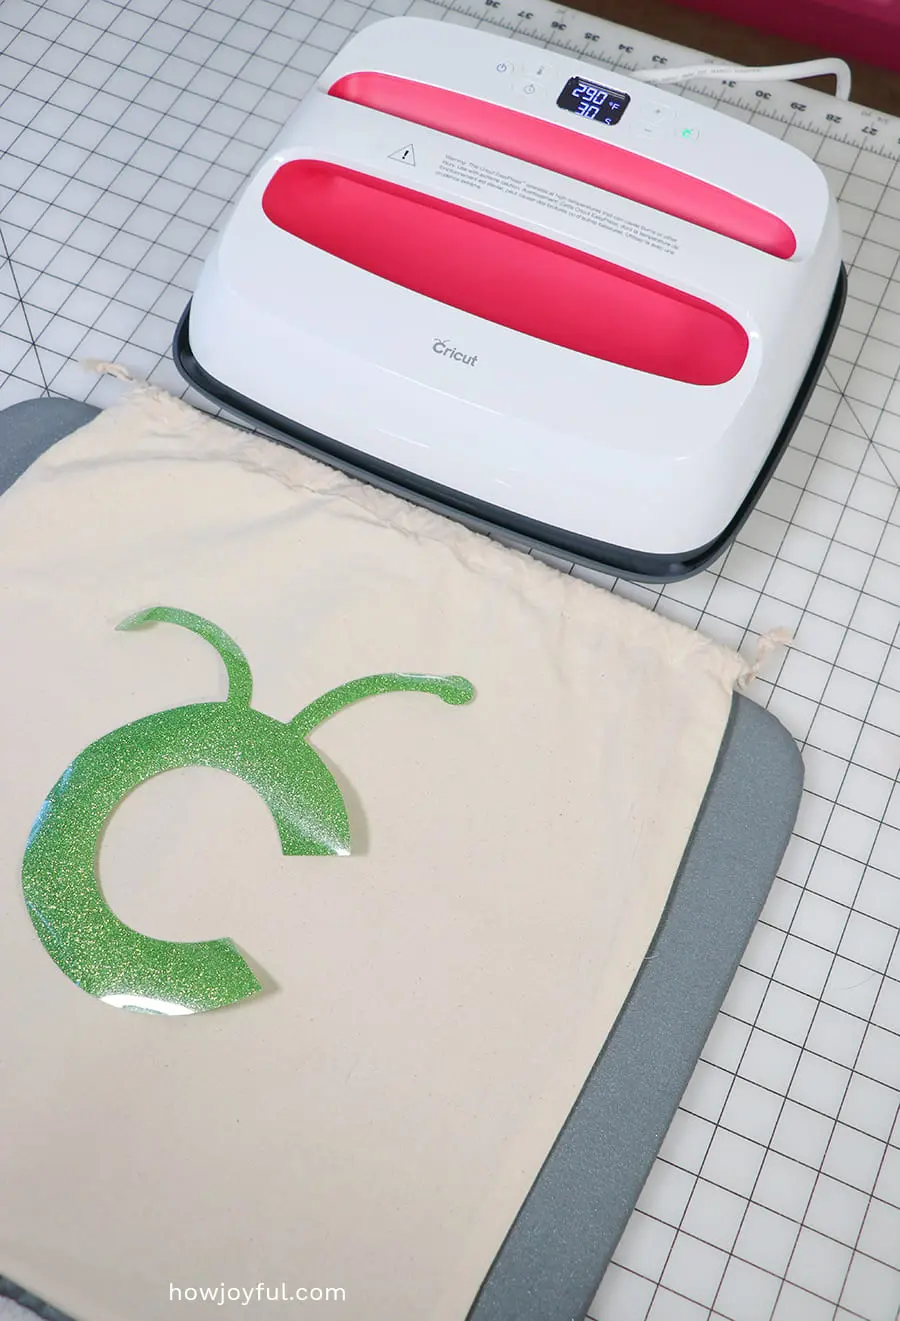
1- Cut your design: First you need to cut your design and weed it, remember that you need to mirror the design before cutting if you are using heat transfer vinyl for your project. in this case, I am going to share the sample project that comes with the Easypress 2, so I didn't have to cut it and the carrier sheet comes with the shape of the graphic, so there is no weeding to do.
Also, if you are going to press of tees or other kinds of fabrics, pre-wash them, so that your vinyl down get ruined by the shrinkage of the fabric.

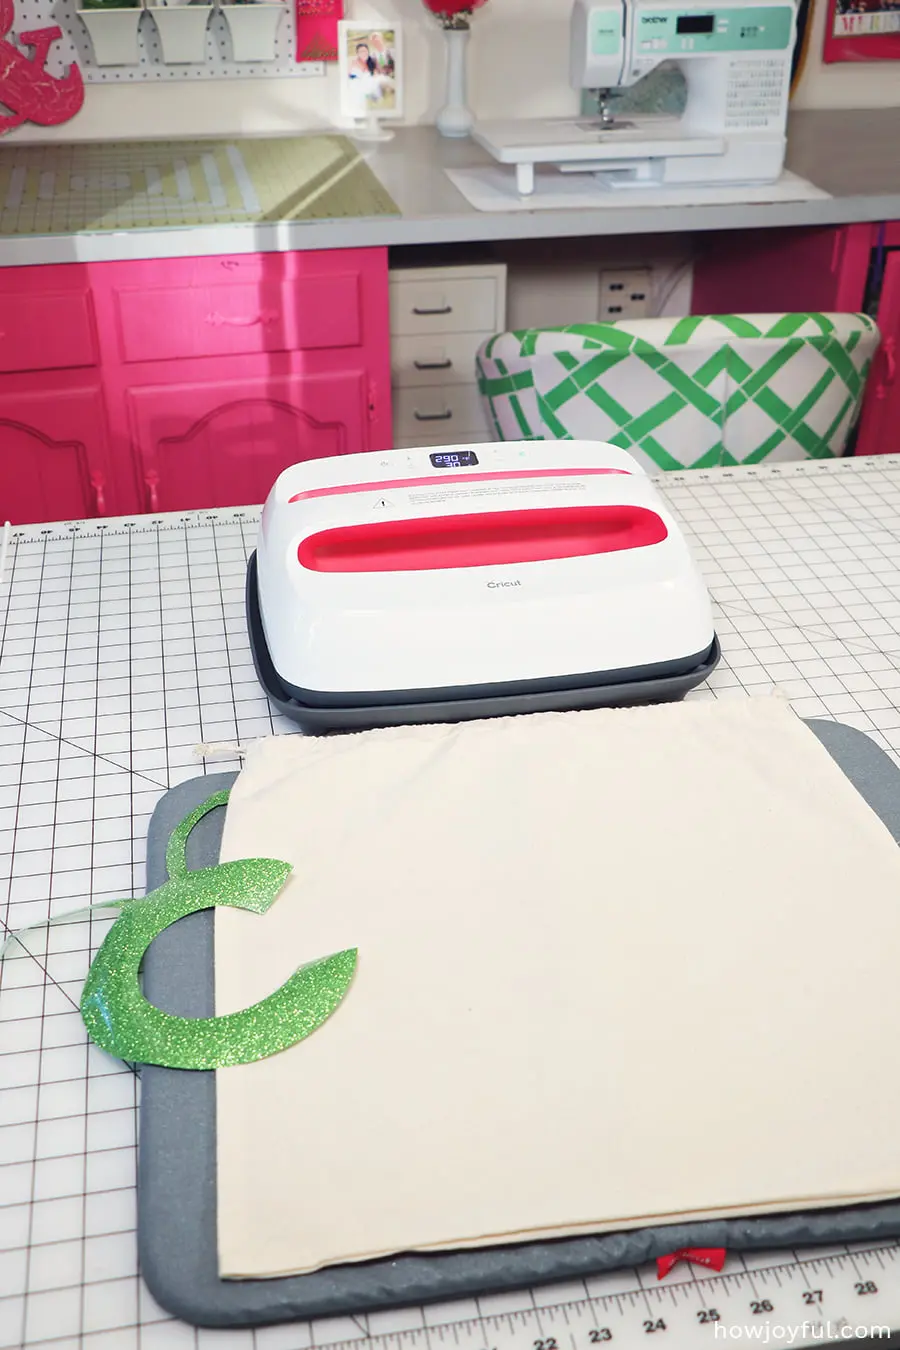
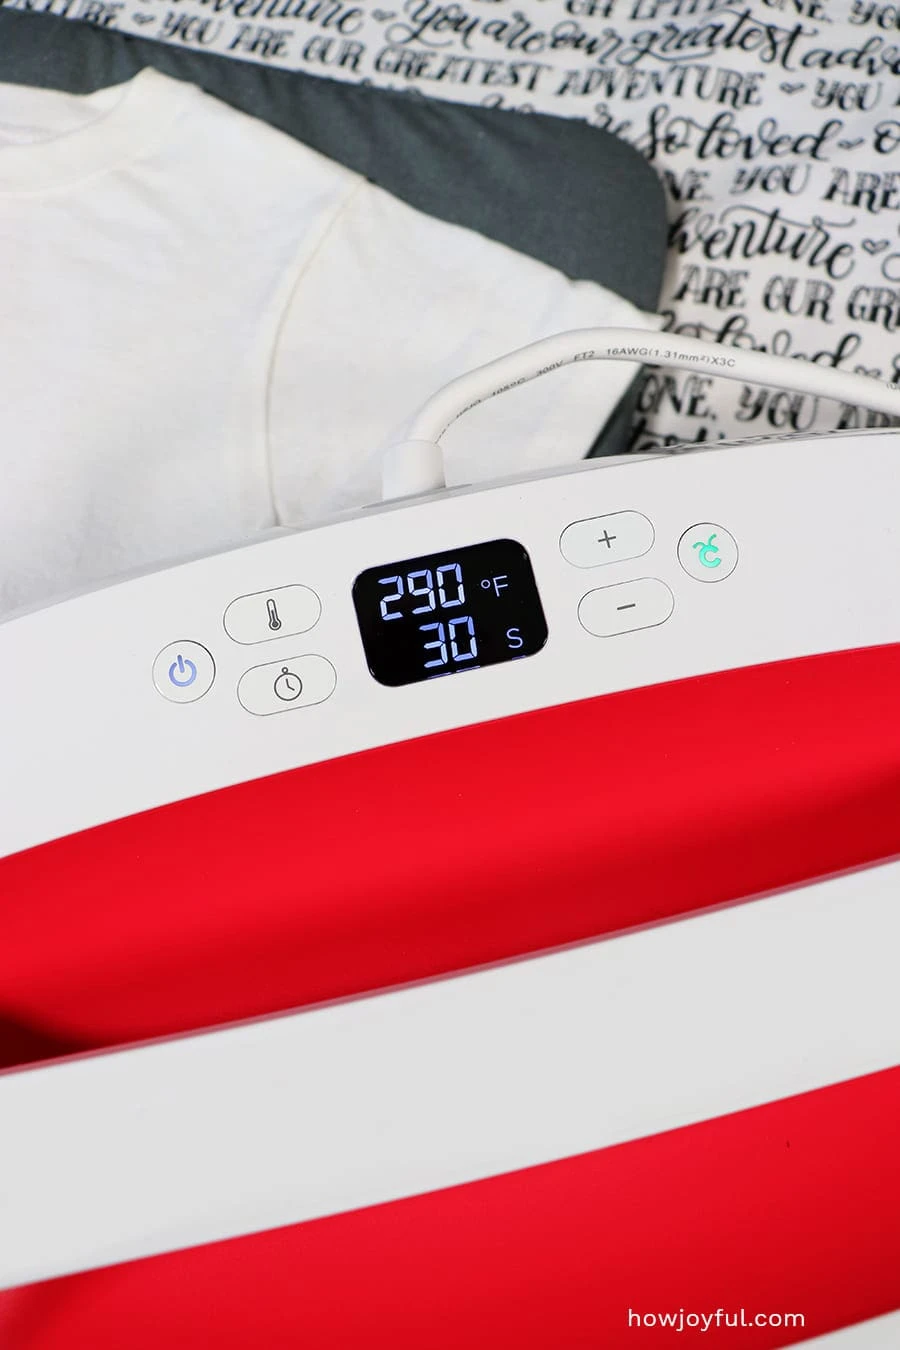
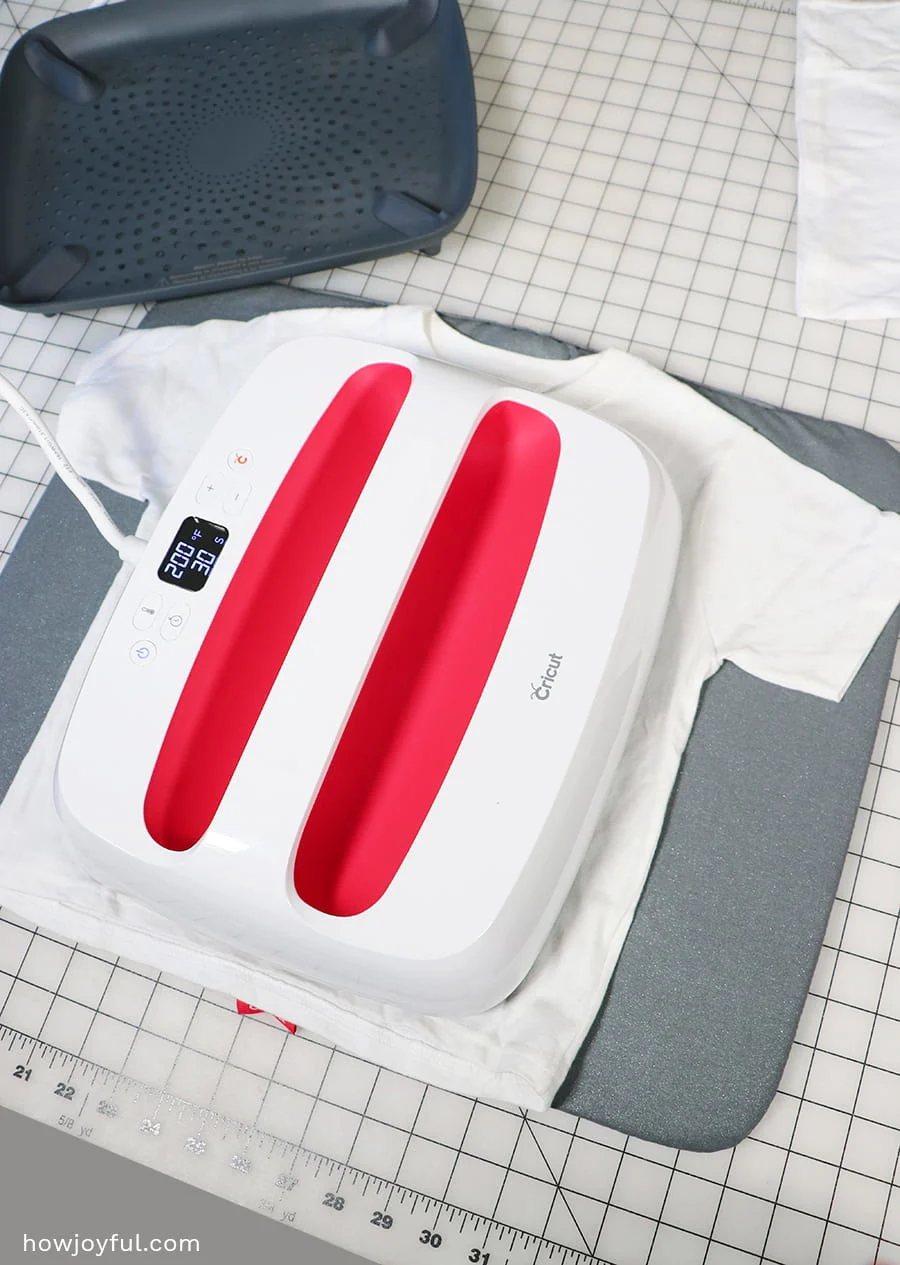
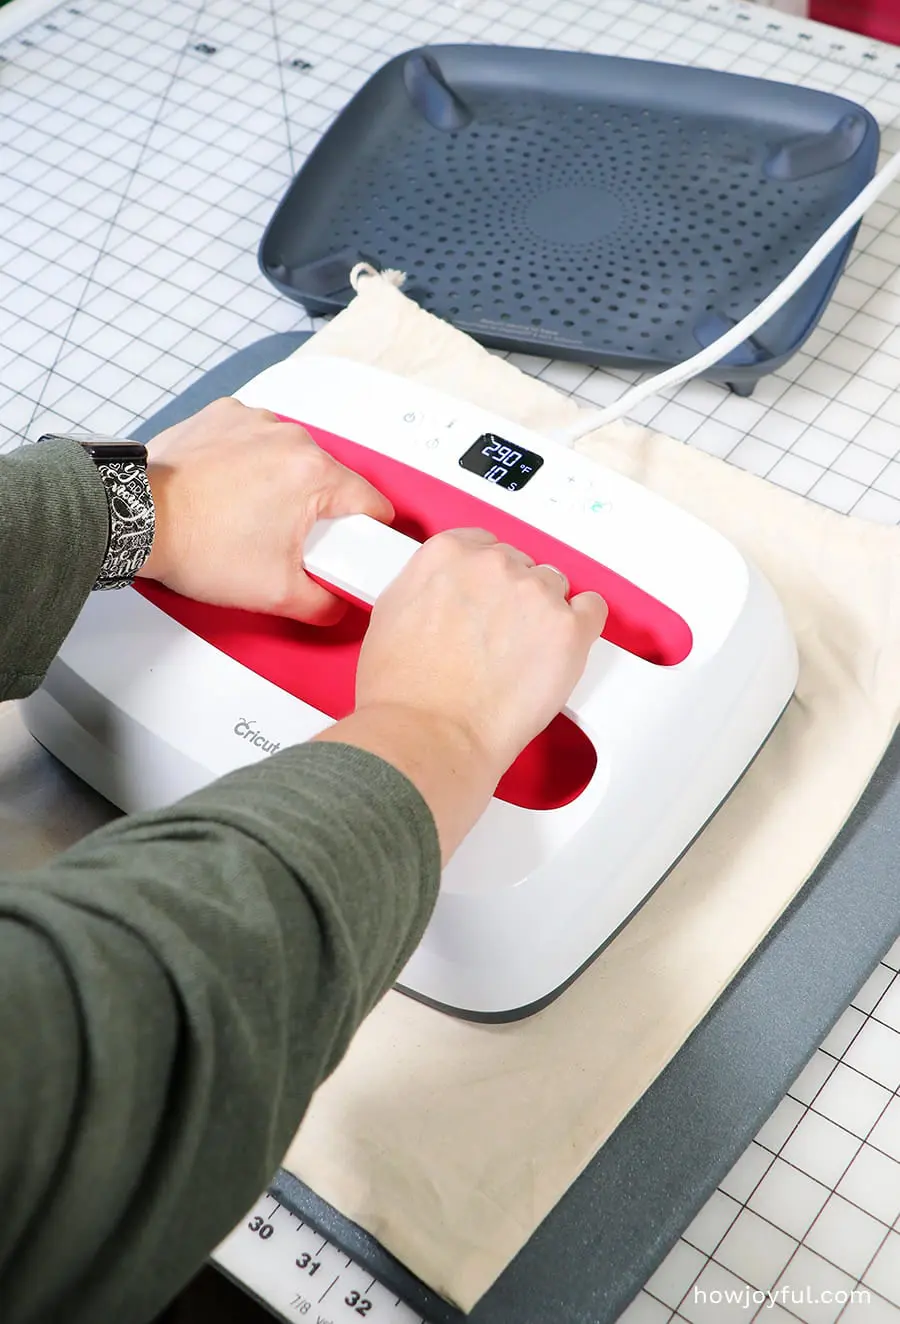
2 – Plug and turn your EasyPress 2 on, set your temperature: Depending on what you are using you need to set the temperature accordingly, for this sample project the temperature should be 290°F (or 145°C) and the times to 30 seconds.
3 – Preheat your surface: Once your EasyPress has reached the desired temperature, it will beep. Now you can press your surface for about 5 seconds.
This will get rid of all wrinkles and smooth your surface if you sill see wrinkles, press again for another 5 seconds.

4 – Lay your project down: To get the best result, you should always work on a flat solid surface. Measure to make sure your design is centered and right where you want it to be. Your sandwich should look like this, from top to bottom:
- EasyPress
- Teflon sheet
- Heat transfer vinyl
- The substrate (the item you are adding heat transfer vinyl to)
- EasyPress Mat
- Flat surface
5 – Set your timer and apply pressure: Once you have everything lined up and ready, set your timer and apply down pressure by holding the handle on the EasyPress.

Make sure to turn your project inside out to give another press and make sure your project is as good as possible.
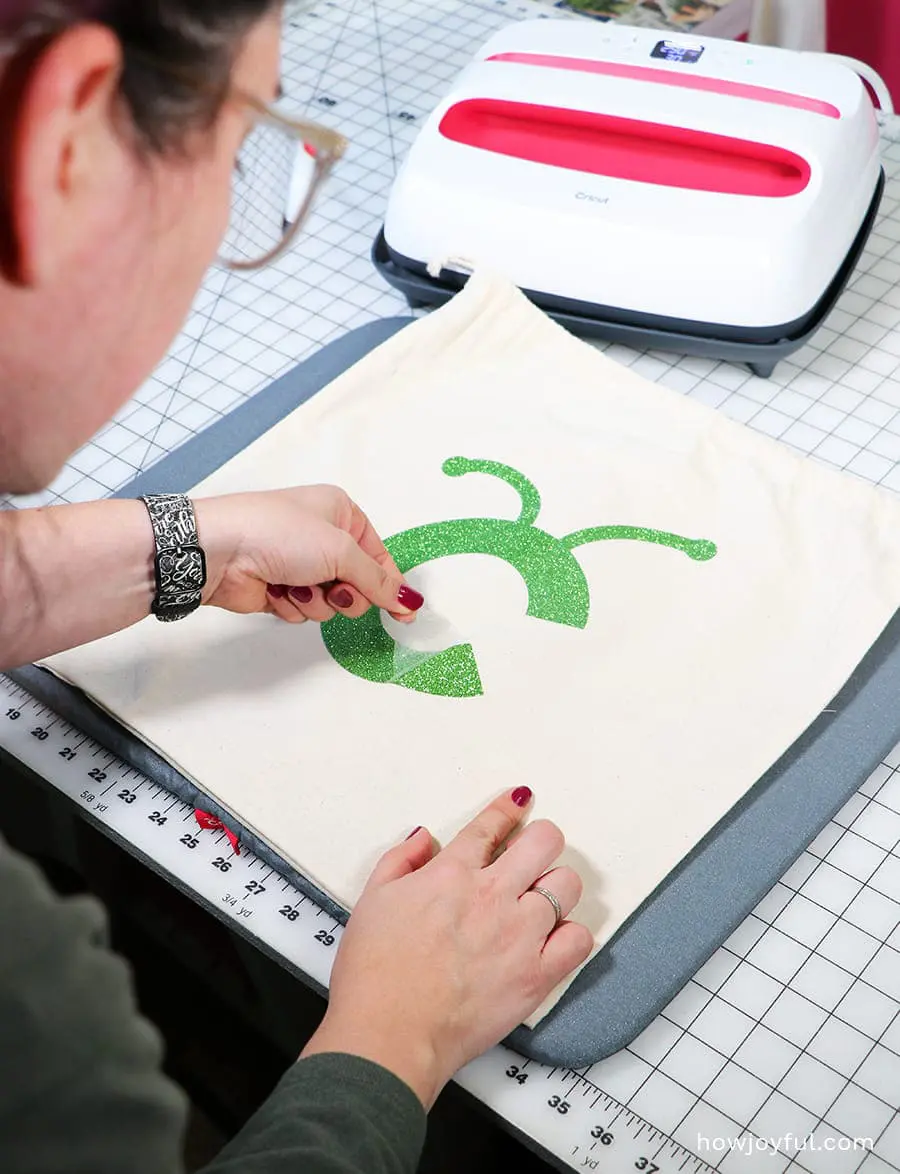
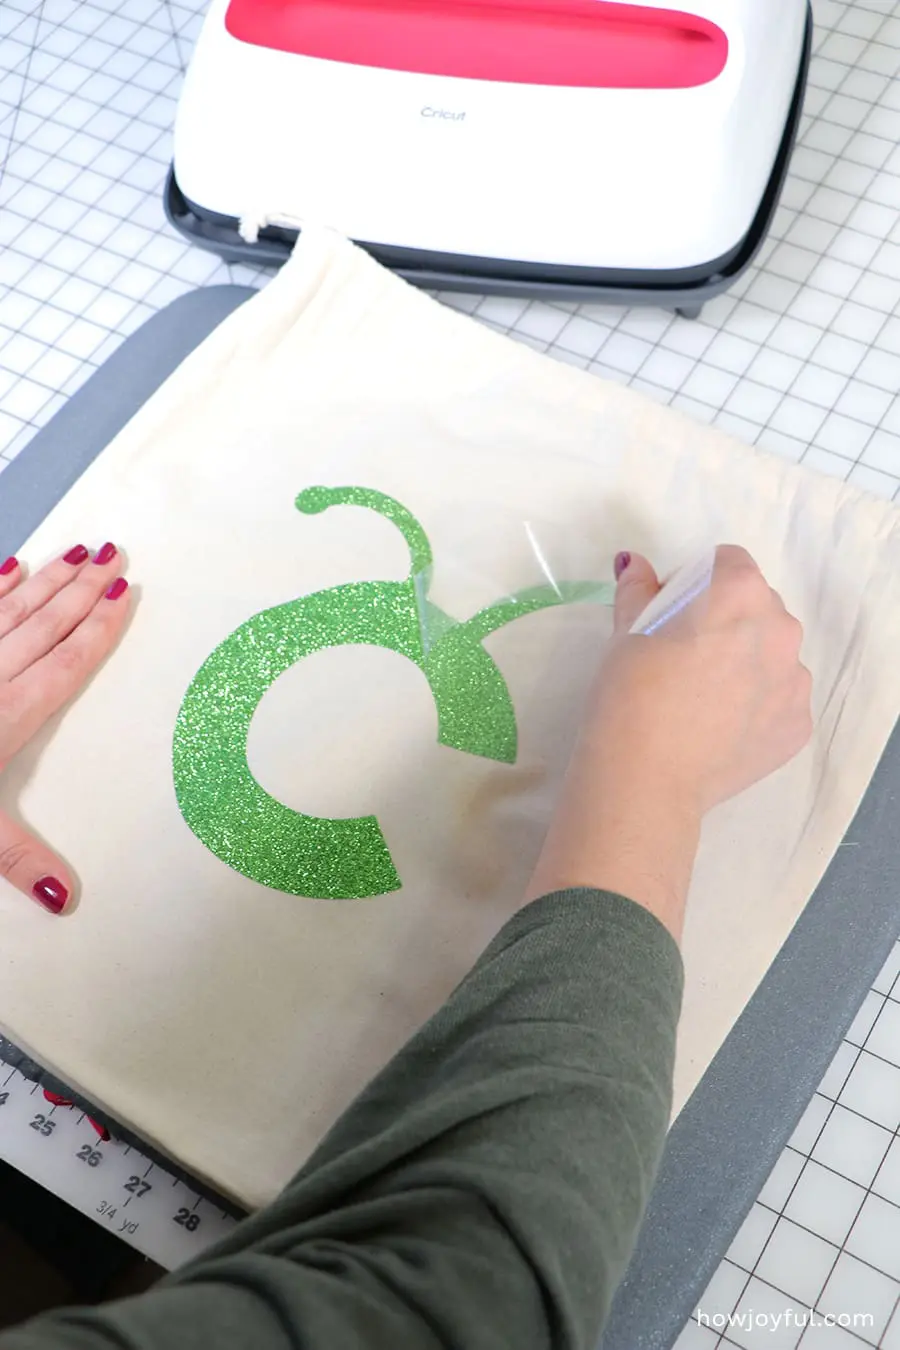
6 – Peel the carrier sheet: One thing you want to pay attention to, in case you use a different brand of iron-on vinyl, is if it’s cold, warm or hot peel. While it might seem like it’s just a silly detail. Some kinds of heat transfer vinyl work better when peeled off at a certain temperature.


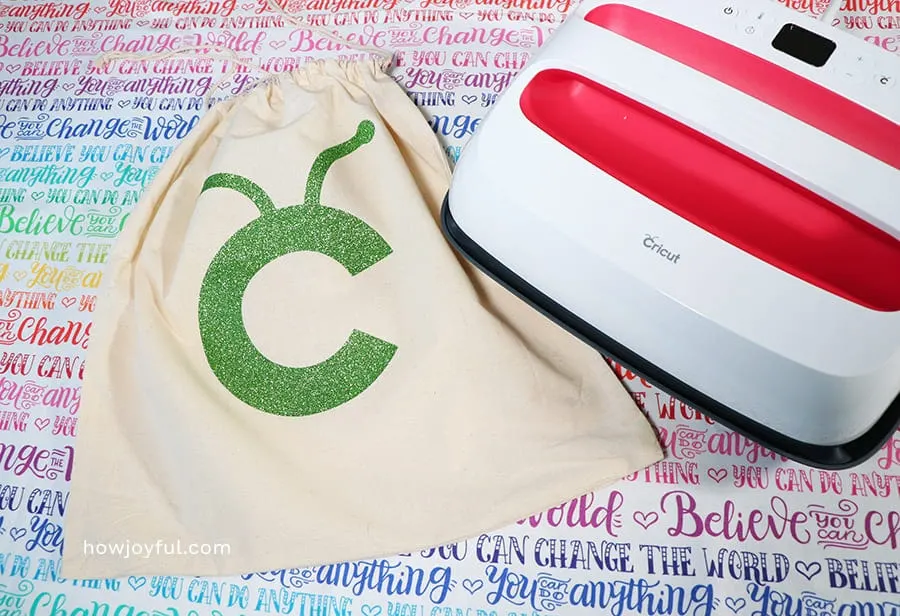
7 – Enjoy your finished project! And remember to not wash your item for the first 24 hrs, to use only gentle detergents and do not use bleach =]

EasyPress final thoughts – Should you get one?
Before having an EasyPress 2, I thought that I didn’t need one, that my iron would do just fine. And if you are only making small things for yourself, I don't think the price tag justify for you to get one.
If you are starting to do more gifts that require heat transfers, or are dipping your toes in to selling tees, the EasyPress is a good stepping stone into professional heating press equipment.
If you are a serious crafter, chances are you are already considering one and all I have to say is GO FOR IT! When selecting the size, think about the kind of projects you will be making the most and choose the size that would make those projects easier.
If you are considering an EasyPress 2 to start an online tee business, I would actually encourage you to look for a professional heat press.
Why?
Because you won't have to manually press down with those and some clamp allowing you to multitask while pressing, making it faster and more convenient for you.
On a different note, I do have to say that I am OBSESSED with mine, and I want to press all the things!
If you are convinced to get one, check out all the sizes here and in the button below.
So expect a bunch of Cricut tutorials coming your way soon!


Also, if you are looking for alternative places to look for designs, I have an entire section of my studio dedicated to hand-lettered SVG files =]
AND, you can find the lettered background I used for my pictures here (ps. they are swaddles)
If you liked this post consider saving it for later by pinning the images below!


How to apply iron-on vinyl with a Cricut EasyPress
The EasyPress machine by Cricut makes using iron-on vynil a breeze!
Materials
- EasyPress
- Teflon sheet
- Heat transfer vinyl
- The substrate (the item you are adding heat transfer vinyl to)
- EasyPress Mat
- Flat surface
Tools
Instructions
- Cut your design: First, you need to cut your design and weed it, remember that you need to mirror the design before cutting if you are using heat transfer vinyl for your project. in this case, I am going to share the sample project that comes with the Easypress 2, so I didn't have to cut it and the carrier sheet comes with the shape of the graphic, so there is no weeding to do.
- Plug and turn your EasyPress 2 on, set your temperature: Depending on what you are using you need to set the temperature accordingly, for this sample project the temperature should be 290°F (or 145°C) and the times to 30 seconds.
- Preheat your surface: Once your EasyPress has reached the desired temperature, it will beep. Now you can press your surface for about 5 seconds. This will get rid of all wrinkles and smooth your surface if you sill see wrinkles, press again for another 5 seconds.
- Lay your project down: To get the best result, you should always work on a flat solid surface. Measure to make sure your design is centered and right where you want it to be. Your sandwich should look in the same order as I explained the materials.
- Set your timer and apply pressure: Once you have everything lined up and ready, set your timer and apply down pressure by holding the handle on the EasyPress. Make sure to turn your project inside out to give another press and make sure your project is as good as possible.
- Peel the carrier sheet: One thing you want to pay attention to, in case you use a different brand of iron-on vinyl, is if it’s cold, warm or hot peel. While it might seem like it’s just a silly detail. Some kinds of heat transfer vinyl work better when peeled off at a certain temperature.
- Enjoy your finished project! And remember to not wash your item for the first 24 hrs, to use only gentle detergents and do not use bleach =]
Notes
If you are going to press of tees or other kinds of fabrics, pre-wash them, so that your vinyl down get ruined by the shrinkage of the fabric.
Recommended Products
Tried this craft? Tag me @howjoyful or use #howjoyful


I hope you liked this post and as usual, if you have any questions, don't hesitate to contact me!
Keep creating!