


Learn all the steps, tips, and recommendations to have a flawless application of Cricut Iron on, plus get to know all the different kinds and possible applications of this fun and versatile material.

When we are getting started using our Cricut machines, projects using iron on vinyl can seem super intimidating, and while the process is not as simple as applying regular vinyl, it's also not as complicated as it seems!


In this post, I will go over everything you should know so that you can take that frustration away and start with Cricut Iron on Projects in the best way possible! So, let's go over everything that I will share with you:
What is Cricut iron on vinyl?
Iron On Vinyl is a special kind of vinyl and unlike his family of regular adhesive vinyl, Iron on is a kind of vinyl that does not have a sticky side, Cricut iron on has a side that reacts to heat and adhere to surfaces and while is mainly used for fabric, it can also adhere to leather, paper, metal, wood, and many other surfaces.
If you are familiar with craft lingo, you might have heard of HTV (Heat Transfer Vinyl), Cricut Iron on Vinyl is just Cricut’s version of HTV.
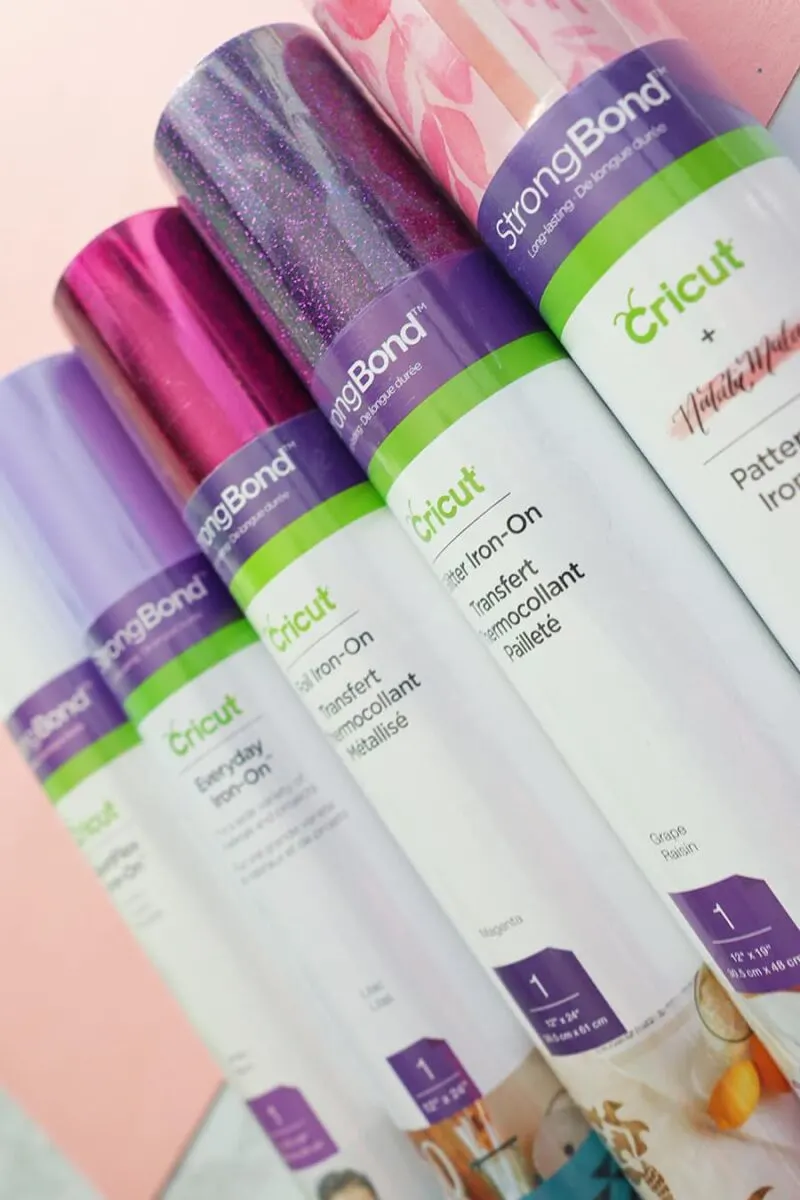
There are many kinds of iron on by Cricut, so now I want to explain and go over every kind so that you can figure the perfect kind for your next project.


Iron on Formats
Iron-on can be purchased in two different formats, rolls and sheets
- ROLLS: The most common width of the rolls is 12 inches (to match the width of the match on the Cricut Explorer series and the Cricut Maker series of machines. The length of the rolls varies on the kind of iron on and can go all the way up to 40ft.
- SHEETS: The most popular size of the sheets (just like craft paper) is 12×12 inches, but there are additional sizes like 12×10 inches. One of the benefits of buying iron on in sheets, is that especially for smaller projects, you don't need to buy many rolls in order to have a sample of different colors.
- CRICUT Joy: The Cricut Joy machine offers the chance of making small projects with iron-on, you can buy rolls that fit the standard mat of the Cricut Joy is 4.5″ wide with a 12” long mat. And with the introduction of smart materials, now you can also just buy the materials to cut them without having to use mats (the introduction of smart materials was with the Cricut Joy, but now the Cricut explore 3 and the Cricut maker 3 are also compatible with smart materials)
And while some of them are very easy to work with, others can be a little tricky, which scares beginner crafters. BUT don't worry! I will explain everything you should take into consideration so eliminate as many frustrations as possible!


Kinds of Cricut iron on
Now let's talk about some of the most popular Cricut iron on kinds, and check out their details:
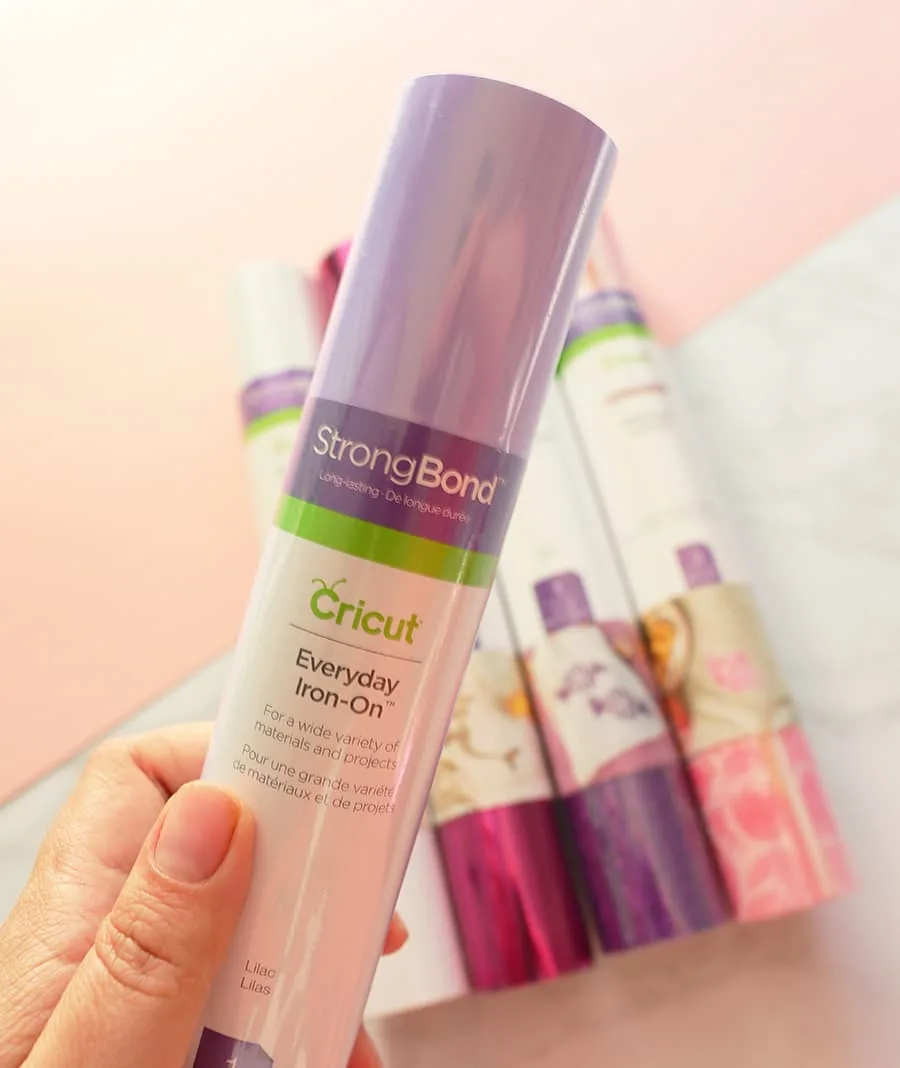
1 – Cricut Everyday Iron on
This is the most popular iron on kind. As the name clues, it’s one with the widest range of uses and the best part is that it can be layered up to three different layers, or it can be used as the base layer to add another layer of iron-on on top.
This kind of iron on is available in rolls and sheets, all rolls are 12 inches wide to fit on the mats and with the bulk rolls going up to 144″ in length. There are 39 different colors currently for you to choose from.

2 – Cricut Foil Iron on
This can easily be another of the most popular kinds of iron on, since it adds a wonderful shine in case you prefer not to go all out with glitter.
Foil iron on requires a COOL PEEL process, this means that you need to let it completely cool down after pressing before peeling the protective liner.
The Cricut website also recommends that when using Foil iron on, you should use a press cloth over the top of your material to protect the base material from the heat of your iron or press.
I always recommend using a heat-protective sheet when using heat, whether for iron on or for infusible ink projects.


3 – Cricut Iron on Glitter
When it comes to shining, the Cricut iron on glitter is my personal favorite. And the selection of colors is great, with 31 different colors available, you are sure to find the shade you need for your project.
Glitter iron on also requires a COOL peel process, and it is not suited for layering anything on top, BUT you could use a layer of Glitter iron-on on top of Everyday iron-on.
One of the most complicated things you might encounter when working with Glitter iron on, is that after you cut it, it's really hard to see the lines, so to make it easier, there are 3 different recommendations for weeding:
- Use a BrightPad: This is probably one of the easiest options because all you have to do is turn the BrightPad on, place your glitter iron-on on top, and you will be able to see the lines.
- Use Chalk: Another tip to see those pesky lines is to rub the side of a piece of chalk on top of the side you just cut, that way little pieces of chalk will attach to the cut lines, and you will be able to see them. Just remember to clean your Cricut Glitter Iron on before plying, so the chalk doesn't get in your way.
- Use a Pen when cutting: When you cut your design, duplicate your cut layer and make it a pen layer, place it one on top of the other and attach them. If you have a Cricut Maker or Explore, you can just place a pen on the secondary holder. Then it will cut and also mark the line with the pen, that way you can see it for weeding.


4 – Cricut Holographic Iron on
This luminous holographic iron-on material brings a sense of wonder to every creation, the way the colors change with light is truly magical.
On the Cricut website, you will find that they recommend applying Holographic Iron-On to white or light base materials to achieve a look that closely matches the color prior to application. Holographic Iron-On colors may appear differently when applied to colored materials.
Holographic iron-on also requires a COOL PEEL and can NOT be layered.
5 – Cricut Patterned Iron on
If you want to add a pattern to your project without having to cut small pieces and putting everything together in different colors, Cricut Patterned Iron on is perfect for you, florals, Disney and so much more!


6 – Cricut SportFlex Iron on
This is a type of Cricut iron on will stretch along with your fabric. It’s perfect for Sport-like fabrics, or anything that has a high stretch: Neoprene, Nylon, Polyester, Poly-blends. This is the kind that you want to use for sports leggings, swimsuits, and other high-performance fabrics.


7 – Cricut Smart Iron on
This kind of Cricut iron on it’s meant to be cut without a “Cricut Mat.” Right now, the only models that are compatible are the Cricut Maker 3, the Cricut Explore 3, and the Cricut Joy. It comes in most colors of the regular Everyday, and selected colors and designs of the other Cricut Iron on we have covered.
Where to get Cricut iron on vinyl?
The best place to purchase Cricut iron on vinyl is on their website, Cricut.com but you can also shop online at the Cricut Amazon Store.


The best machines to cut iron on vinyl
If you want to read more details about each Cricut Machine, I recommend you check this post: Where I cover What is a Cricut Machine and what can you do with it. But just to make things easier, let's cover some basics of each one of the machines:
1 – Cricut Maker 3
The Cricut Maker has its own set of multi-purpose blades that allow us to cut more than 300 different materials, and the latest model, the CRICUT MAKER 3 has all the same capabilities as the old Maker model, BUT it's now not only twice as fast, it's also compatible with Smart Materials™ (So you can cut without a mat) I would say it’s the most powerful of the family, so if you plan to not only use it for Iron-on, but also for wood, leather, felt and may other surfaces, this would be the top choice.


2 – Cricut Explore 3
The Cricut Explore is a mid-range machine that while it can't cut as many materials as the Cricut Maker, it's still an extremely versatile machine, fast and way less noisy than the previous models. It's perfect for projects with iron-on where you would need a bigger cutting area. The newest release, the CRICUT EXPLORE 3, has all the same capabilities as the Cricut Explore Air 2, BUT now it's also compatible with Smart Materials™ (So you can cut without a mat)


3 – Cricut Joy Machine
The Cricut Joy is the smallest machine of the family, but thanks to its size it's also the most portable and light of them all. It's perfect for small projects and for on the go. It has a tote bag carrier that allows you to take it with you everywhere, and it's compatible with the Joy size Smart Materials™. This machine is perfect for small iron-on projects like baby bodysuits, or small graphic tees.


SHOP THE NEW MACHINES


How to use Cricut iron on vinyl step-by-step
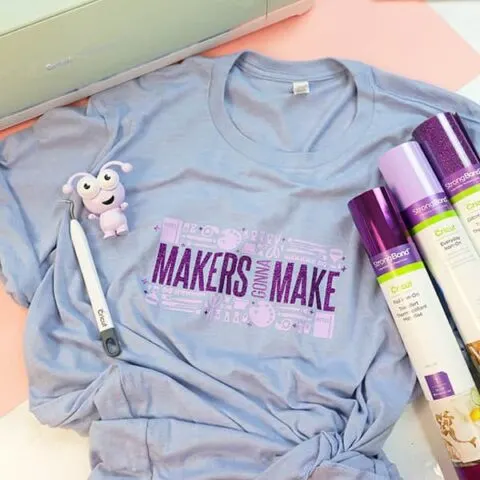
Now that we know all we should about Cricut Iron on, it is time to actually use it, below I shared a step-by-step of the t-shirt I made using, Cricut Everyday iron on, Cricut foil iron on, and Cricut Glitter iron on. OPEN THIS DESIGN HERE

How to use Cricut iron on vinyl step-by-step
Using Cricut iron-on to make a T-shirt while intimidating at first, it's so easy once you have the basics down. So let's cover the process step-by-step.
Materials
Instructions


.
1 - Design or search for a design:
The first thing is to either design, upload, or search for the design we will use. For this example, I will use the "Makers Gonna Make" design I put together on Design Space. To make this, I loaded all the parts, sliced, and re-arranged some pieces to make it just as I wanted. But since I am sharing the link to my project, all you have to do is visit the link.


.
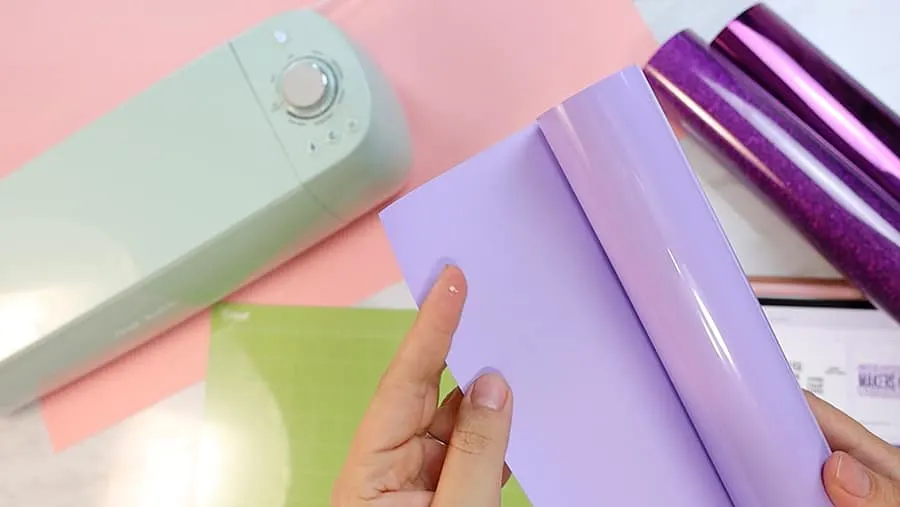
2 - Place the Cricut iron-on on the mat:
Remember to place the shiny or pretty side down on your mat.

.
3 - Mirror your image:
One of the most important steps when applying Cricut Iron-on is to mirror the image! you will find a little box on the app and also on the desktop version so you can do this.


.
4 - Load your mat into the machine:
Push the double arrow button to load the mat into your Cricut Machine.


.
5 - Cut your design:
After your mat is loaded, select your material, go to Design Space and push the continue button, after you made sure that everything is in order, push the last button, then go to your machine and push the blinking Cricut logo button and the machine will start cutting.


.
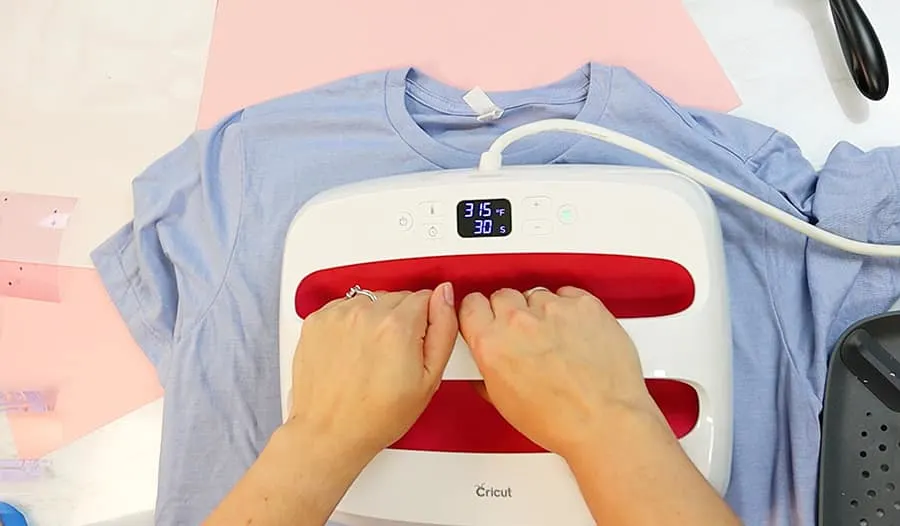
6 - Plug and turn your EasyPress 2 on, set your temperature:
Depending on what you are using you need to set the temperature accordingly, for this sample project the I will be using 3 different kinds of Cricut iron-on, and since I am using a T-shirt that is a cotton blend. The temperatures are as follow:
- Cricut Everyday Iron on's temperature should be 315 °F for 30 seconds, warm peel.
- Cricut Foil Iron On's temperature should be 295 °F for 30 seconds, cool peel.
- Cricut Glitter Iron on's temperature should be 330 °F for 30 seconds, cool peel.


.
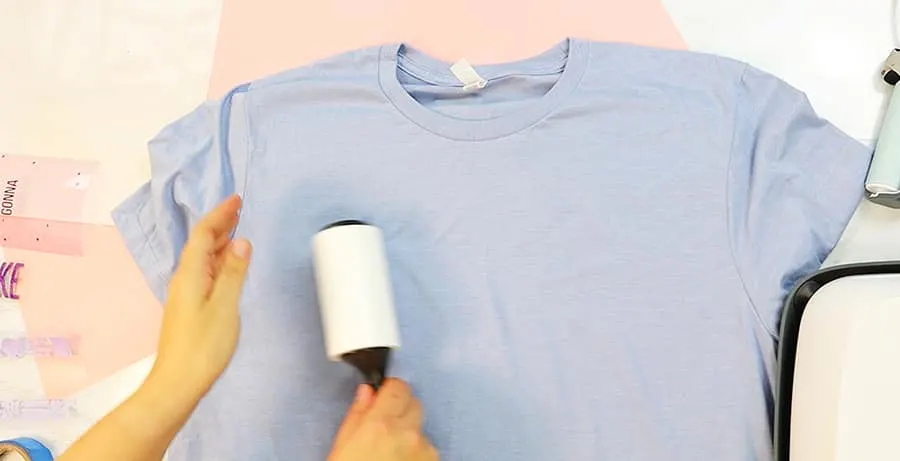
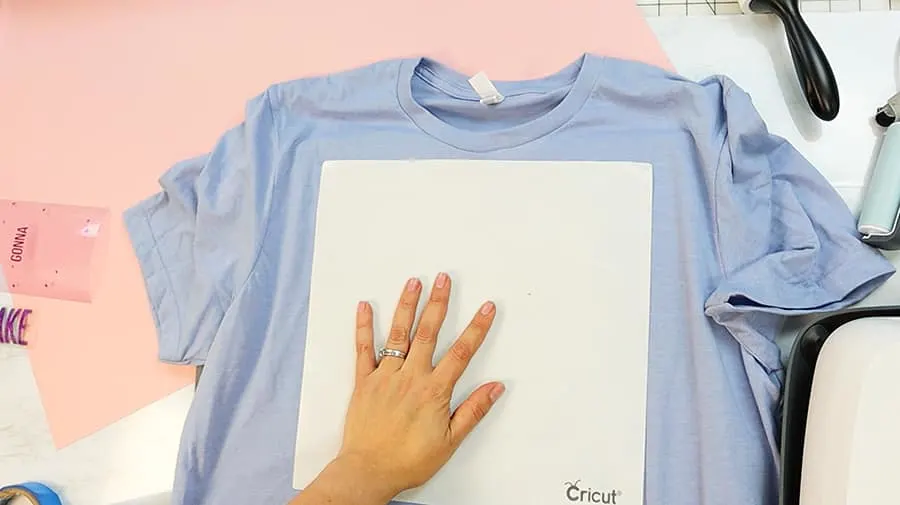
7 - Clean your surface:
I like using a roller to make sure that the surface of my t-shirt is free of hairs or dust, this way the application would be better.

.
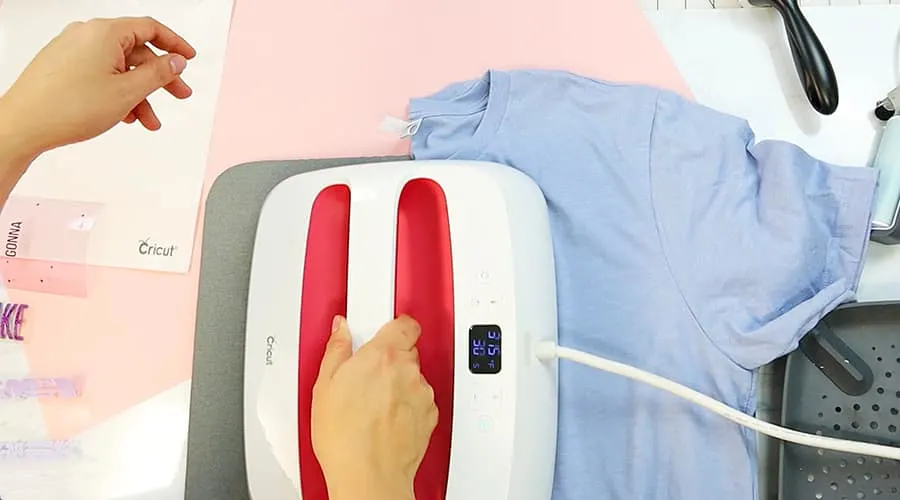
8 - Preheat your surface:
Once your EasyPress has reached the desired temperature, it will beep. Now you can press your surface for about 5 seconds. This will get rid of all wrinkles and smooth your surface if you still see wrinkles, press again for another 5 seconds.

.
9 - Fold your tee in half:
An easy way to make sure your design is centered on the tee is to lightly iron on the middle, I do this by pressing only a couple of seconds.

.
10 - Fold your design in half:
Fold the edges of your design (the carrier sheet) to make sure it aligns with the iron line we made in the previous step.

.
11 - Lay your project down:
To get the best result, you should always work on a flat solid surface.


.
12 - Add your protection layer:
Add a protection layer on top of your design, you can use butcher paper, or a Teflon protective sheet, this will just ensure that the iron or press will not lay directly on your t-shirt. And while this is not completely necessary, I really like protecting the surfaces, especially when layering, since the fabric will be exposed to heat for much longer.

.
13 - Set your timer and apply pressure:
Once you have everything lined up and ready, set your timer and apply down pressure by holding the handle on the EasyPress.


.
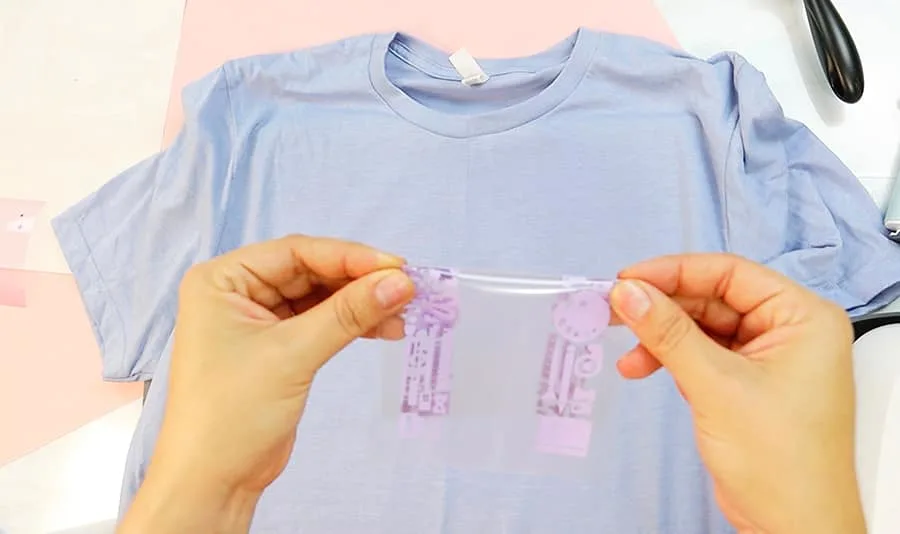
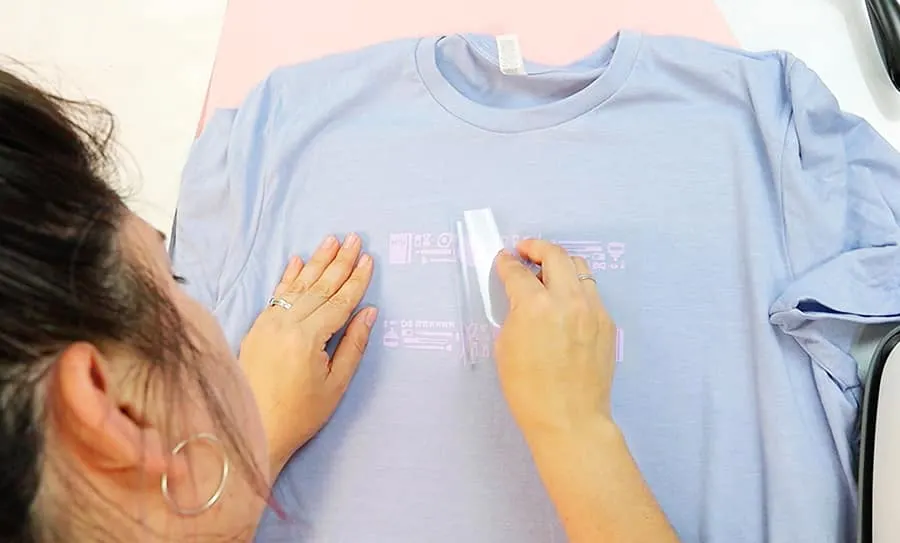
14 - Peel the carrier sheet:
One thing you want to pay attention to, in case you use a different brand of iron-on vinyl, is if it’s a cool, warm, or hot peel. While it might seem like it’s just a silly detail. Some kinds of heat transfer vinyl work better when peeled off at a certain temperature.

.
15 - Layer the next part of the design:
Make sure the next part of the design aligns, press it depending on the material, in my case, it was iron-on foil, so I pressed and then waited until it was cool to peel off.


.
16 - Align the last part of the design:


.
17 - Press it down:
Since it was on Glitter, I changed the temperature and applied pressure for 30 seconds.


.
18 - Peel the last carrier sheet


.
19 - Turn inside out:
Make sure to turn your project inside out to give another press and make sure your project is as good as possible.


.
20 - Enjoy your finished project!
And remember to not wash your item for the first 24 hrs, to use only gentle detergents, and do not use bleach =]
.
Recommended Products
As an Amazon Associate and member of other affiliate programs, I earn from qualifying purchases.


If you would like to see a video explanation, below you can watch this Youtube Video.
Tips for the best iron on application
Here are some of the most important recommendations that you should consider to have the best application of your Cricut iron on:
- ALWAYS PRE-WASH: I know this is a very common suggestion, with sewing and other crafts, and the reason in this case is that, if you put the iron-on and your clothing later shrinks, the iron-on will look wrinkled.
- DON'T FORGET TO MIRROR: This is probably the mistake I did the most when I started using iron-on and now, is something I always check because I wasted far too much material in the past. So learn from me, and always check that you clock on the “mirror” button when you prepare to cut your design (in the mats phases)
- SHINY SIDE DOWN: With Iron-on, remember to always place the shiny side (or pretty side) down, that shiny side is the carrier that holds the material when you weed it.
- EVEN HEAT: The best way to assure your iron-on adheres to your surface is if you apply even heat. The best way to achieve this is by using a Press or EasyPress, if you want to read more about the advantages of the EasyPress, take a look at this post. And if you want to check the times and temperatures for each material, check the Cricut heat guide.


Frequently asked questions
Now let's cover some of the most common questions that come out when we work with Cricut iron on:
Can I layer up Iron-On?
Do NOT layer any iron-on material over:
- Holographic
- Foil
- Glitter
- Glitter Mesh
- Flocked iron-on.
The material may seem to iron-on fine, but when washed, the material on top of these will begin to peel away. However, all of the kinds of iron-on mentioned above, MAY be layered on top of Everyday Iron-On.


What is Cool peel vs. Warm peel?
When we talk about “Peel” we are referring to when we remove the clear iron-on liner after applying iron-on material to your project surface.
For the best experience with different iron-on types, refer to the peel instructions in the Cricut Heat Guide.
Cool Peel: Allow cooling completely before removing liner. Removing liner while still hot or warm may prevent your iron-on image from properly adhering to your material.
Warm Peel: Remove liner while still warm to the touch, but not hot. Letting it cool completely may prevent your iron-on image from properly adhering to your material.
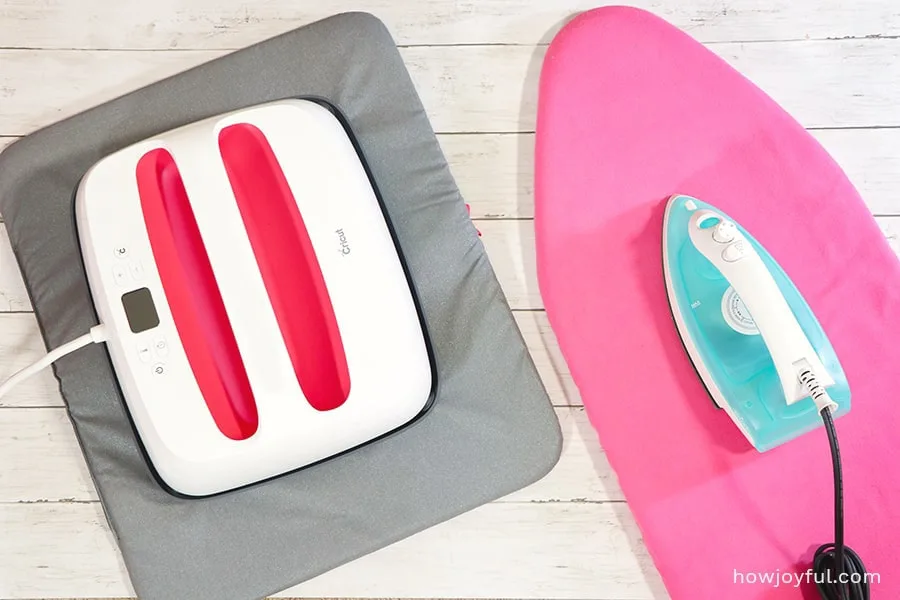
Can I apply Cricut Iron on with a household iron?
Yes, you can. BUT I can be a struggle, I used my household iron for years before I upgraded to the Cricut EasyPress, and while I consider myself a patient person, applying the kind of even pressure needed for a long-lasting application took more time than my patience allowed me.


And that's it! I hope that you like this project and that it helps you work with Cricut Iron on!


If there's anything that you would like me to cover more, just let me know!
Happy crafting!