Get exclusive access to practice sheets, Procreate brushes, printable planners, SVG cut files, coloring pages, and more FREE resources inside the Letter Vault when you sign up for the HowJoyful Newsletter!
Your online resource for all things:

Where do I start?
Start by reading my full guide to Brush Calligraphy by clicking the button below, there I cover everything you should know before starting, from definitions to posture, how to hold a pen, and how letters are constructed.
Fresh Calligraphy + Lettering blog post!


Check the latest post about lettering and Calligraphy, I cover everything to get you started! From paper to brushes and calligraphy styles. Also, about handwriting cursive and other handwriting tips.


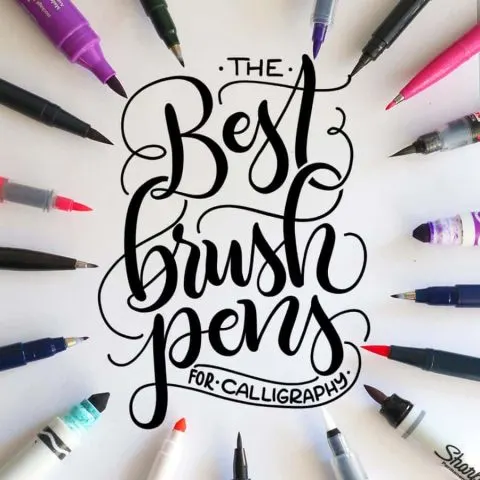
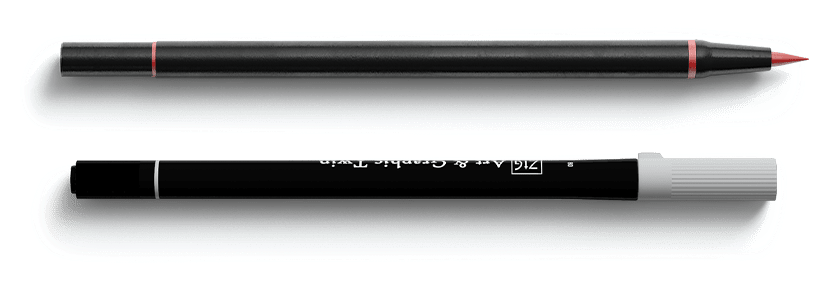
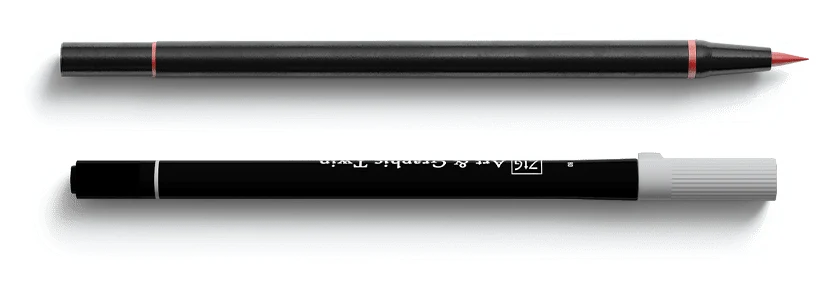
Calligraphy pens: The best brush pens to start with Calligraphy


Procreate Brushes: The best brushes for iPad Lettering + Calligraphy

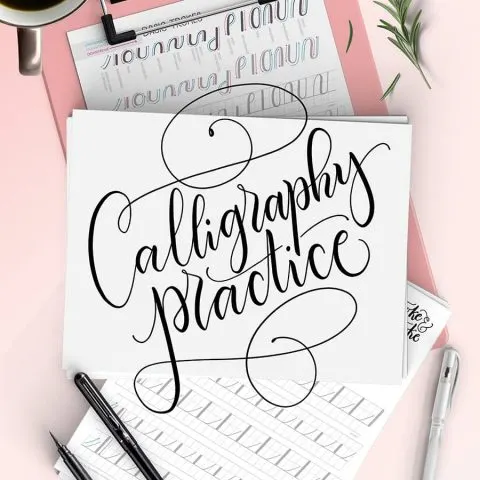
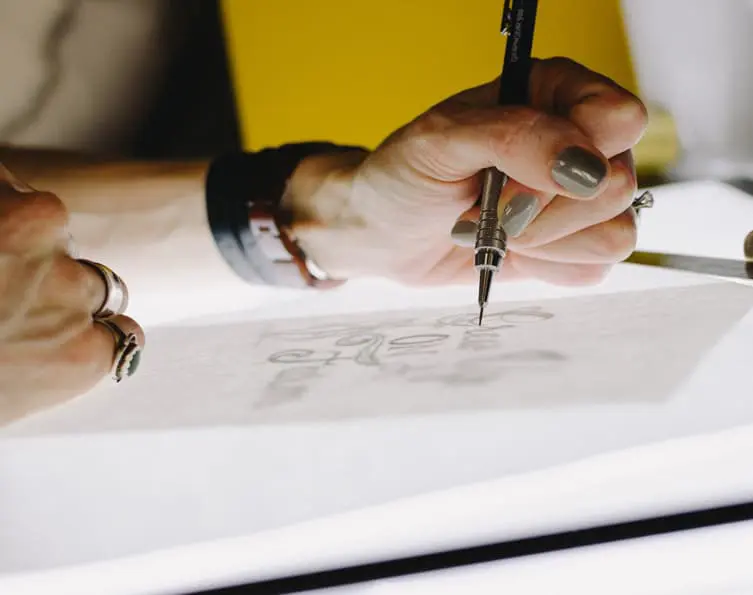
Calligraphy & Lettering Practice: Tips to set up for success!

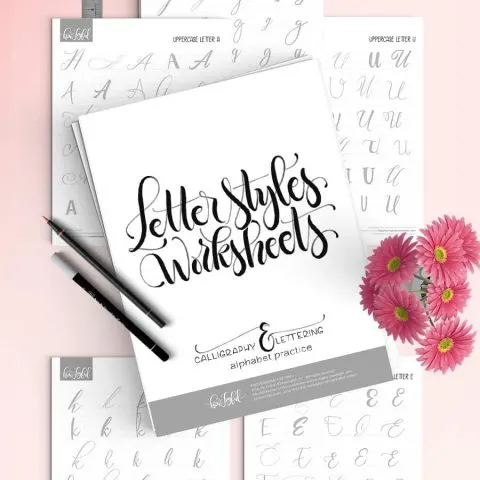
Alphabet letters worksheets – Uppercase letters & lowercase letters


Lettering Cursive: Intro to American Cursive & Script alphabets


Calligraphy paper: The best paper for beginner practice & final projects


Brush Calligraphy for beginners: Modern Calligraphy 101 guide
Not sure about what the difference between lettering and calligraphy is?
► I wrote this post explaining it all.


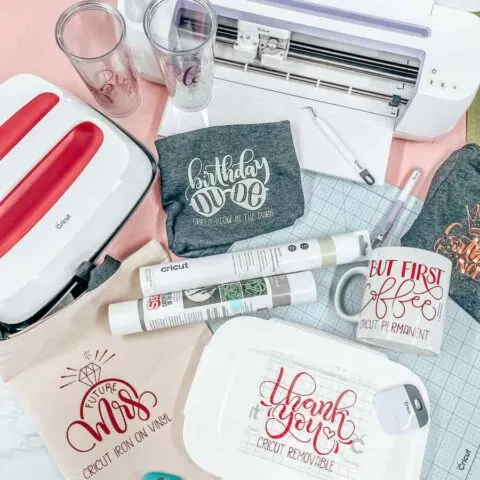
The Latest crafts & tutorials post
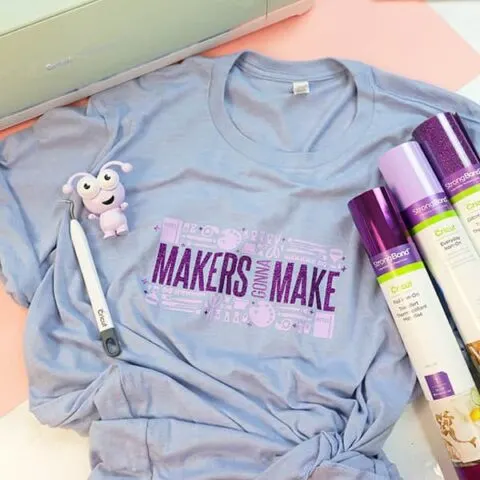
If you are here looking for craft tutorials, I encourage you to check out some of my favorites here — each one is filled with tips, tricks, and FREE files just for you!


Doodles & Drawing post


If you are getting started with a bullet journal or just want to add doodles and illustrations to your artwork, these posts will cover all the basics you should know!


Easy things to draw: 100+ Cool ideas to doodle on your bullet journal


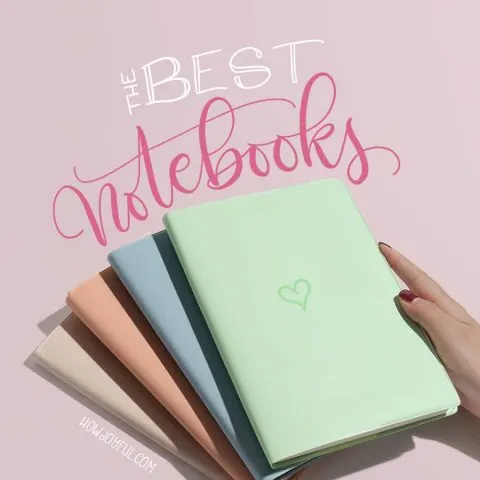
Notebooks for designers: The best paper planners and sketchbooks


Drawings of roses: How to draw a rose – Step by step tutorial (3 ways)


Flower Drawing: Draw and paint an easy flower step by step (Kate Kyehyun Park feature)


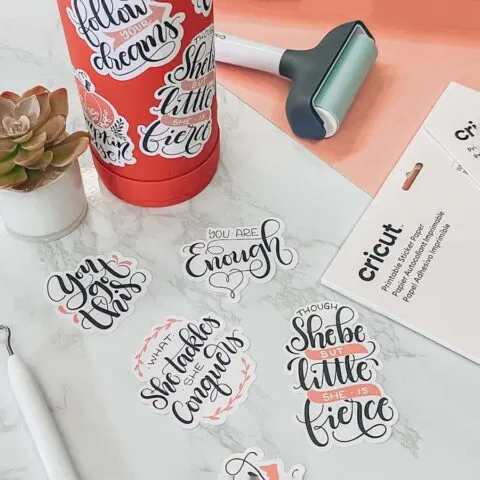
Lettering coloring pages: 6 beautiful FREE pages to relax and color!


Why do we doodle? The global appeal of doodle drawings explained
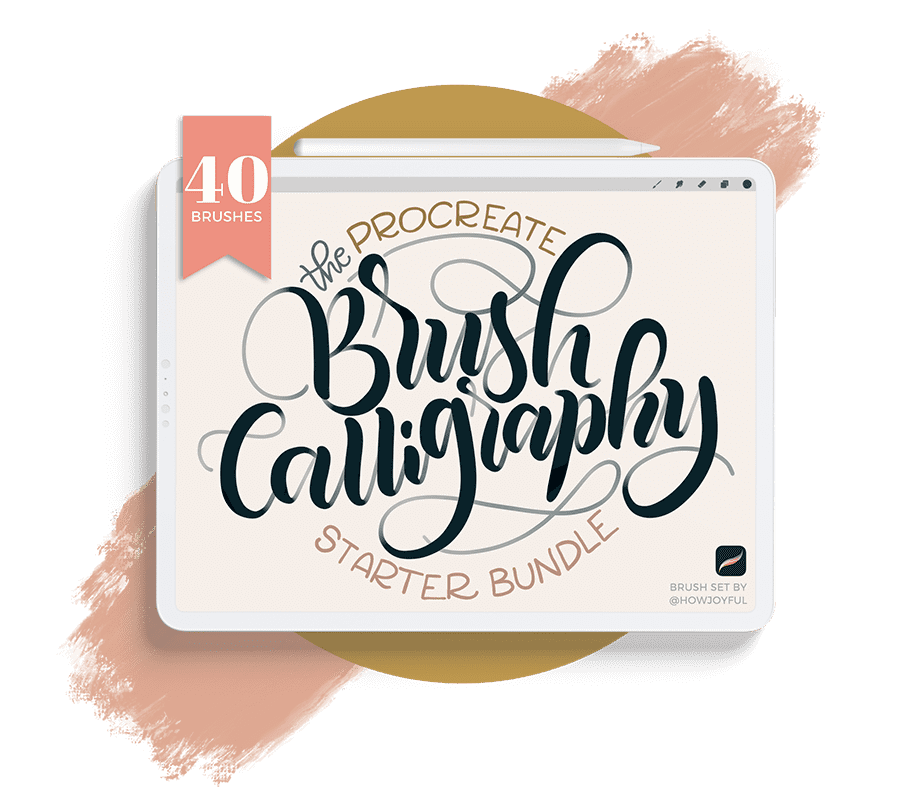
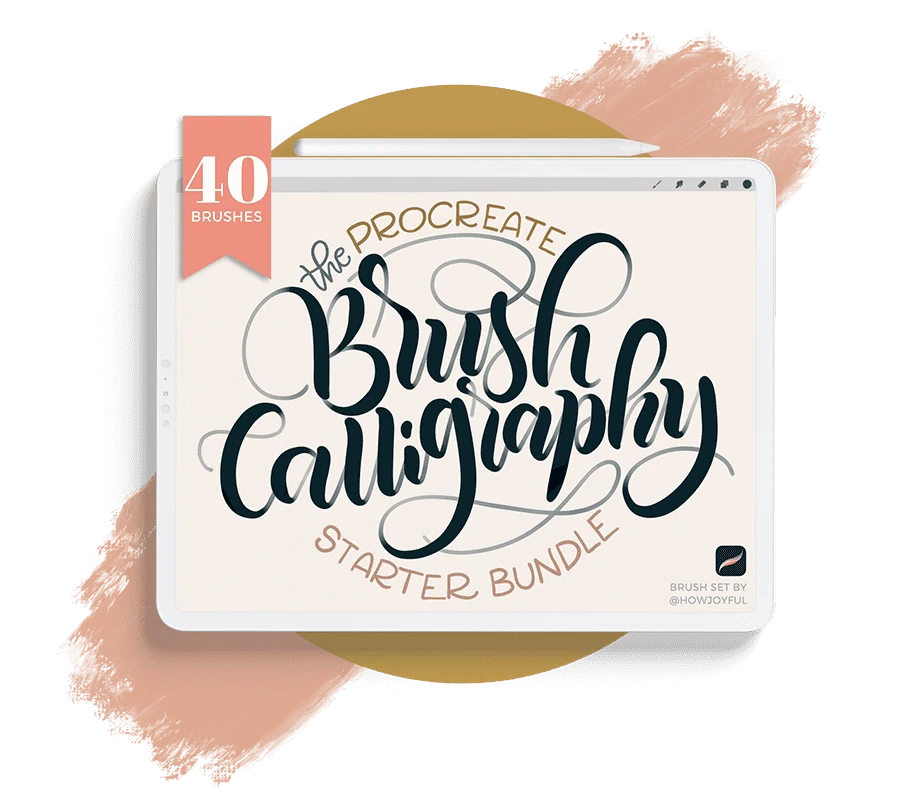
Joyful Brush Calligraphy Starter Bundle
40+ handcrafted brushes to supercharge your use of the Procreate App on your iPad. I am sharing all my favorite brushes, the same ones I made to use with all my digital projects.
$17.99 REG $119.6

Frequently asked questions about Calligraphy & Lettering
Kenny and Joy wedding


Who runs this blog?
My name is Joy Kelley, I am the mom of 3 little boys. A lettering artist/designer originally from Santiago, Chile but currently residing in the mountains of Southern California, USA.
I love to share my experiences as a lettering artist, business owner, and blogger. Let’s be friends!

Creative Mugs
Shop my selection of jumbo (20 oz) creative mugs with lovely lettered details via Zazzle
MY TOOLKIT


Content creation gear resources
A list of all the gear, tools and gadgets I use to make videos and take pictures

My Shops
Some of the most popular items from my shops:
Merch
Stickers, mugs, tees and much more with cute sayings and puns about calligraphy and crafts.
Zazzle
Hand-lettered home goods, paper products, baby blankets and more with my designs.
Casetify
Phone cases, laptop sleeves & apple watch bands ( Get $10 off your first order)
Spoonflower
Super cute fabrics and wallpapers with letters, patterns, and illustrations by yours truly =]